

If at any point your screen does not look like the picture, stop and email support@lexbrief.au – we would rather help than have you guess.
Before you start
A chronology lives inside a matter, so you need a matter open first. If you have not created one yet, the Matters guide walks you through it. That is the only thing you need before you begin.
A note on wording: the dark strip of links down the left-hand side of the screen is the menu. A matter is a single file or brief you are working on. The row of words across the top of an open matter (Detail, Rates, Tasks, and so on) are the tabs – clicking one shows a different part of that matter.
What a chronology is
A chronology sets out the events at the heart of a case, in date order. It is the kind of thing you would hand up to a court, or keep at the front of a brief, so anyone reading it can follow the story from the beginning. For example:
- “12/03/2024 – the services agreement was signed.”
- “18/10/2024 – a letter of demand was sent.”
- “15/11/2024 – the writ was filed.”
Each event records the date (and an optional time), what kind of event it was, a short title of what happened, optional detail, and an optional reference pointing at where the fact comes from – for example Aff. J Smith [12].
- The Chronology records the events of the dispute itself – the story of the case, for a document you can produce.
- The Court Diary (a matter’s Key dates) records future court dates and deadlines – what is coming up.
- File notes record your own interactions on the file – “client called and said X”.
Events are entered and curated by you, by hand – you decide exactly what goes on the record and how it is worded.
Opening a matter’s Chronology
Open the matter you want (click Matters in the left-hand menu, then click the matter’s name). Along the top of the matter you will see a row of tabs. Click the Chronology tab.
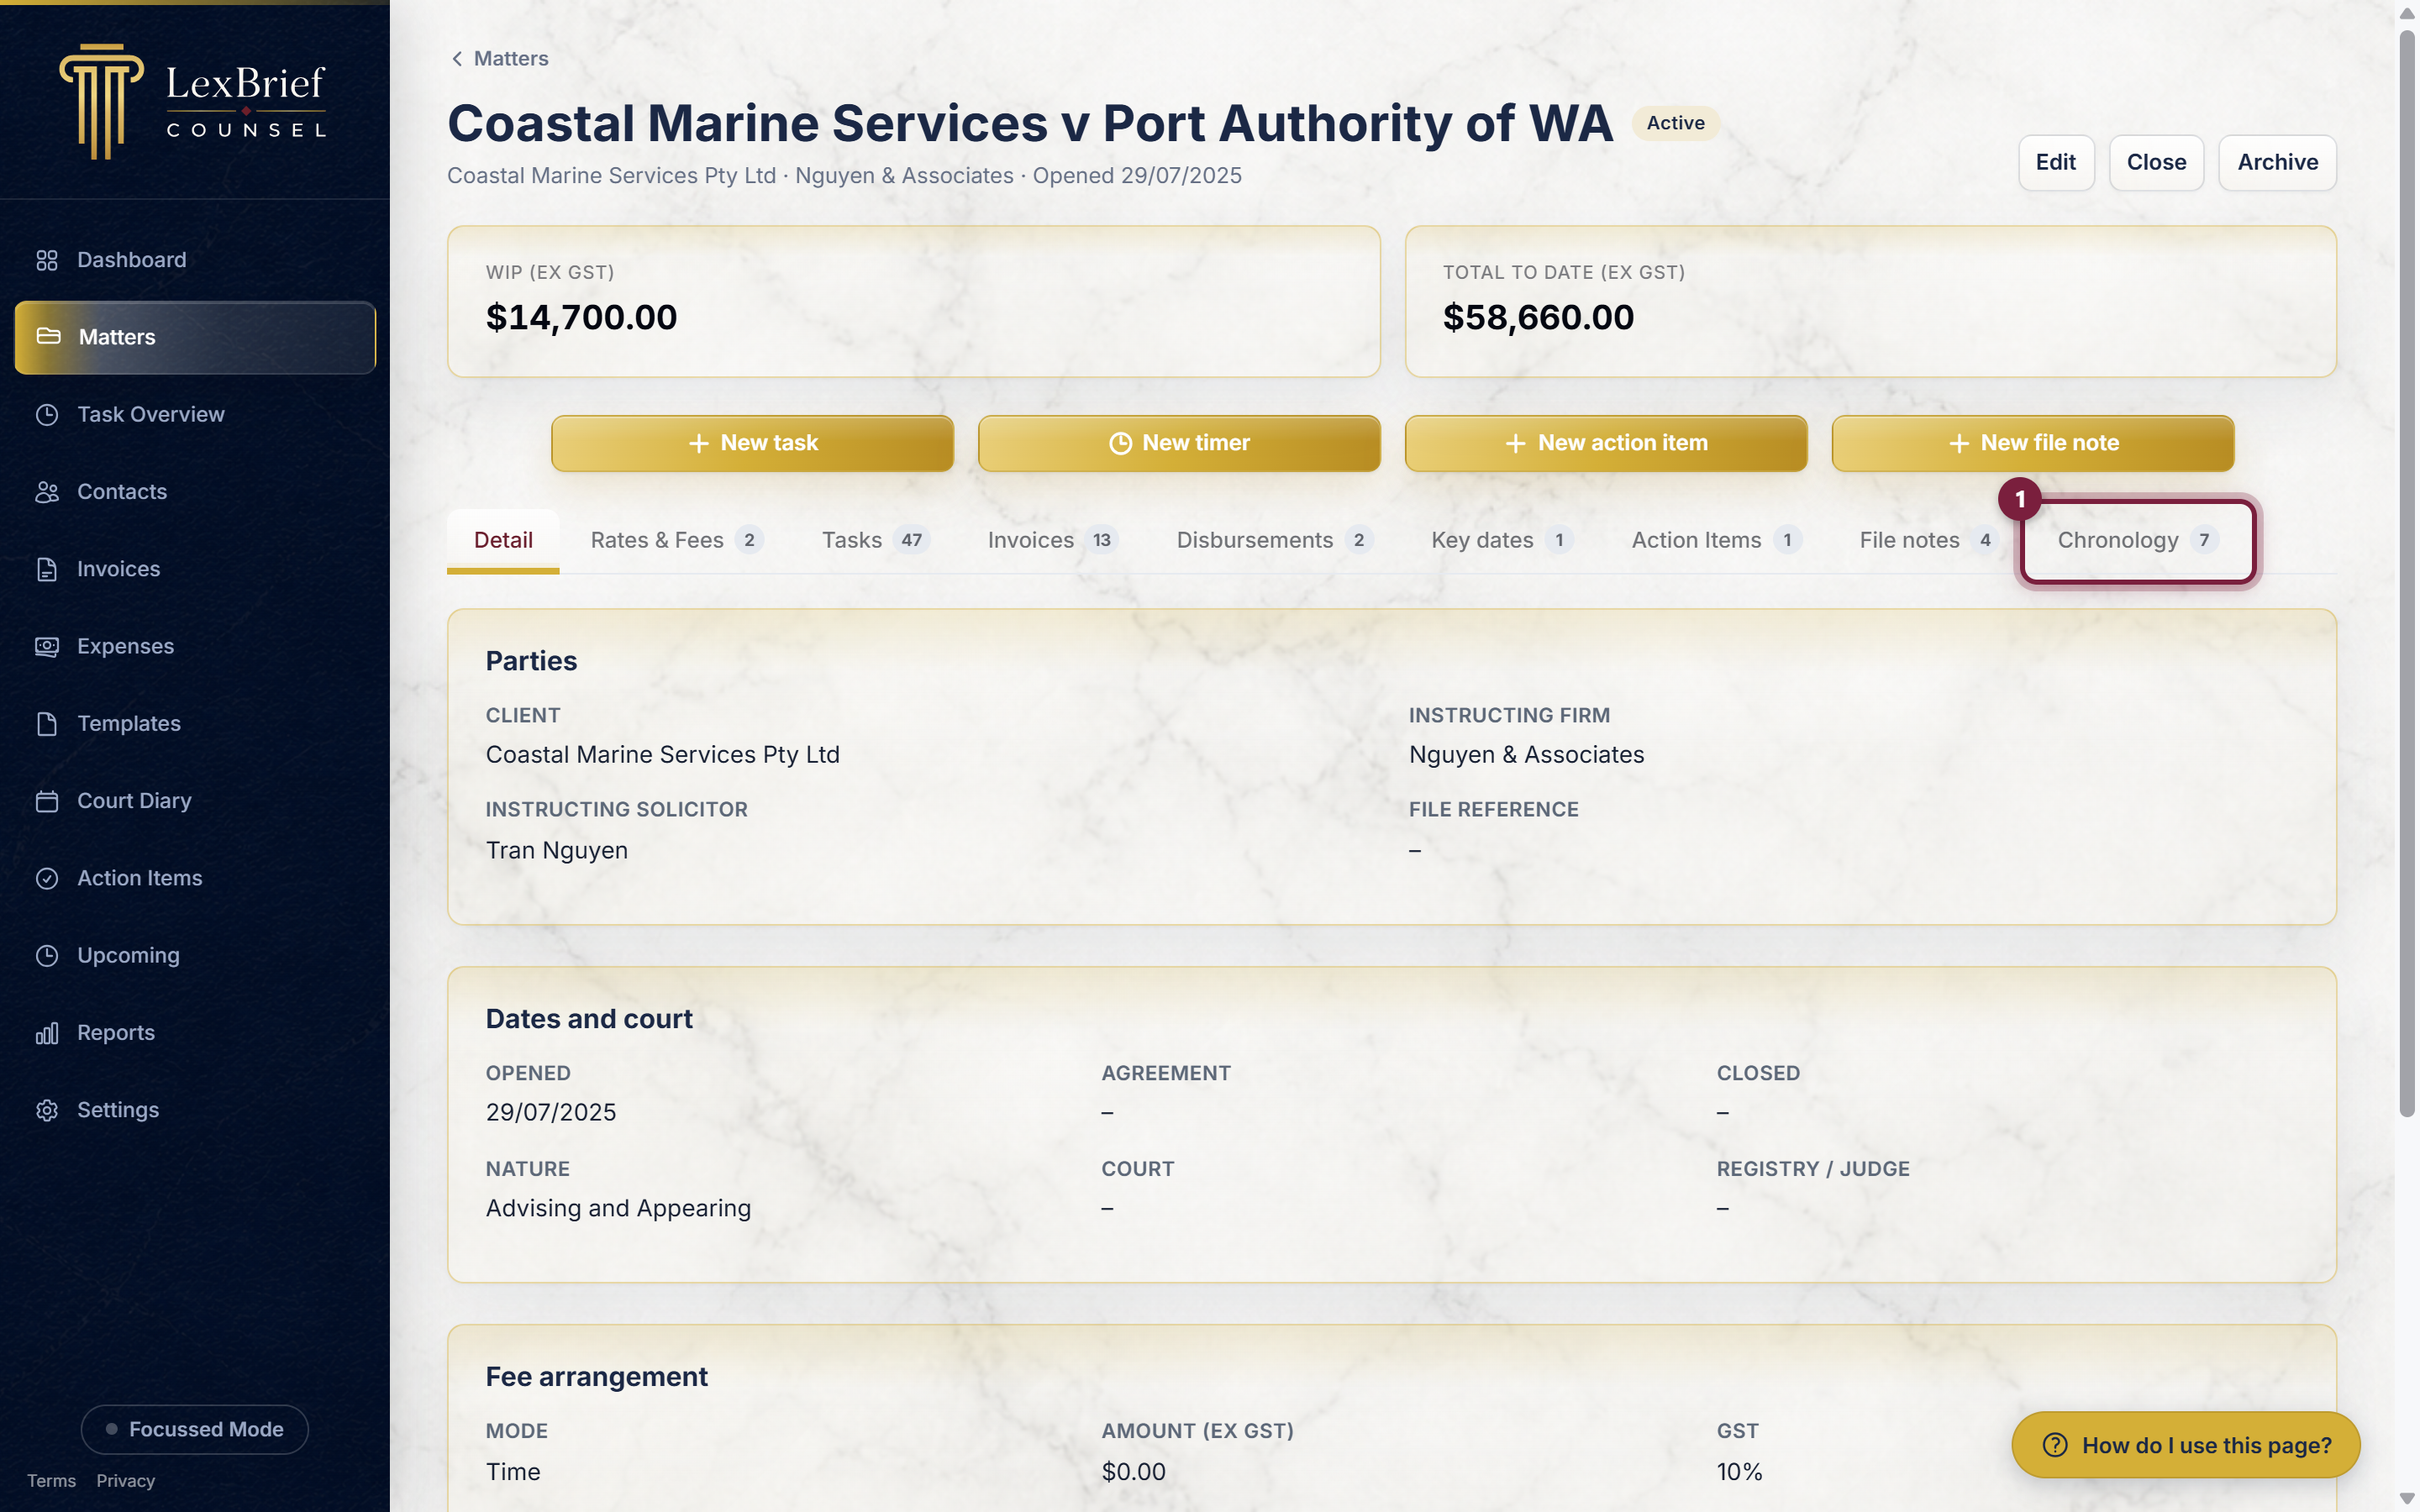
What you should see. The Chronology area opens. Any events already recorded on this matter appear as a list, oldest first (the reverse of file notes, because a chronology reads from the beginning). If there are none yet, you will see a short “No chronology events yet” message instead – that is fine, you are about to add one.
Adding an event
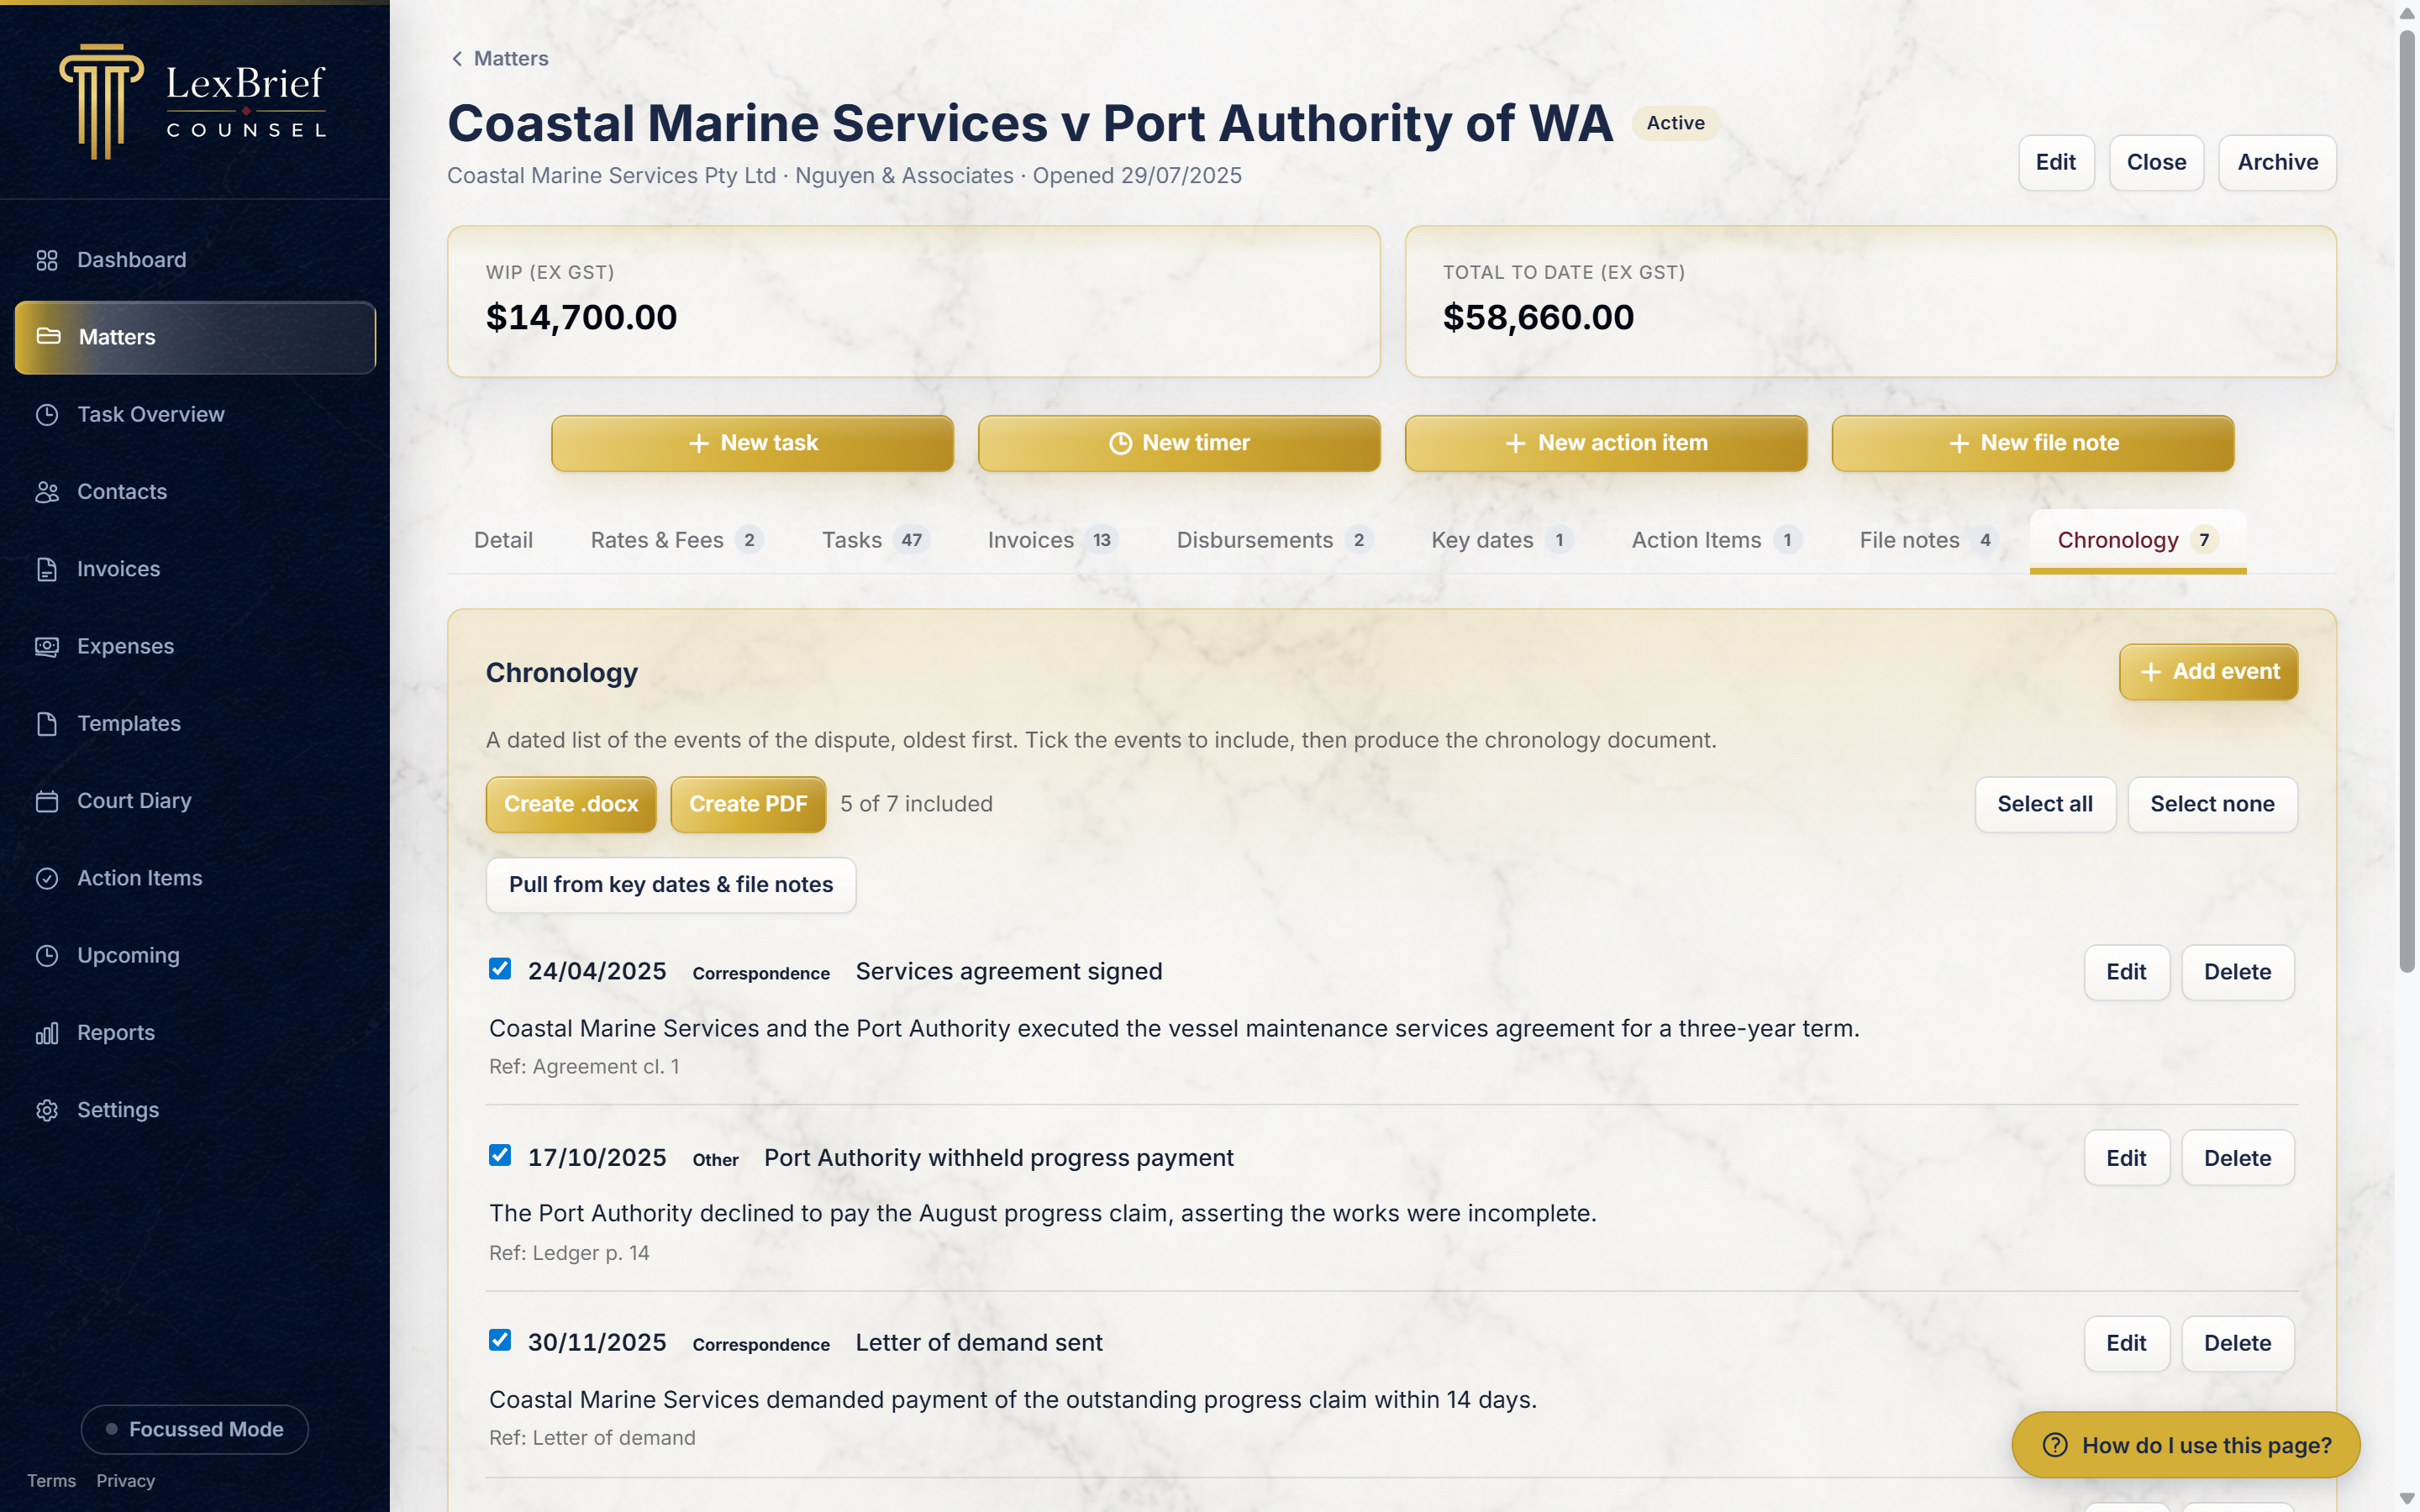
1. Click the gold Add event button at the top-right of the Chronology area.
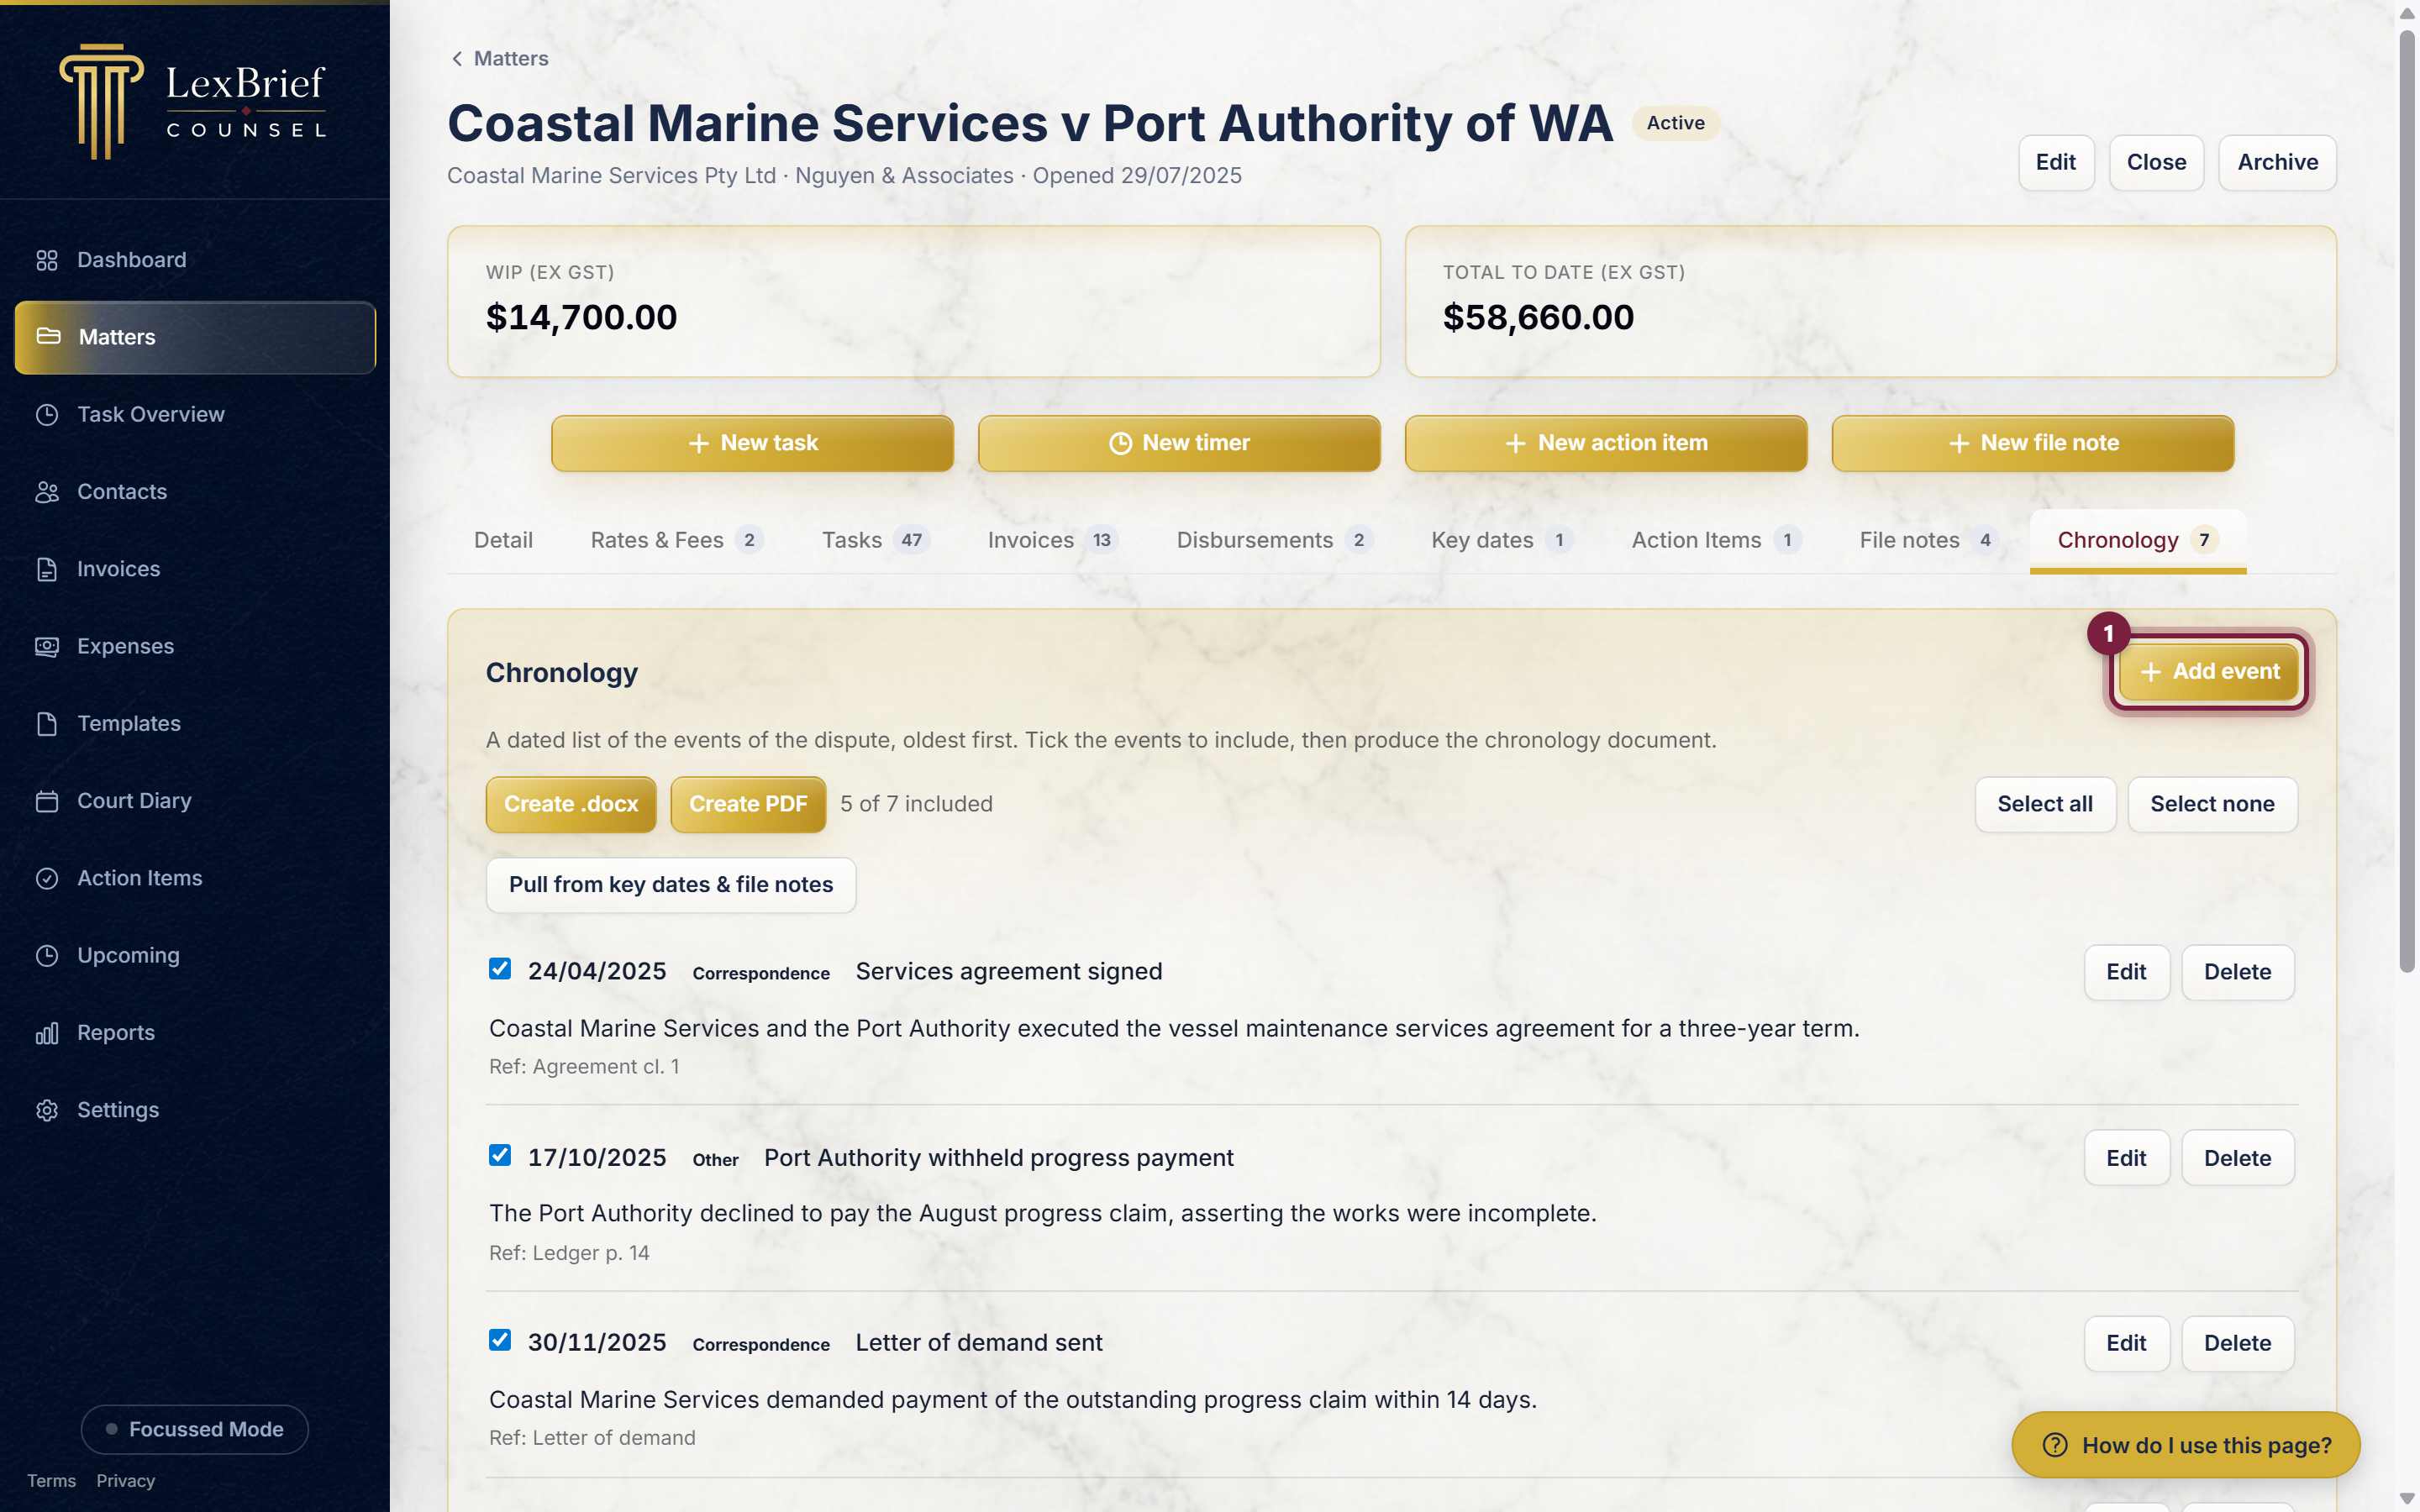
A small form opens on the same page. There is no separate page to go to – you fill it in right here.
2. In the Date box, type (or pick from the little calendar) the date the event happened, for example 12/03/2024. This is the only box you must fill in. If the event has a set time – say a hearing at 10:15 – add it in the Time box beside it; leave it blank for an all-day event.
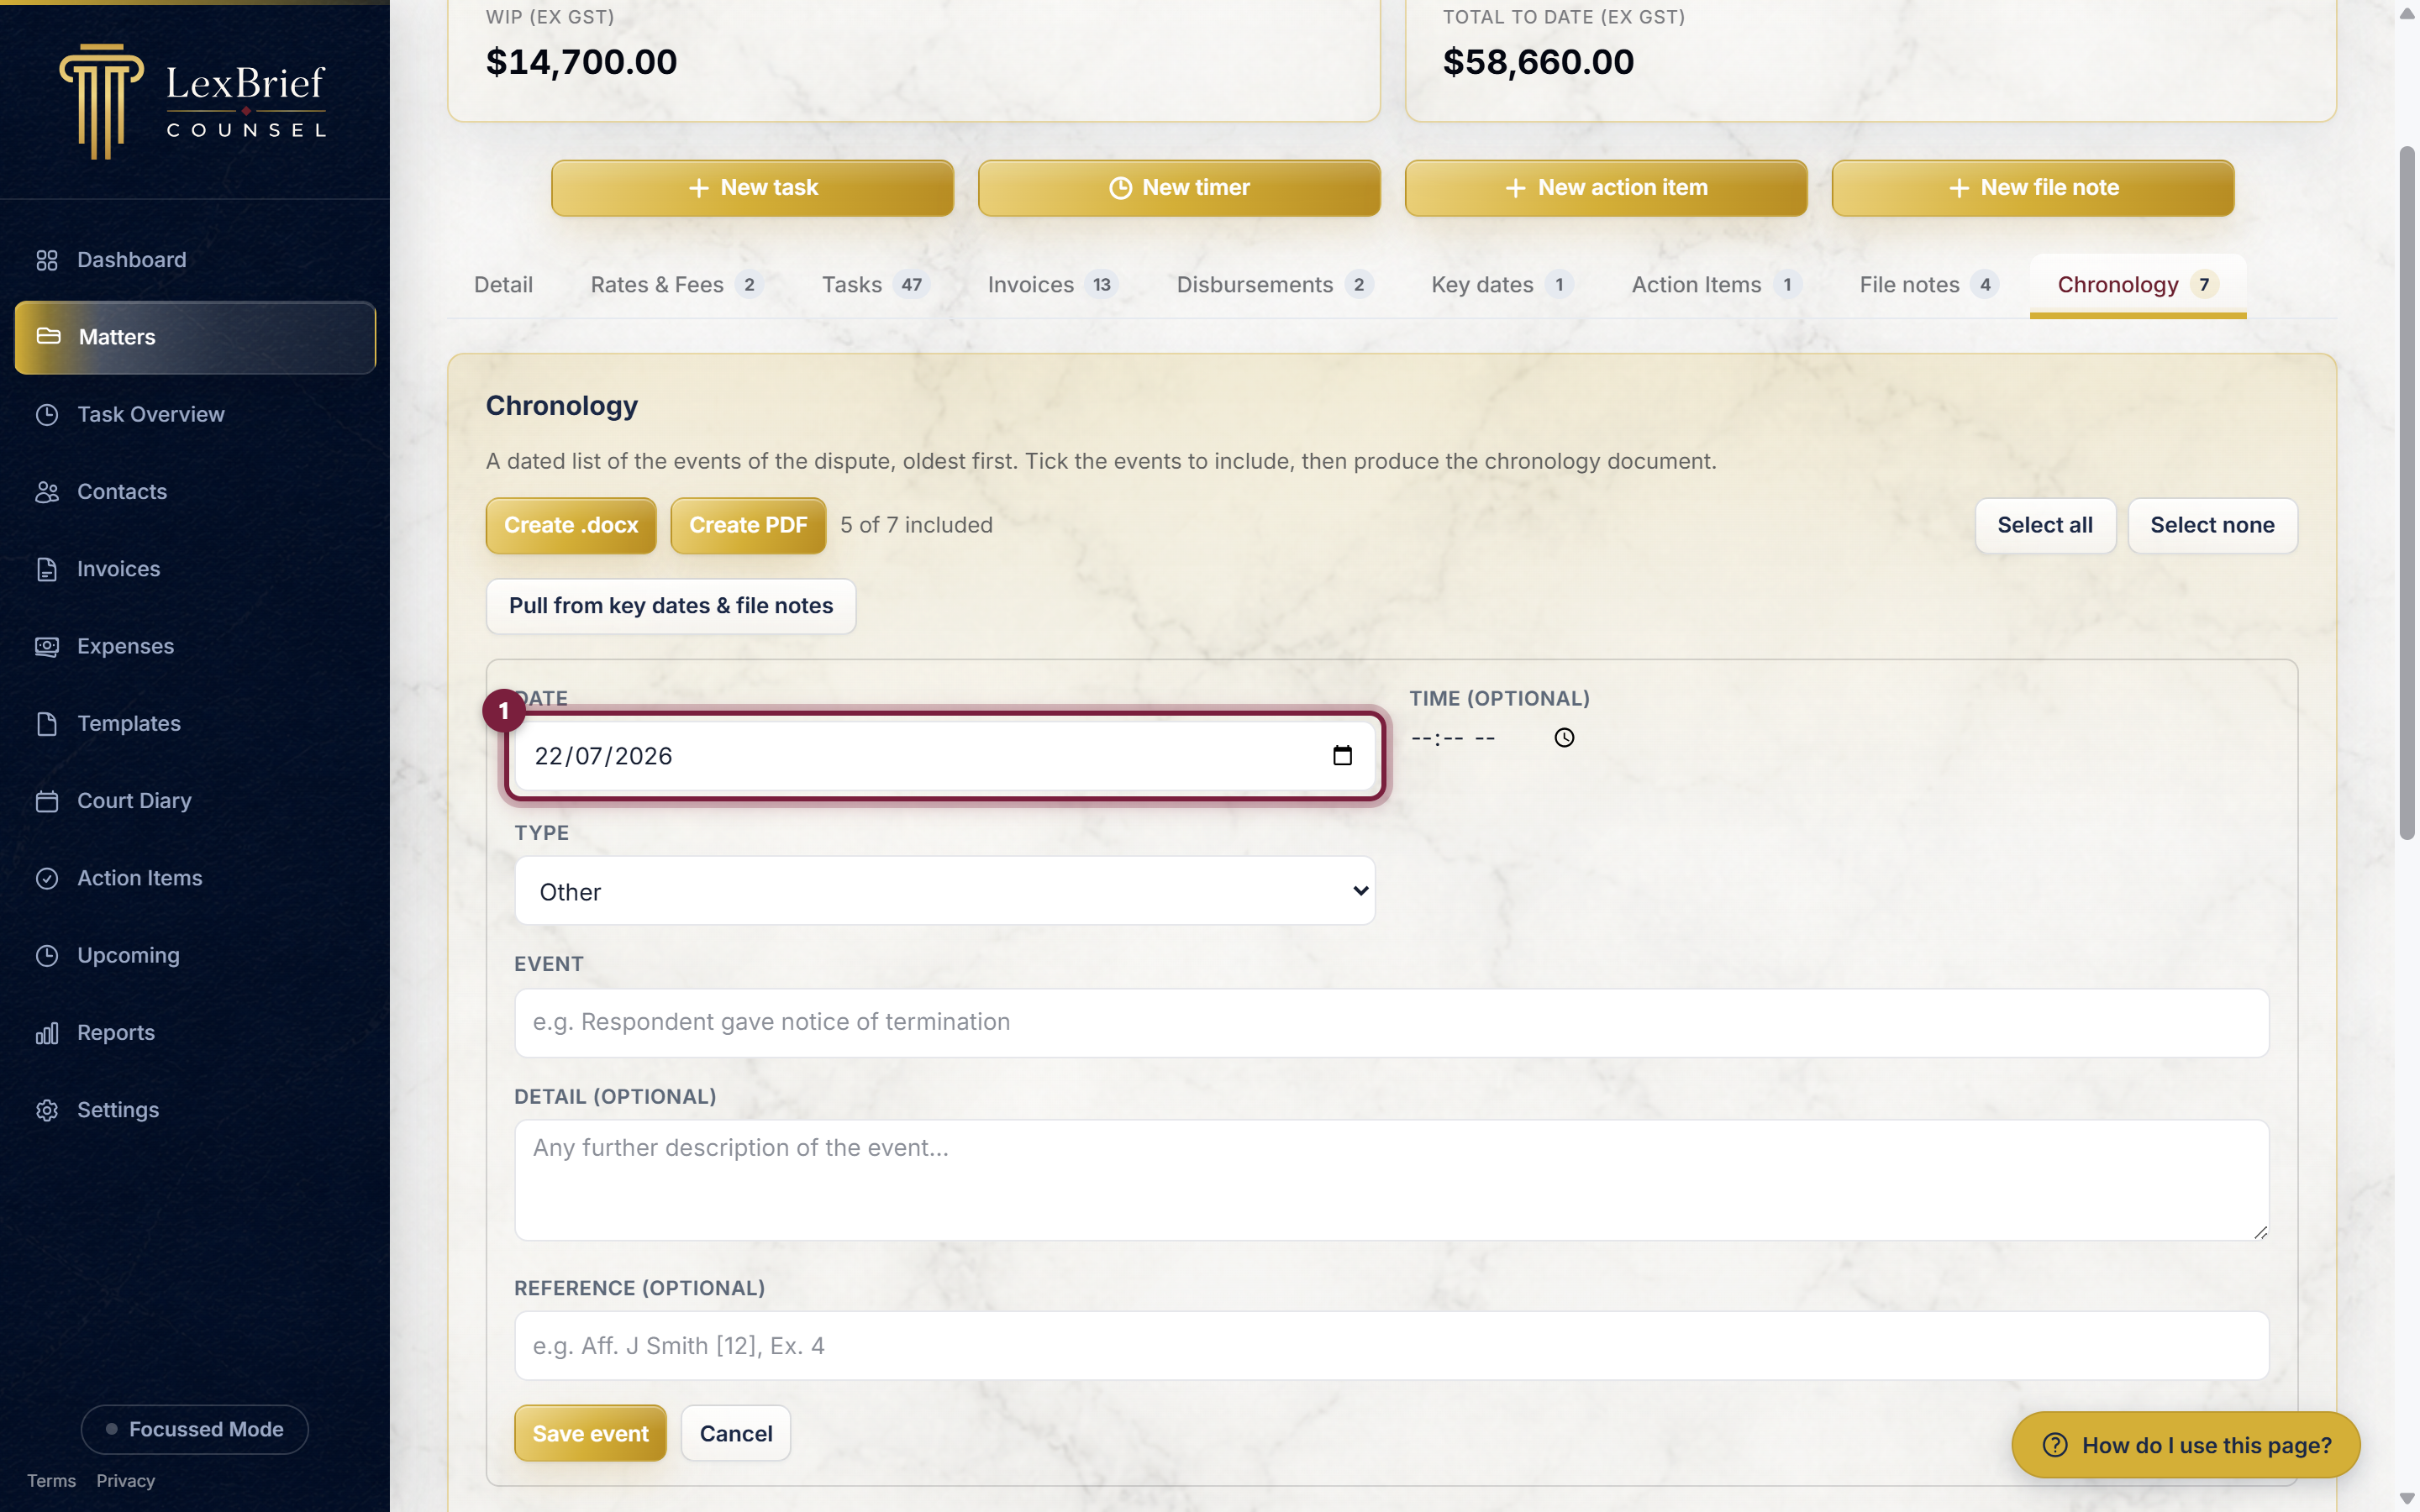
3. In the Type box, choose what kind of event this was – Correspondence, Court, Filing, Instruction, or Other. Click the box and pick from the short list that appears.
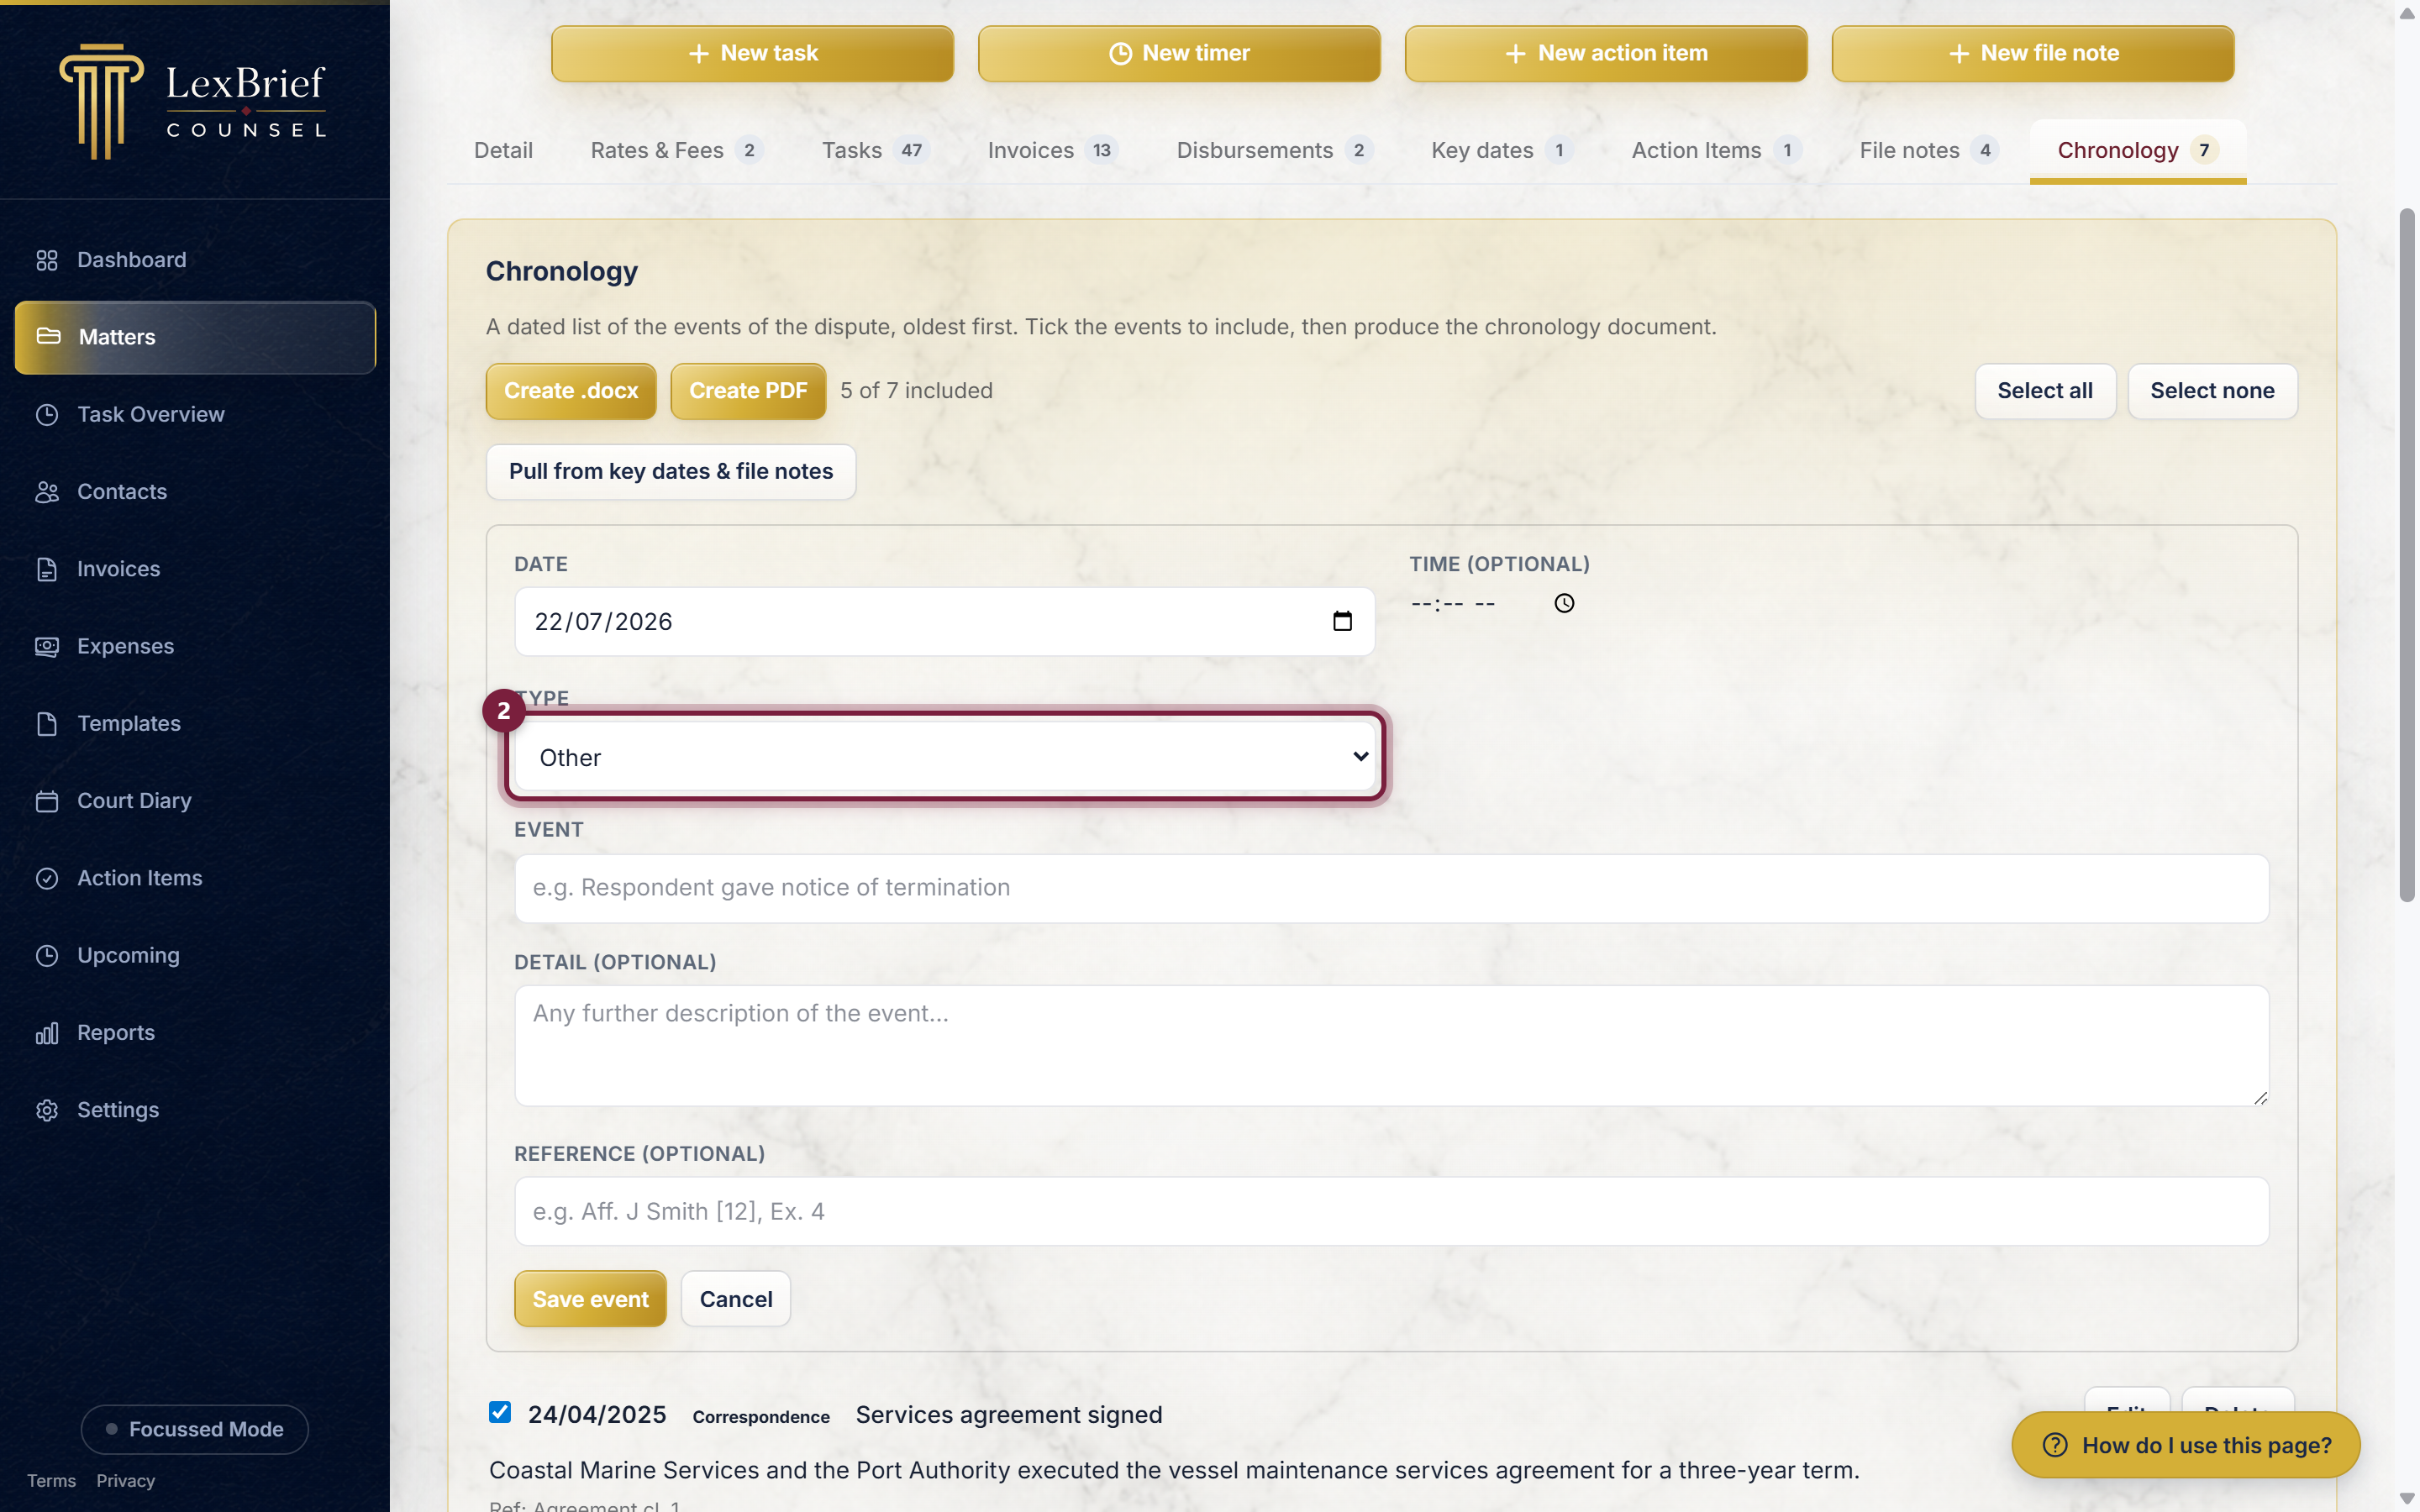
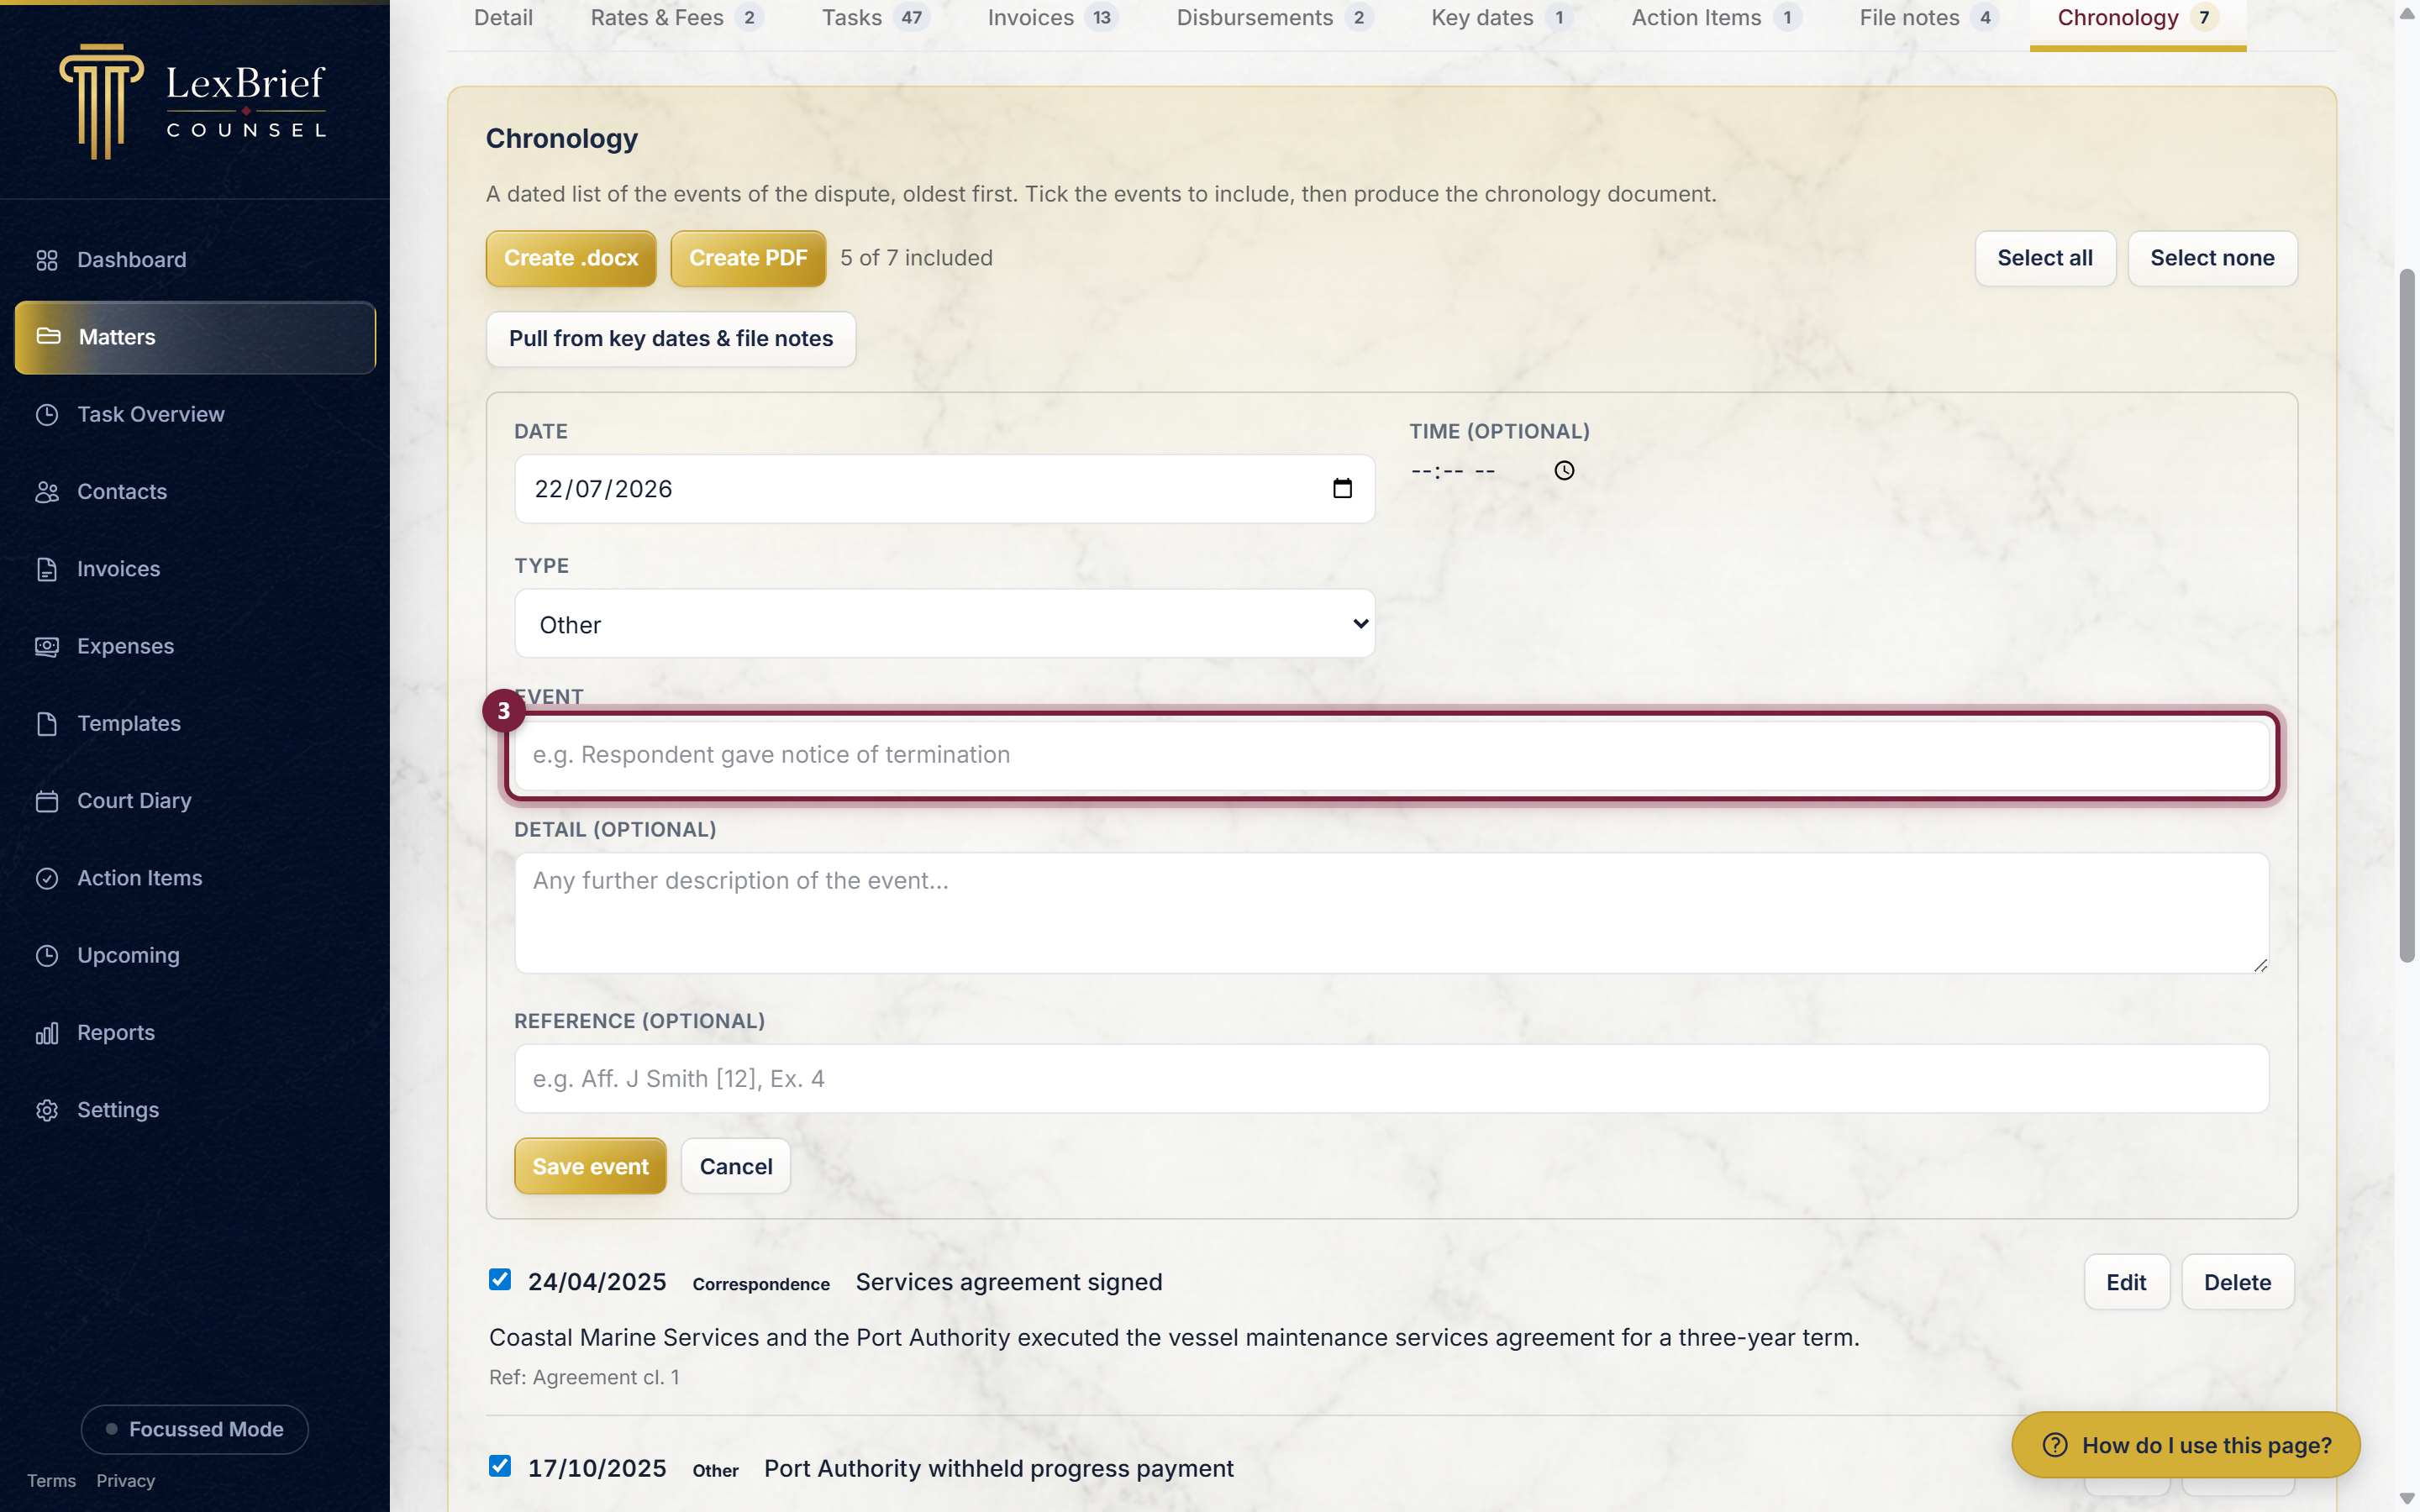
4. In the Event box, type a short line saying what happened, for example Writ filed. This is the heading that appears in the list and in the produced document.
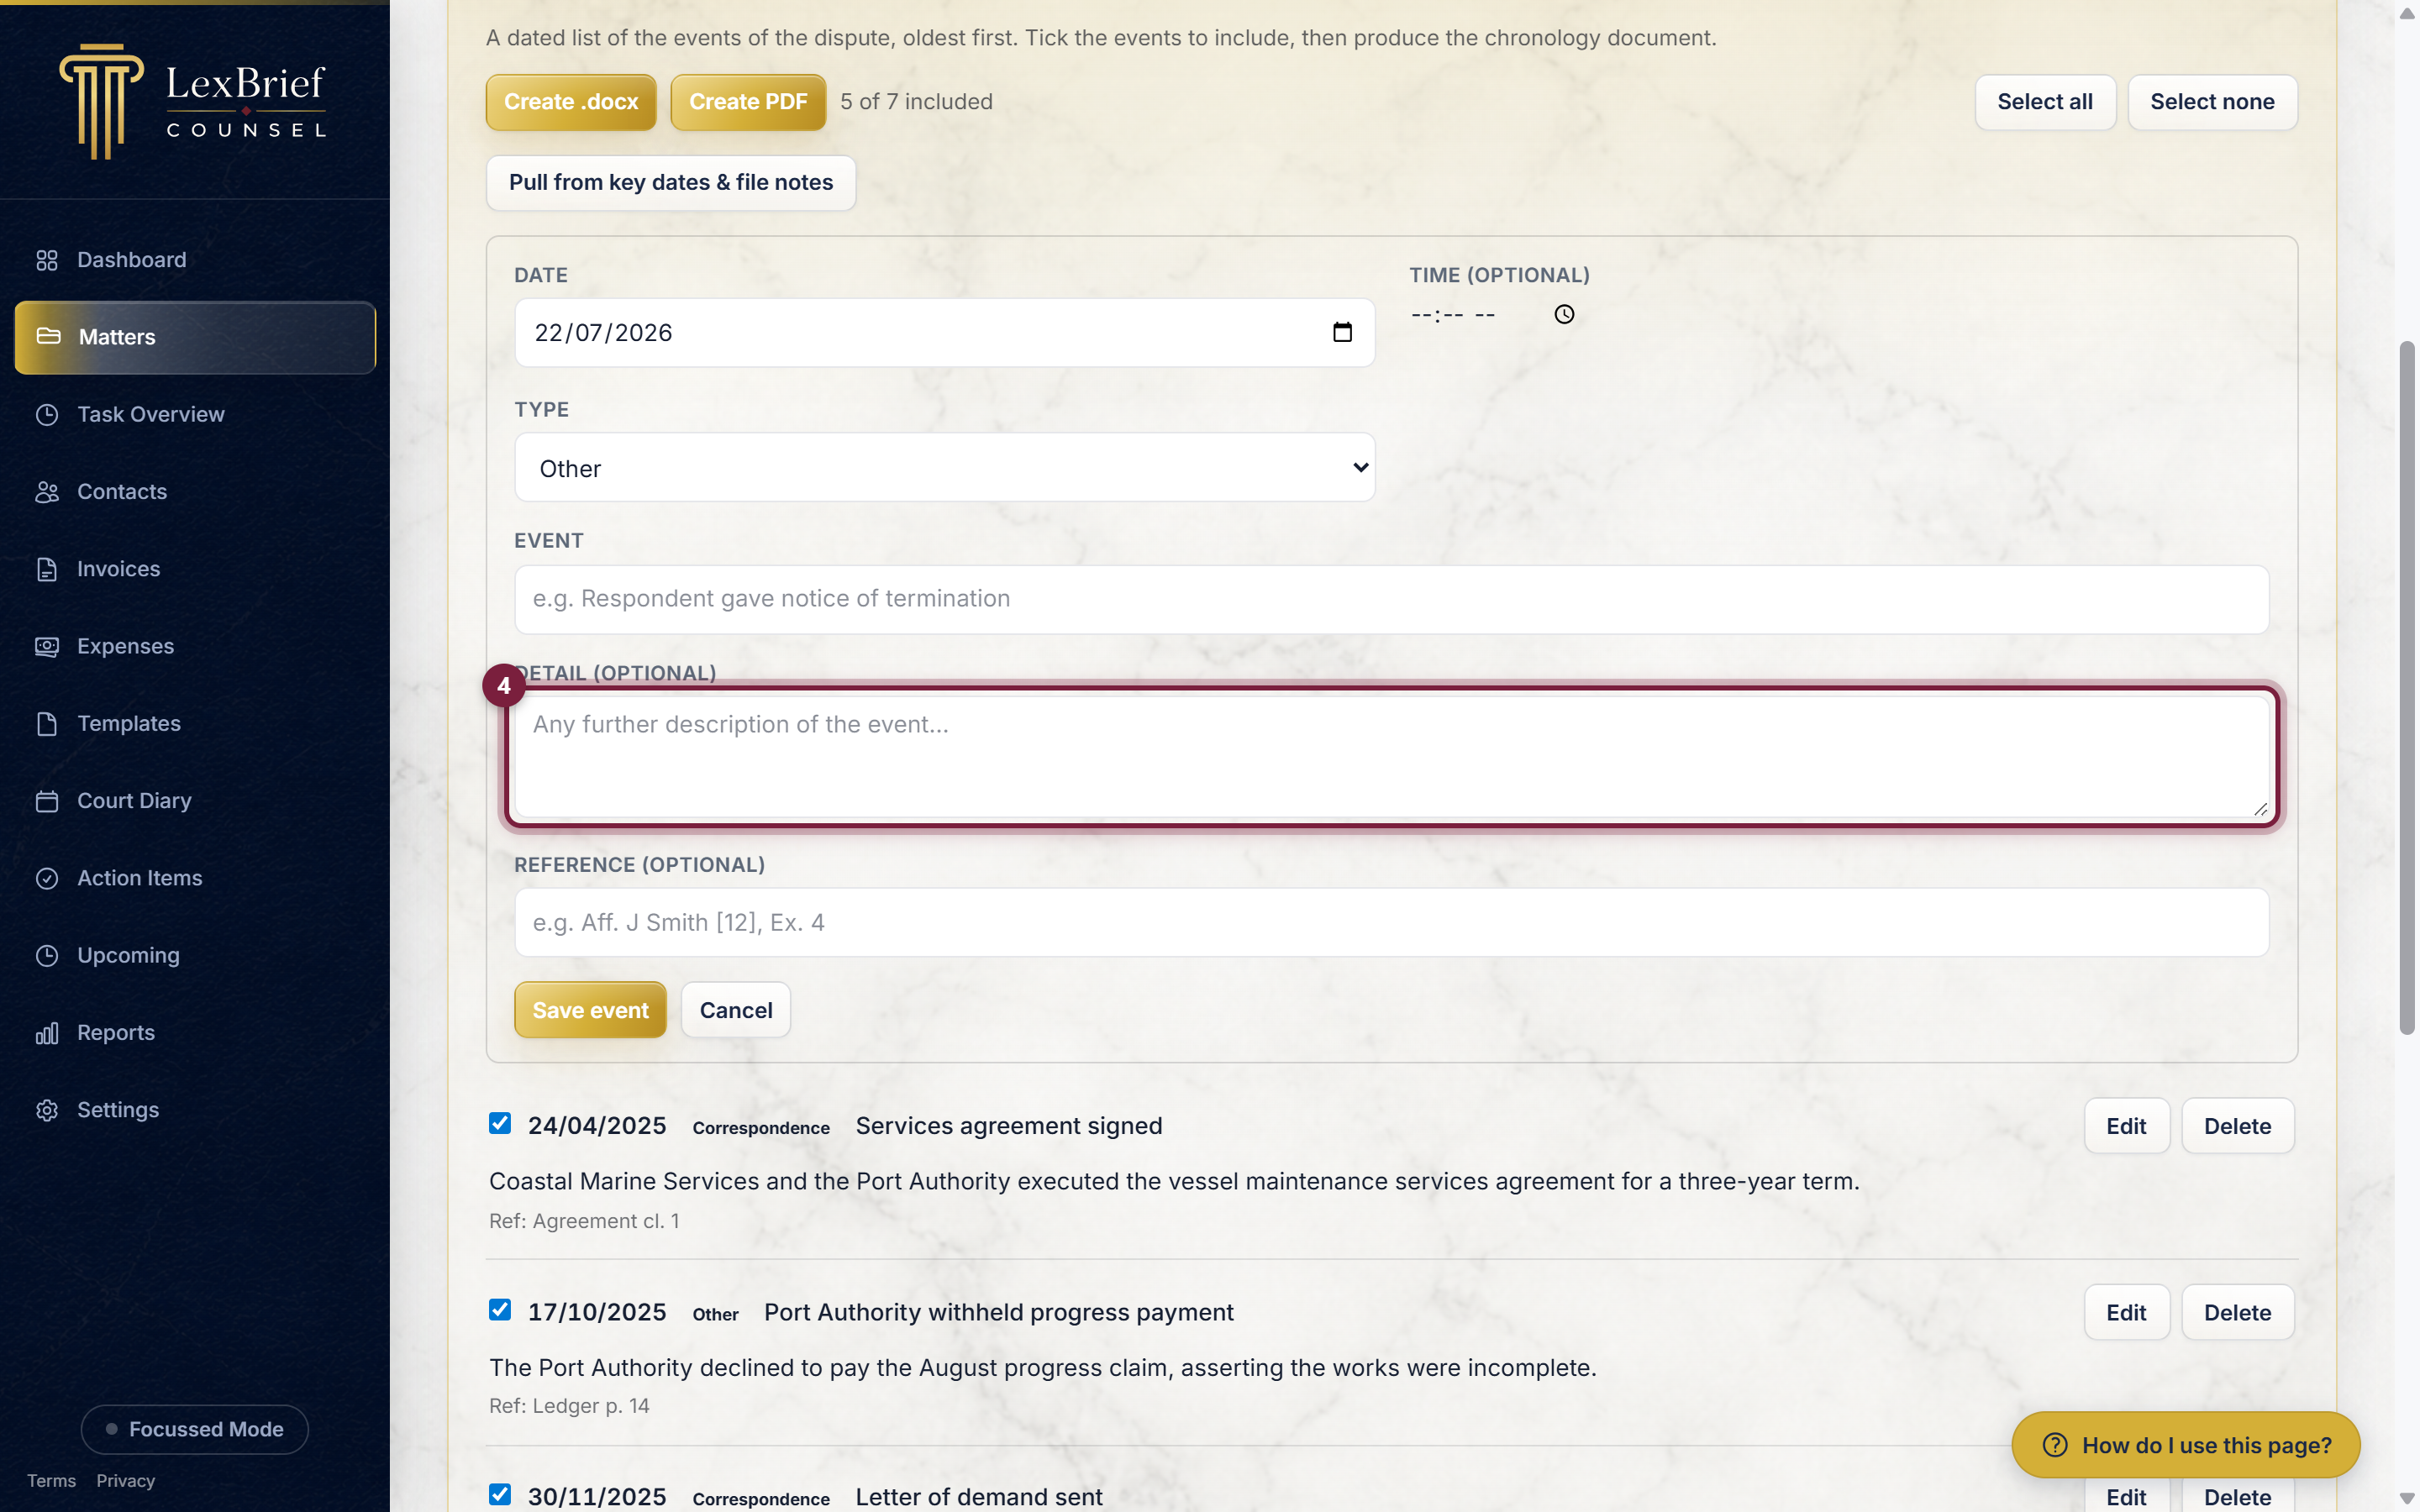
5. If you want to say more, type it in the Detail box – a fuller description of the event. In the Reference box you can note where the fact comes from, such as Aff. J Smith [12] or Ex. 4. Both are optional.
6. Click the gold Save event button at the bottom of the form.
What you should see. The form closes and your new event appears in the list, slotted into the right place by date (oldest first).
The include tick
Every event in the list has a small tick box on its left. This decides whether that event goes into the chronology document you produce. A ticked event is included; an unticked one stays in your working list but is left out of the document.
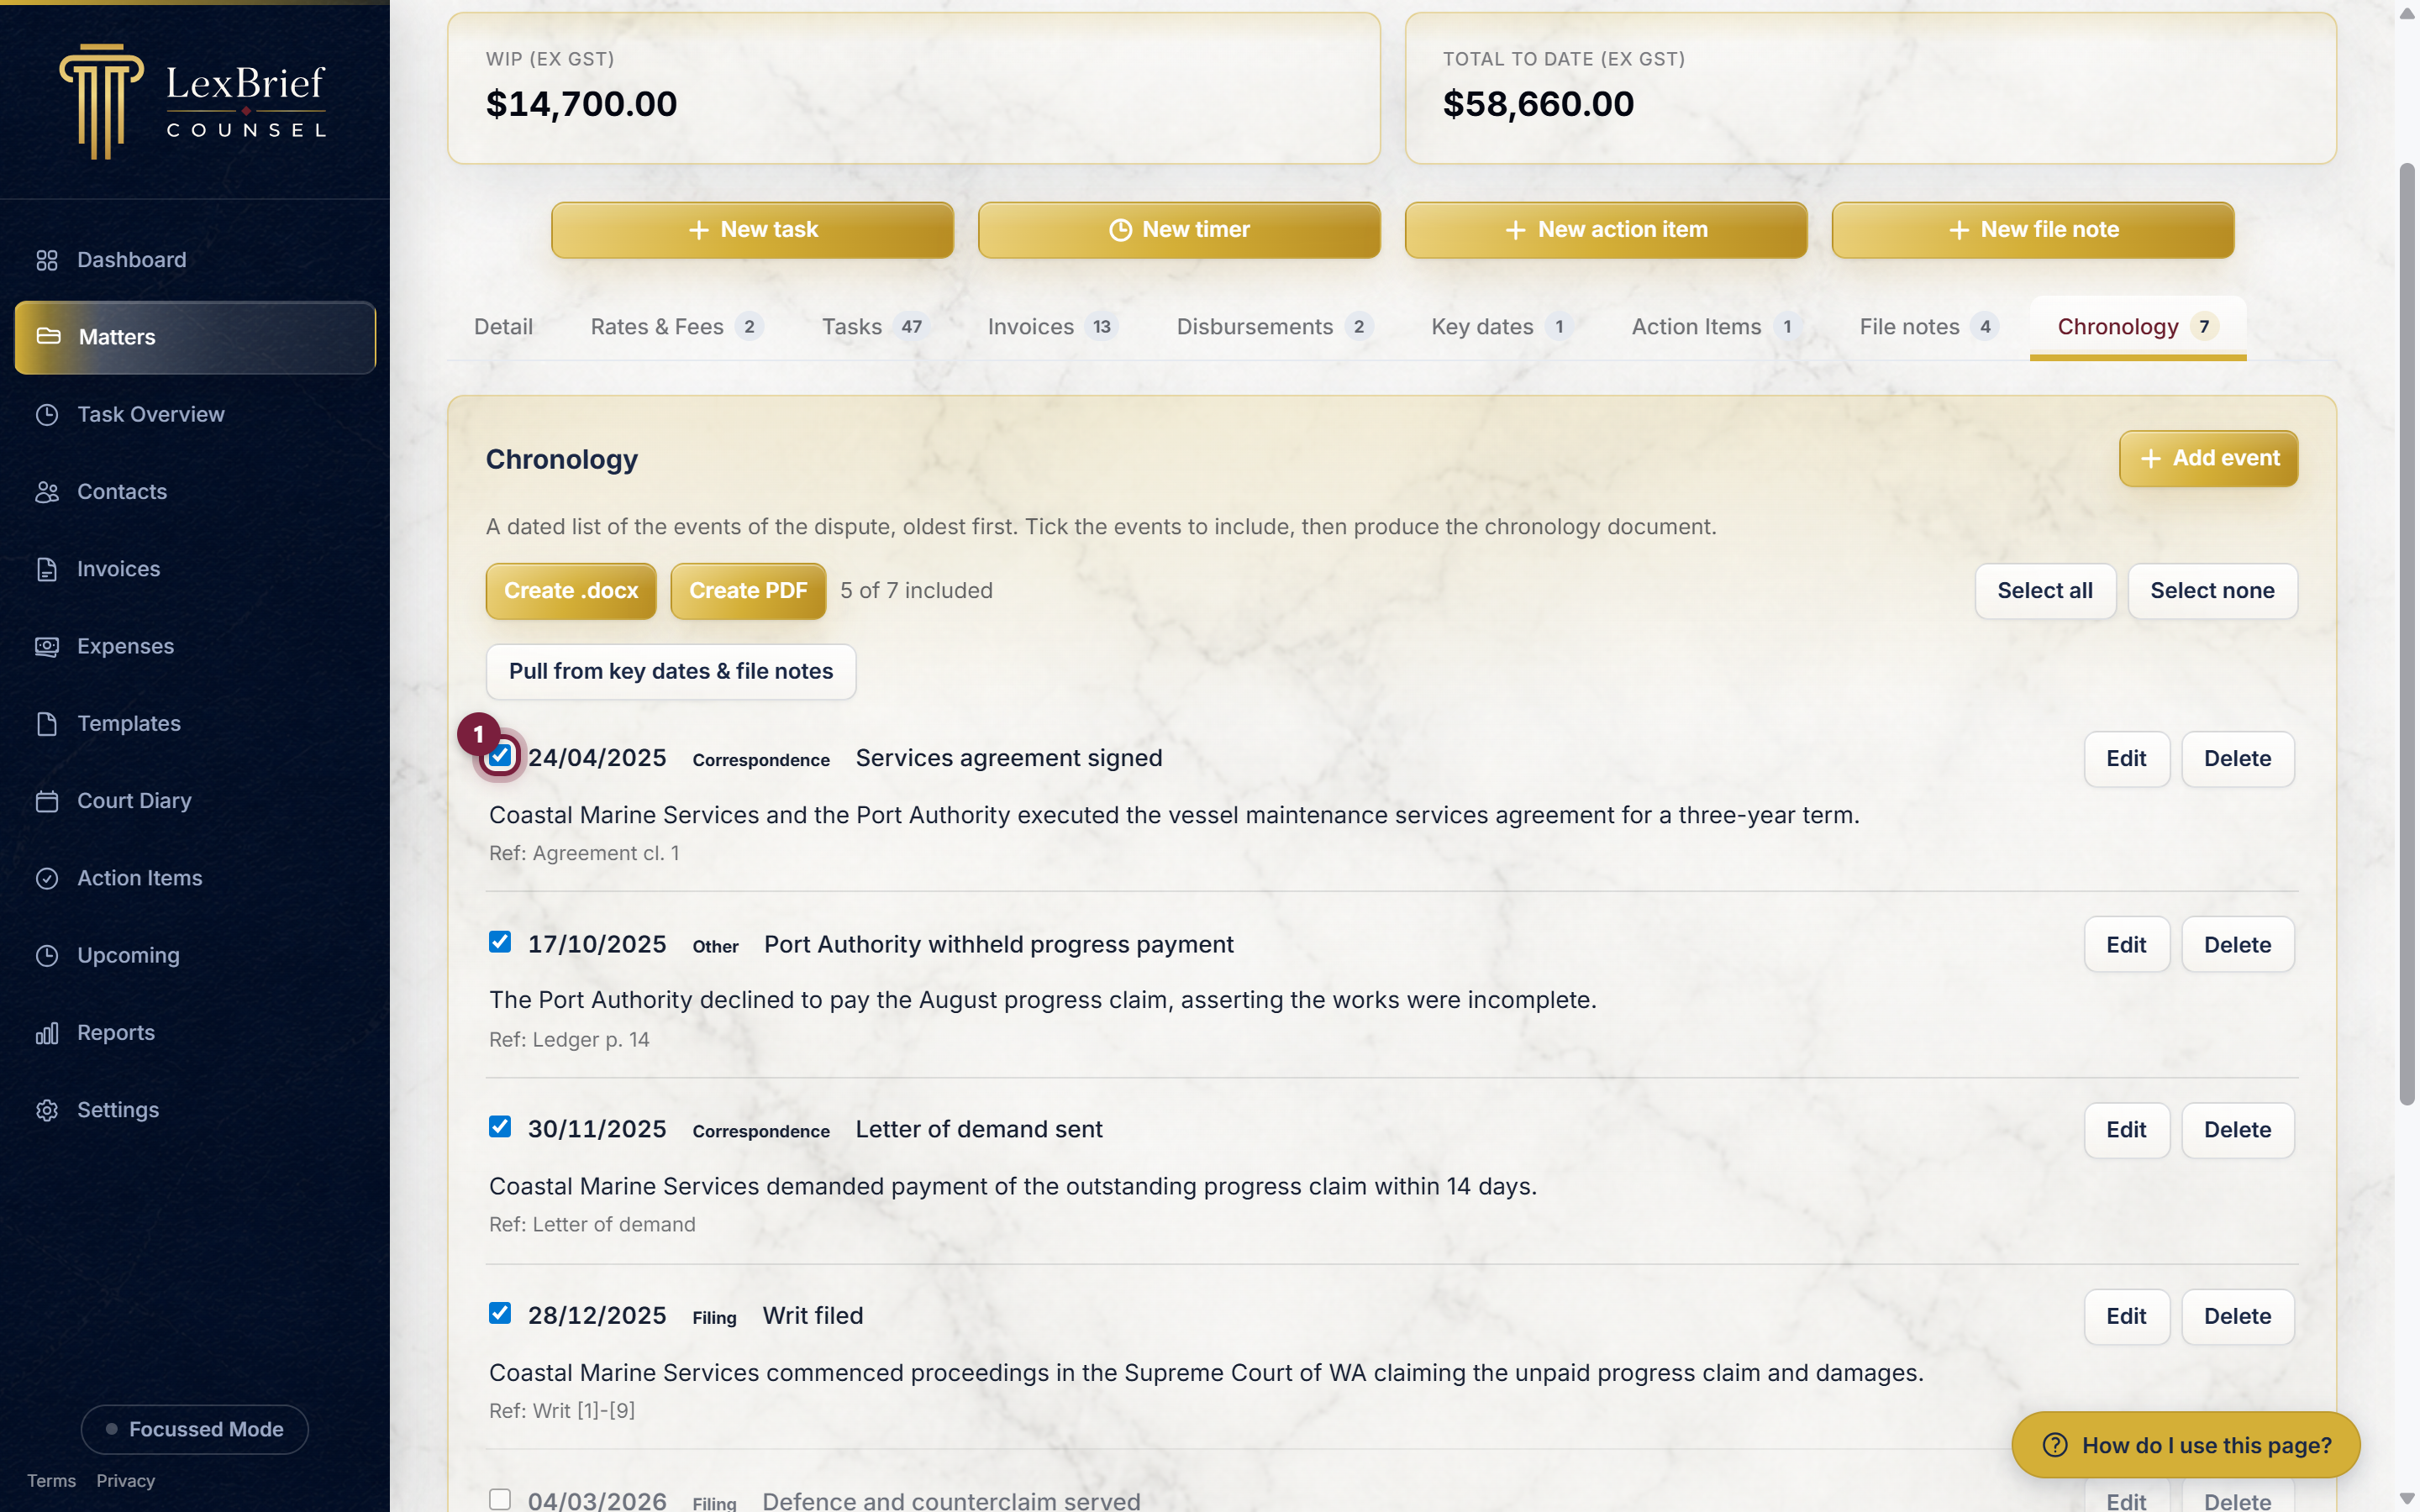
Click a tick box to turn it on or off. This lets you keep a fuller working list on the tab – including events you are not yet sure about – while producing a document that contains only the events you have chosen. The line above the list shows a running count, for example 5 of 7 included. The Select all and Select none buttons tick or untick everything at once.
Pulling from your key dates and file notes
If you have already recorded dates in the Court Diary or written file notes on this matter, you do not have to retype them. The Pull from key dates & file notes button copies them in as a starting point.
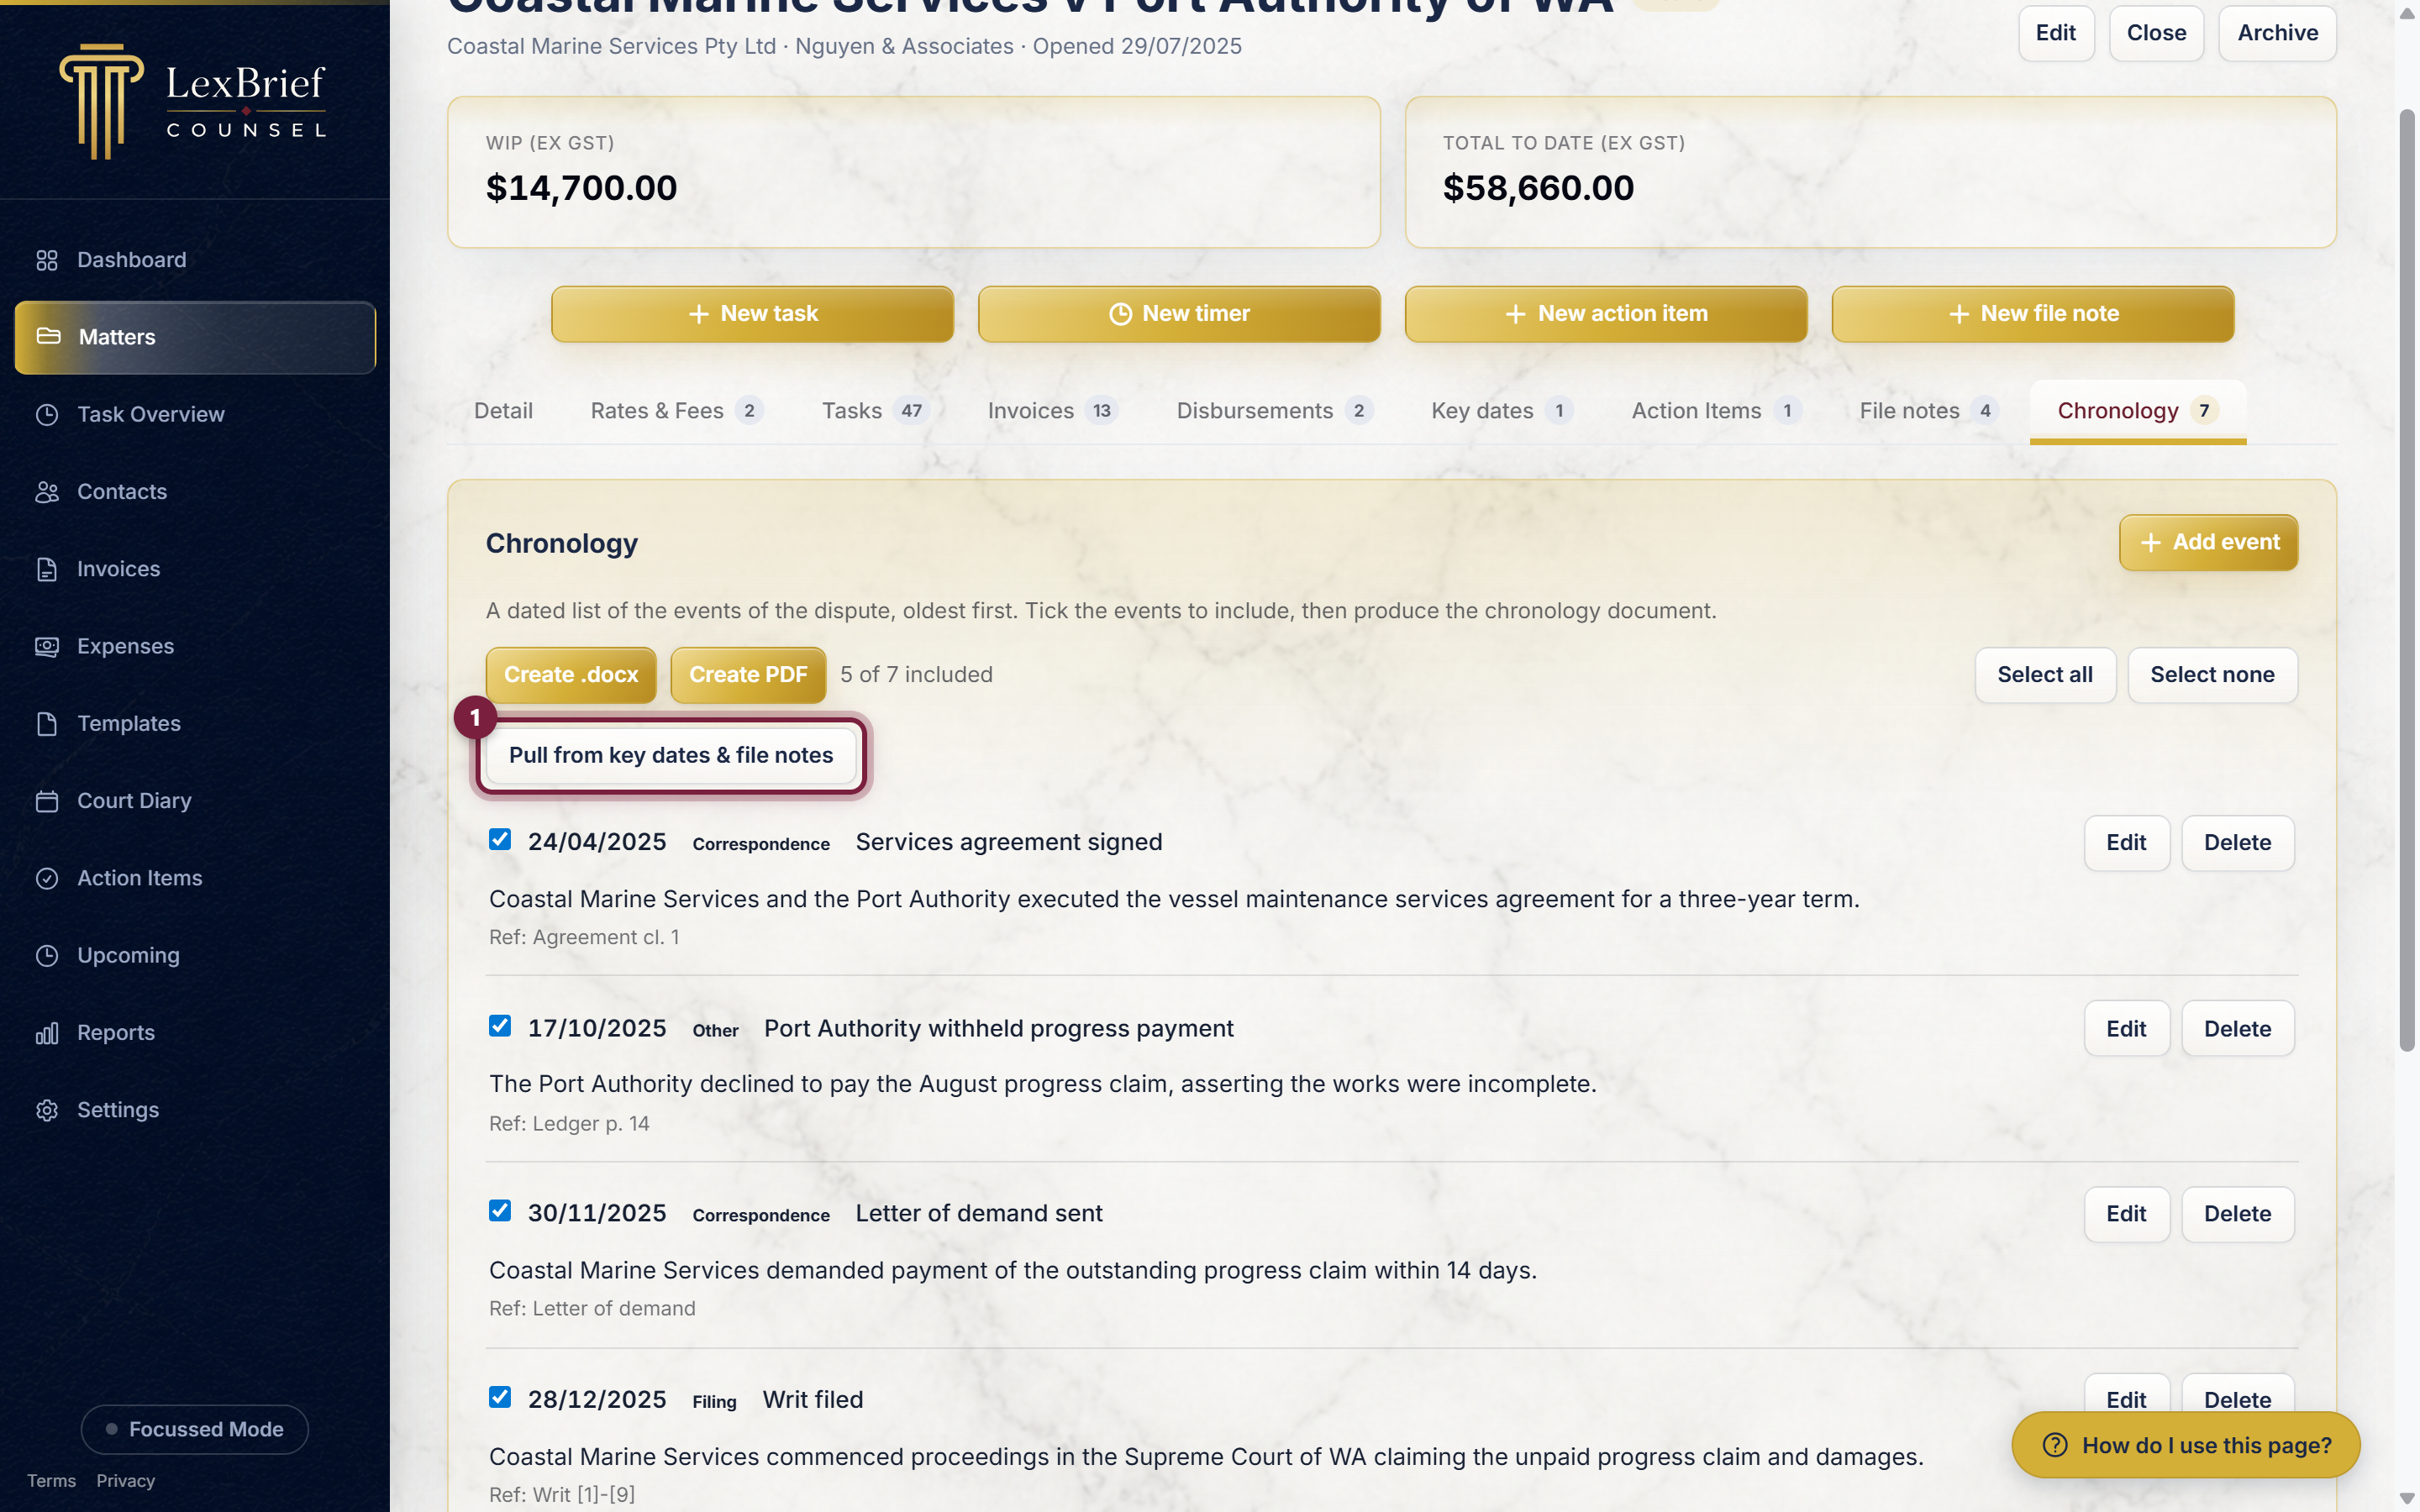
Click it and LexBrief adds each key date and file note as a proposed event – that is, added to the list but left unticked. Nothing goes into a document until you look each one over and tick the ones you want to keep. You can edit a pulled-in event just like any other, or delete the ones you do not need. Running the button again will not create duplicates of events it has already pulled in.
Producing the document
Once your list is ready and the right events are ticked, you can produce the chronology as a document.
At the top of the Chronology area are two buttons: Create .docx (a Word document) and Create PDF. Click whichever you prefer.
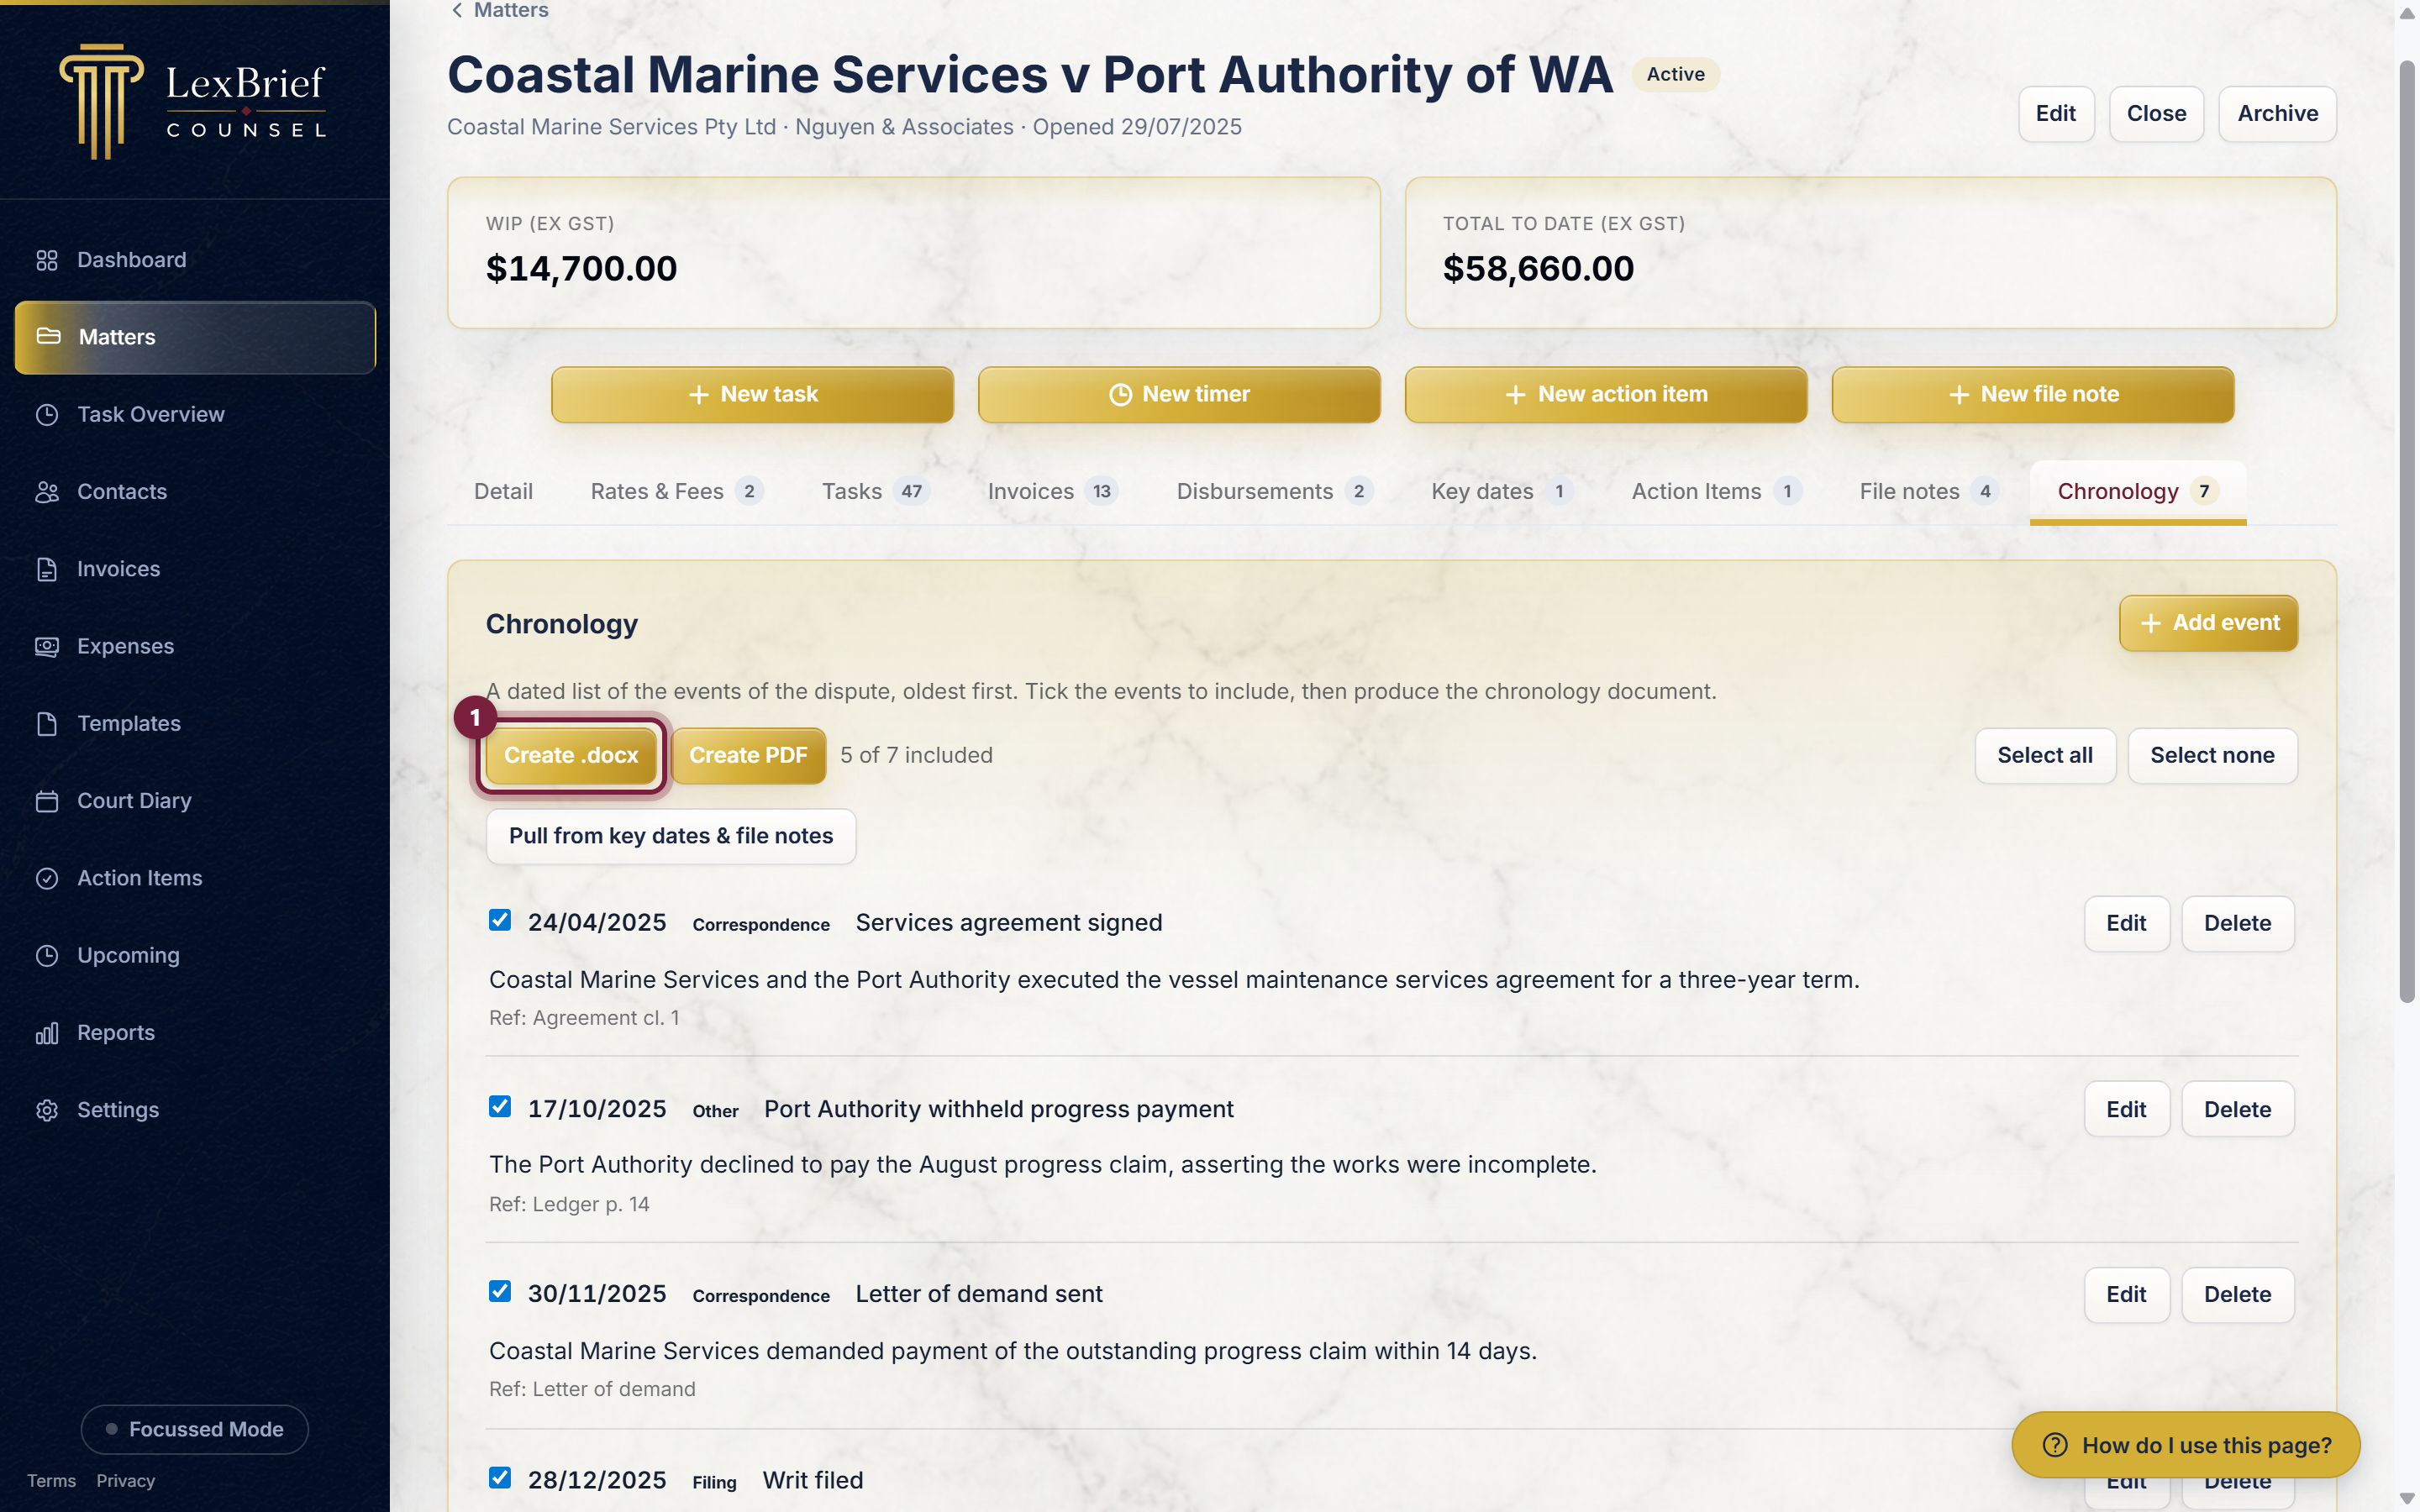
What you should see. LexBrief builds the document and your browser downloads it. It is a clean, dated table – one row per event, oldest first – with the matter’s name at the top. Only the ticked events appear in it; anything unticked is left out.
Editing or deleting an event
Every event in the list has an Edit button and a Delete button on its right.
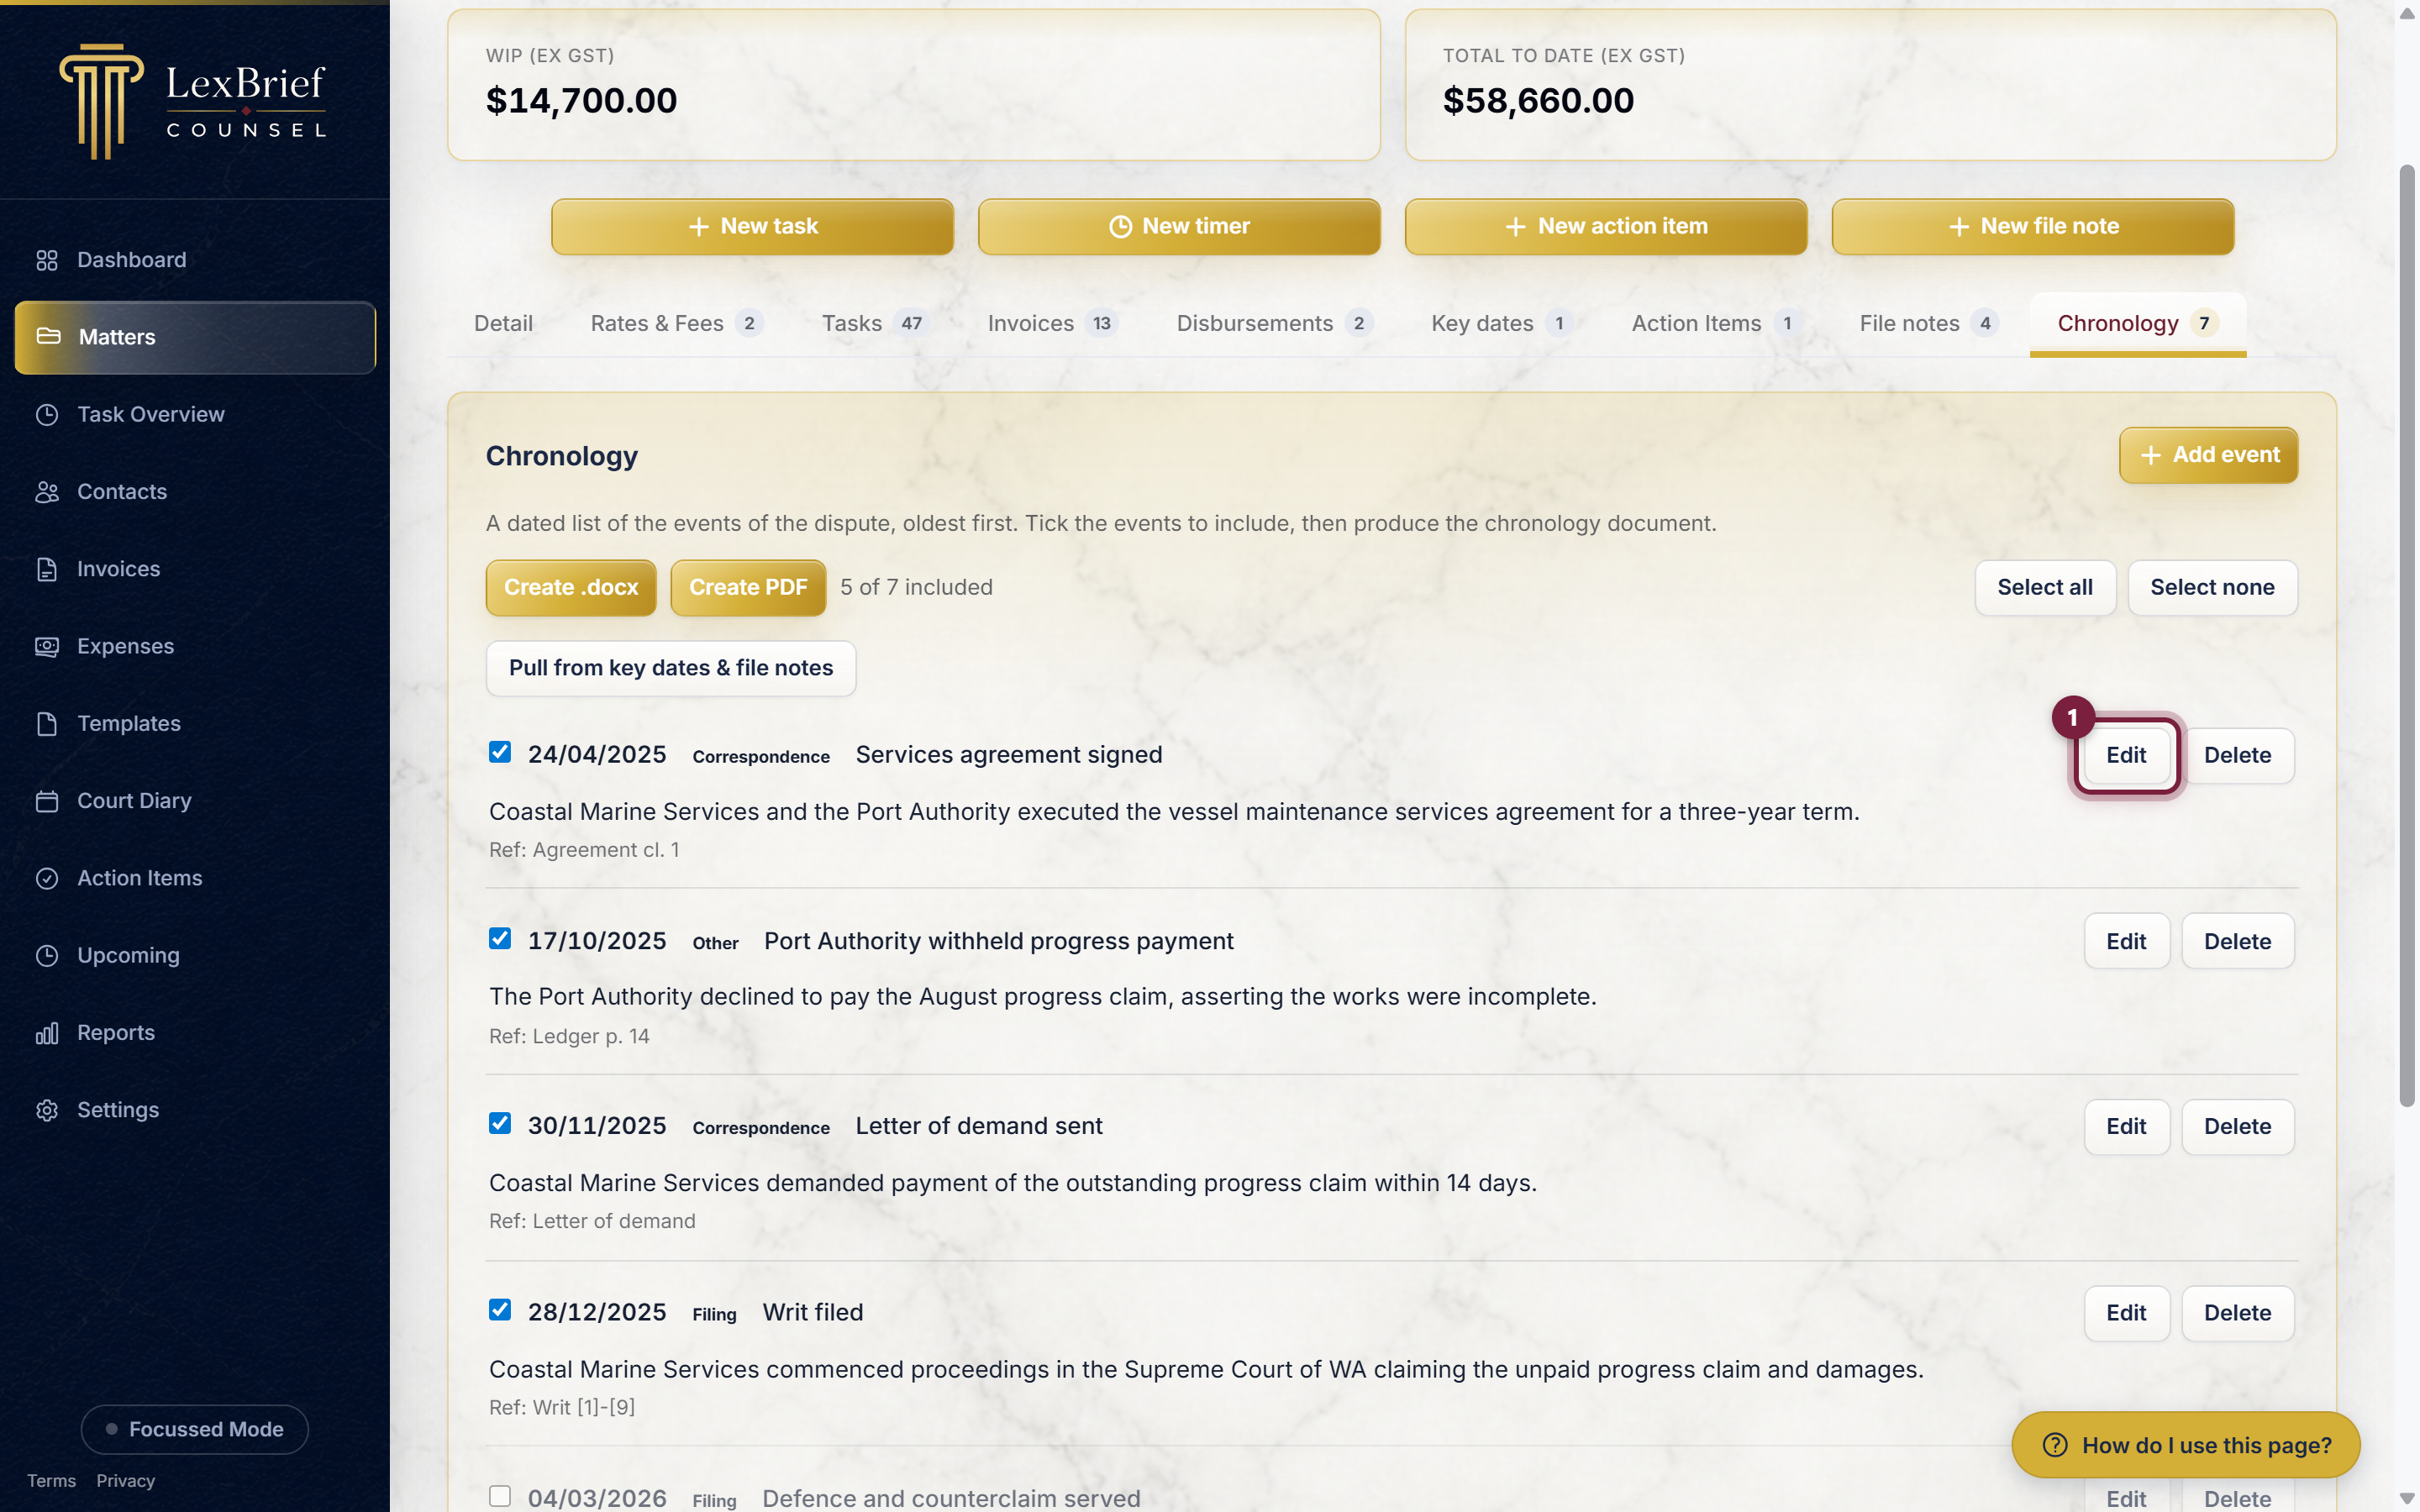
- Click Edit to open that event in the same small form you used to add it, so you can change the date, time, type, title, detail or reference. Then click Save changes.
- Click Delete to remove the event. LexBrief asks you to confirm first, so you cannot delete one by accident.
What next
The Chronology is one of three dated lists on a matter. The others are worth knowing:
- Matters – creating and managing the files your chronology belongs to.
- Court Diary – recording your future court dates and deadlines.
- File notes – keeping a contemporaneous record of your interactions on a file.
- Browse all help guides
Stuck on anything at all? Email support@lexbrief.au – a real person reads it, usually the same working day.