

If at any point your screen does not look like the picture, stop and email support@lexbrief.au – we would rather help than have you guess.
Before you start
The Dashboard draws on the work you have already put into LexBrief – your matters, the time you have recorded, your invoices and your expenses. The more of that you have entered, the more the Dashboard shows. If this is your very first time in LexBrief, read Your first day in LexBrief Counsel first, then come back here.
A note on wording: the dark strip of links down the left-hand side of the screen is the menu. To open the Dashboard, click Dashboard at the top of that menu.
What the Dashboard is
Click Dashboard in the left-hand menu. The page has three parts, from top to bottom: a row of summary cards, a set of trend charts, and an overview table.
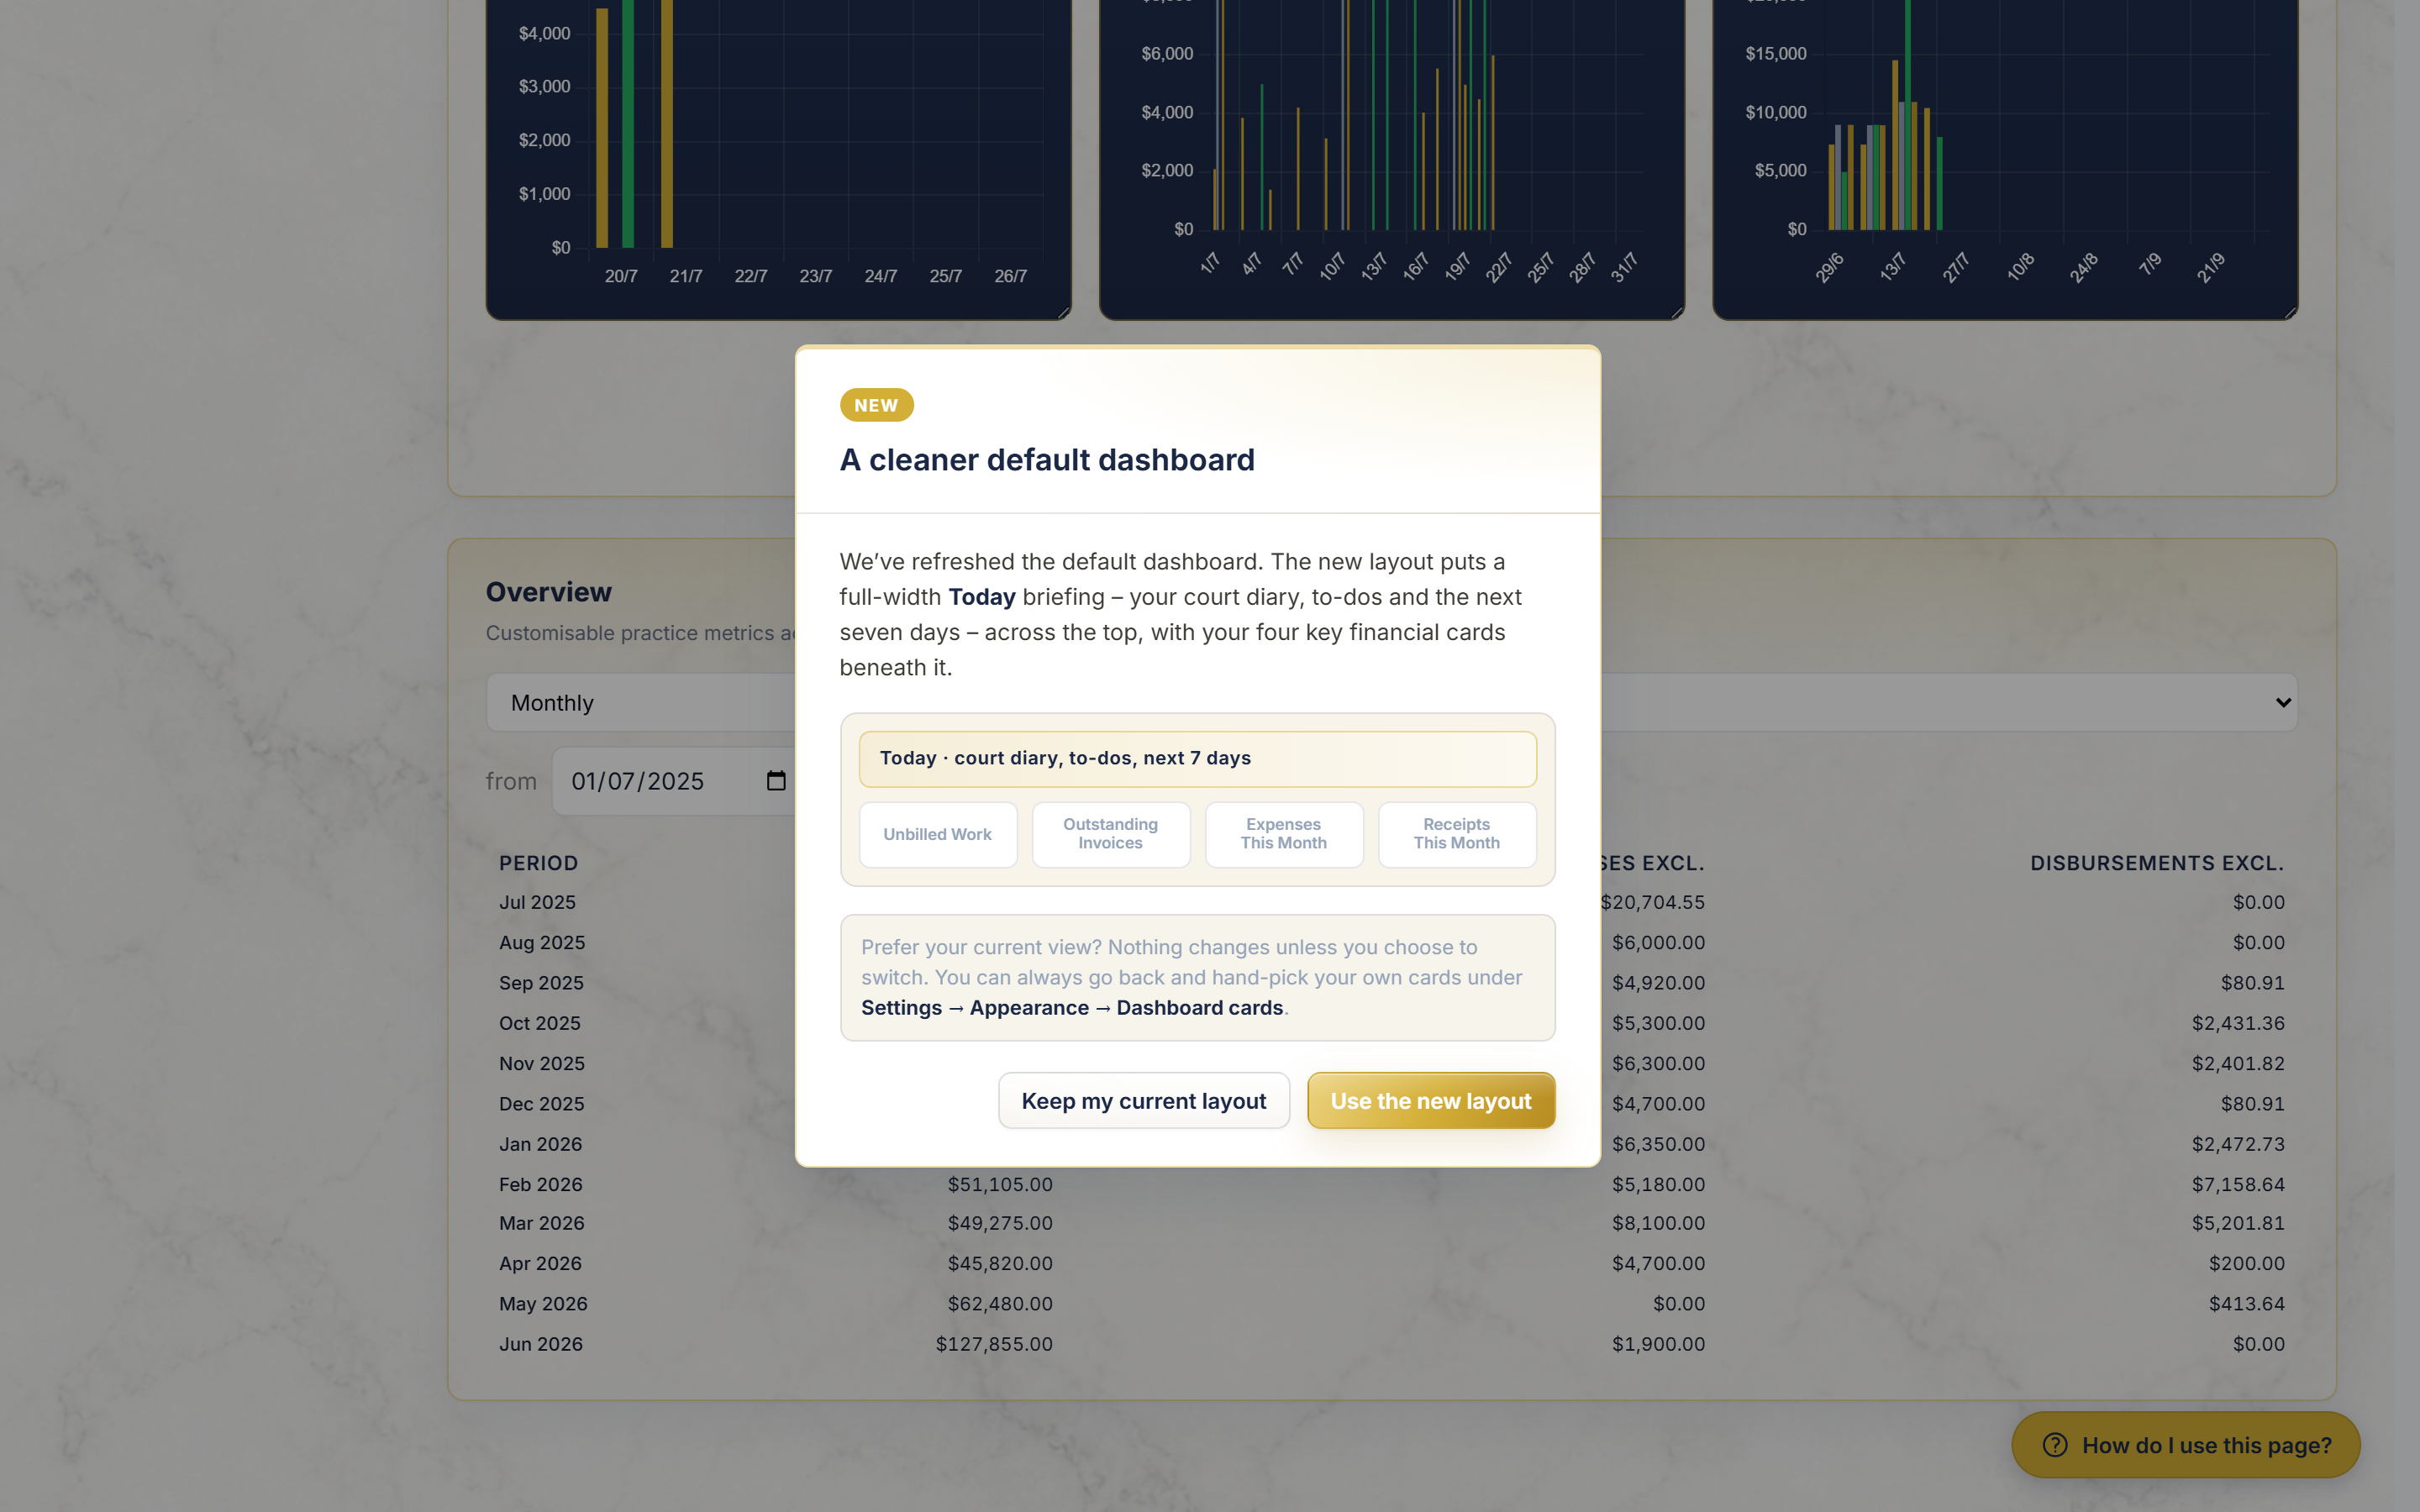
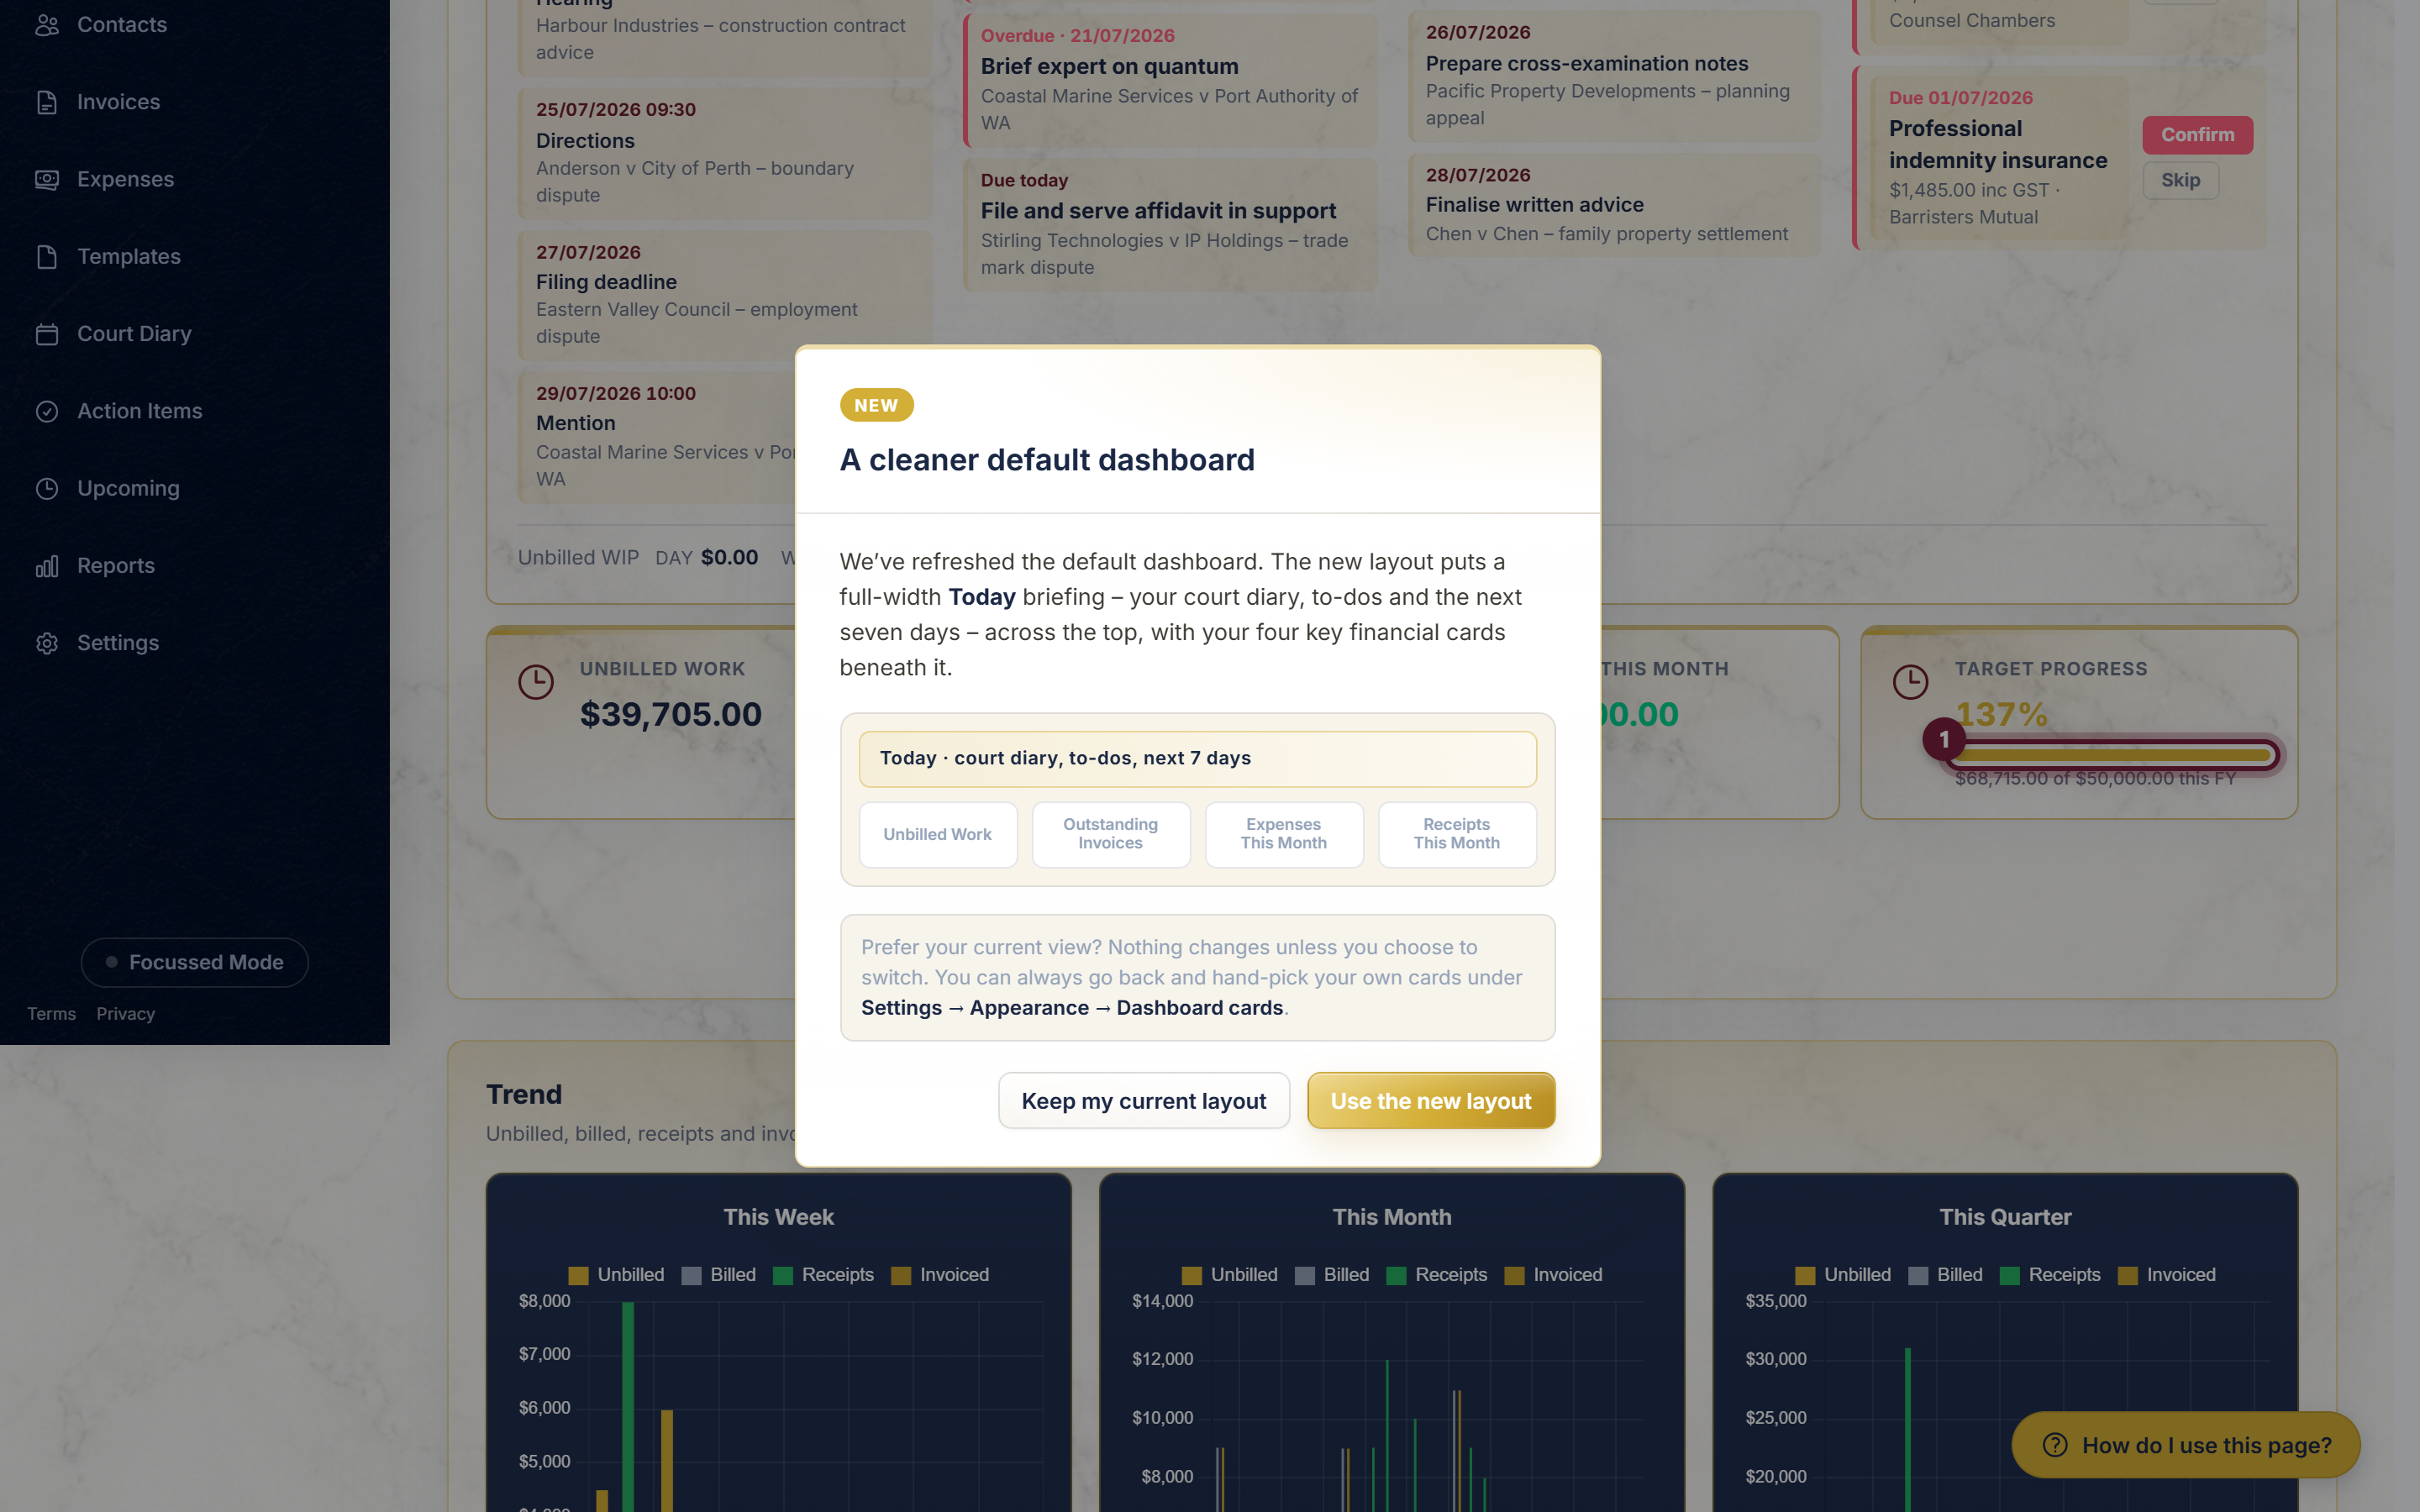
By default the summary cards begin with a full-width Diary/Action Item Summary briefing across the top – your court diary, your to-dos and what is coming up over the next seven days – with four financial cards beneath it: Unbilled Work, Outstanding Invoices, Expenses This Month and Receipts This Month. You can change any of this, as the section on choosing cards explains.
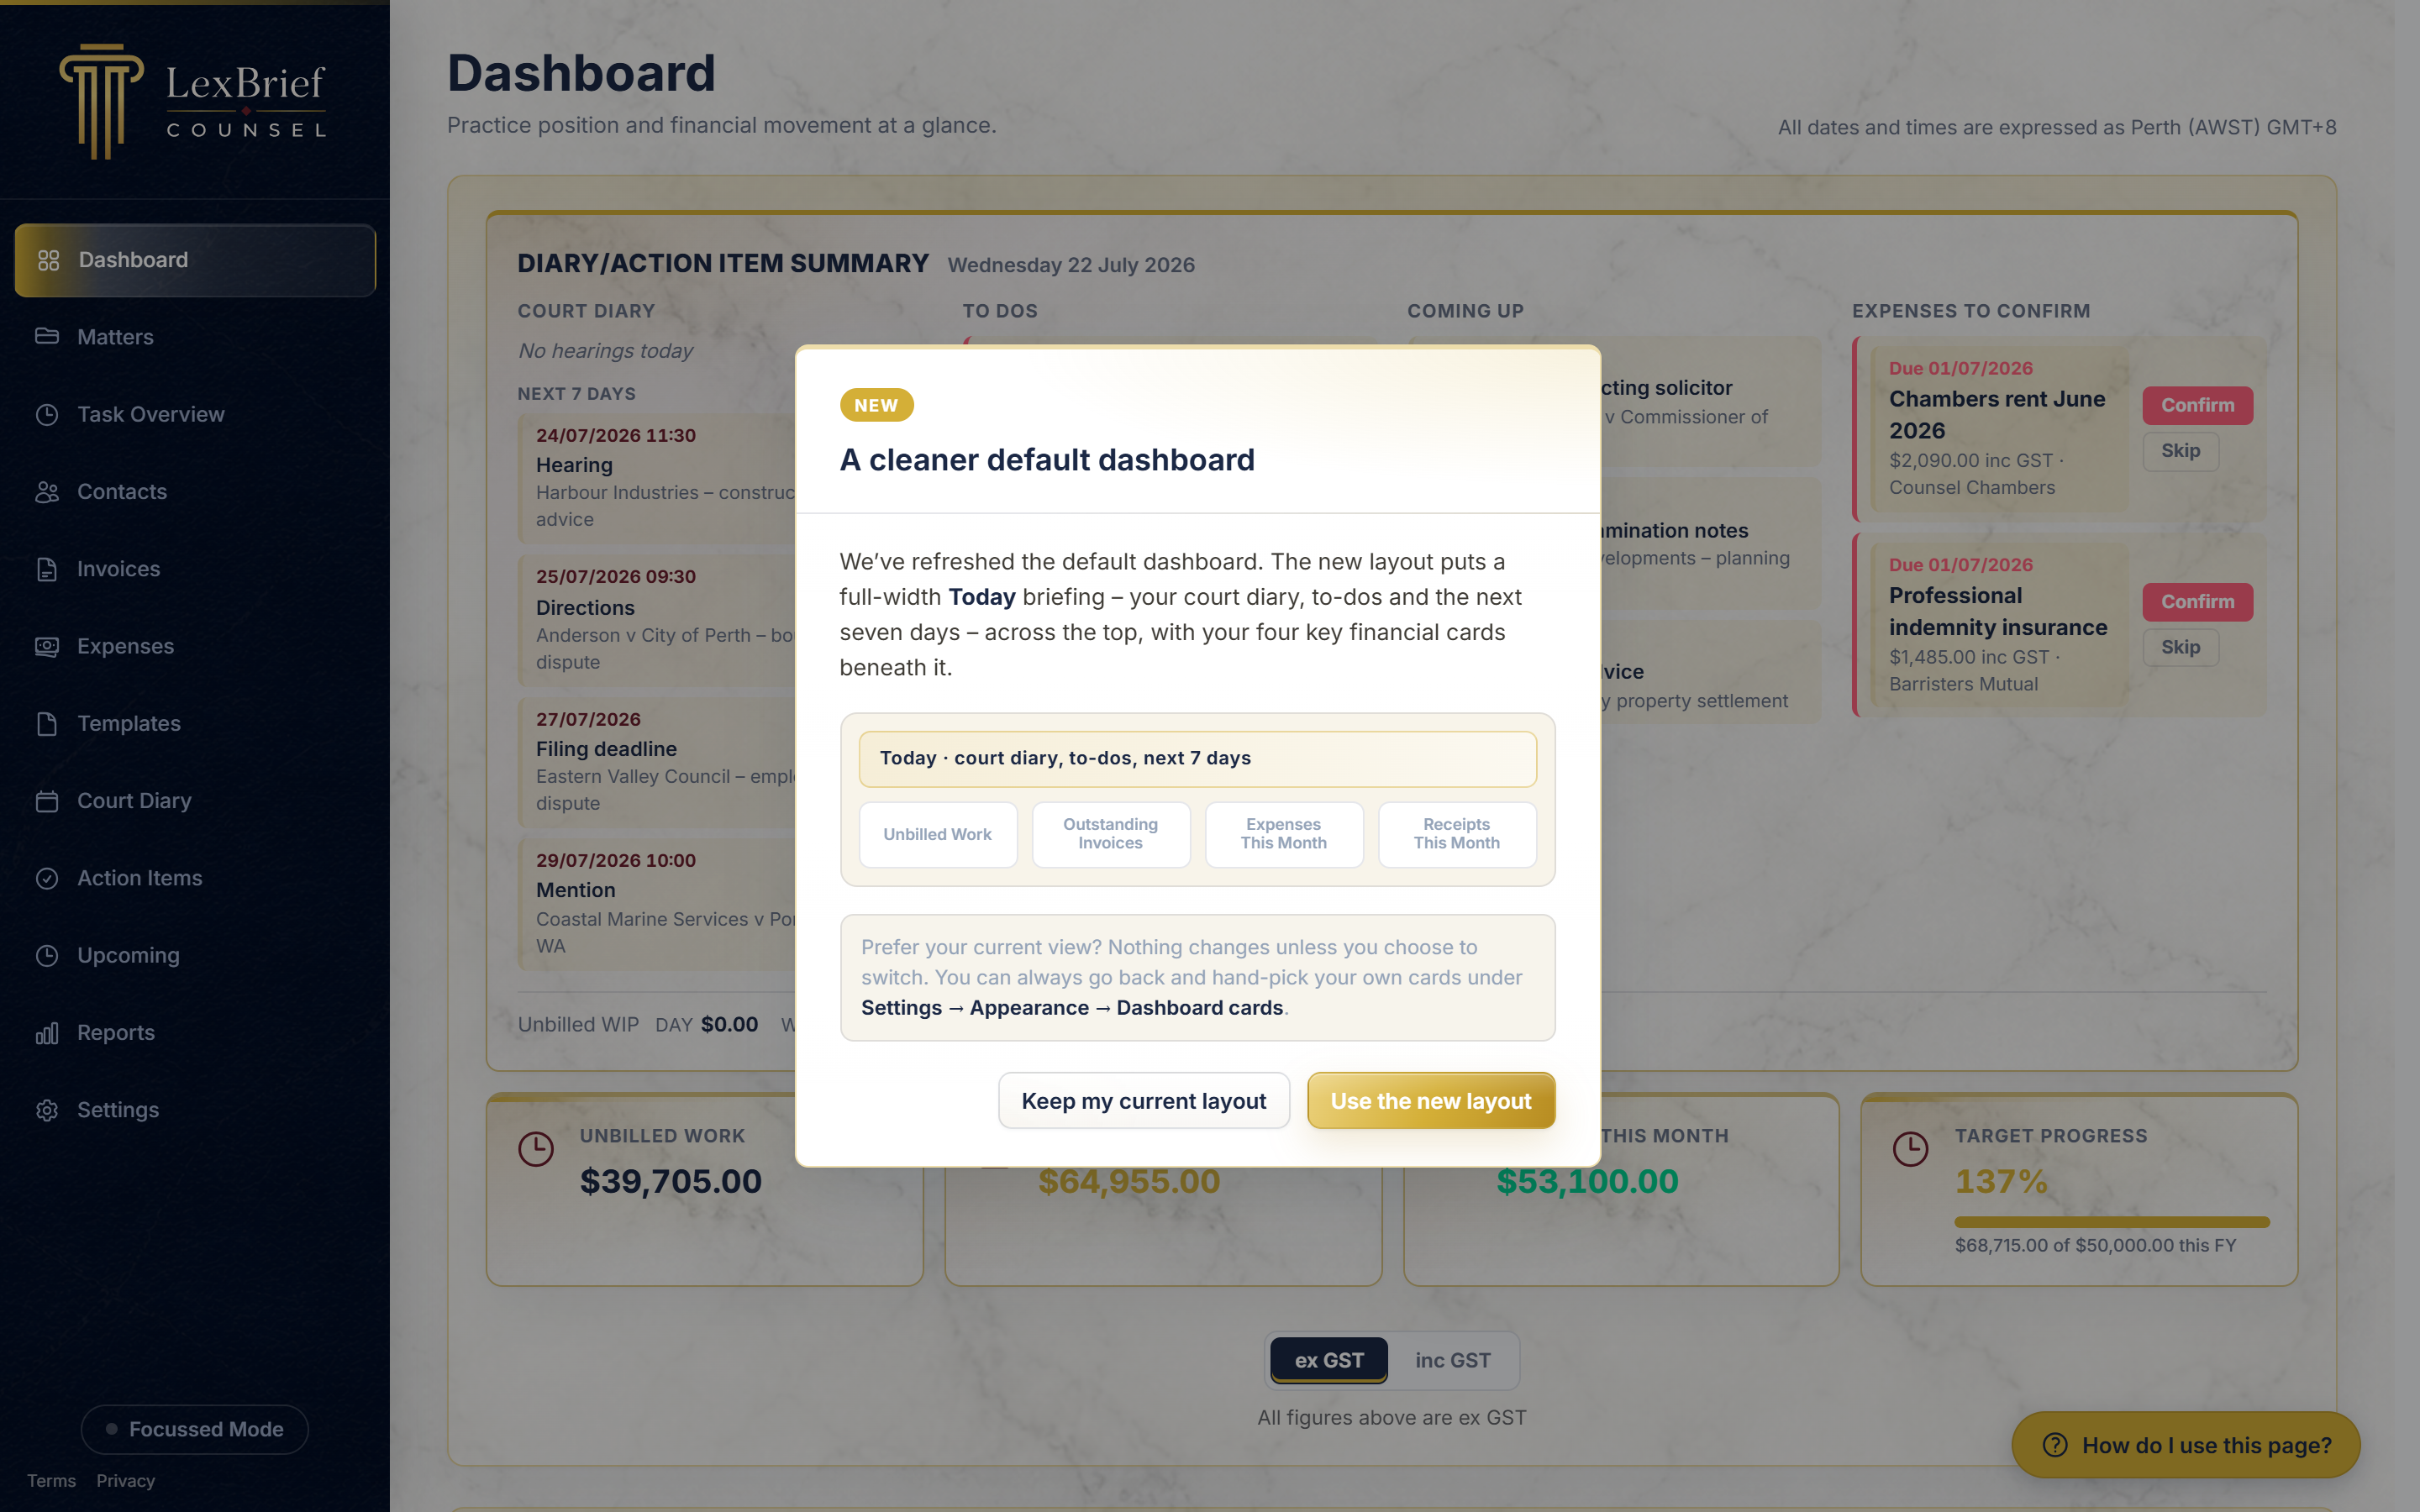
What you should see: the heading "Dashboard", the Diary/Action Item Summary briefing across the top, a block of cards each with a heading and a figure, and charts below. If your cards all read $0.00, it simply means you have not recorded any of that kind of activity yet – that is normal for a new account.
The summary cards
Beneath the Diary/Action Item Summary briefing, each card shows one key figure. The four financial cards you see by default are:
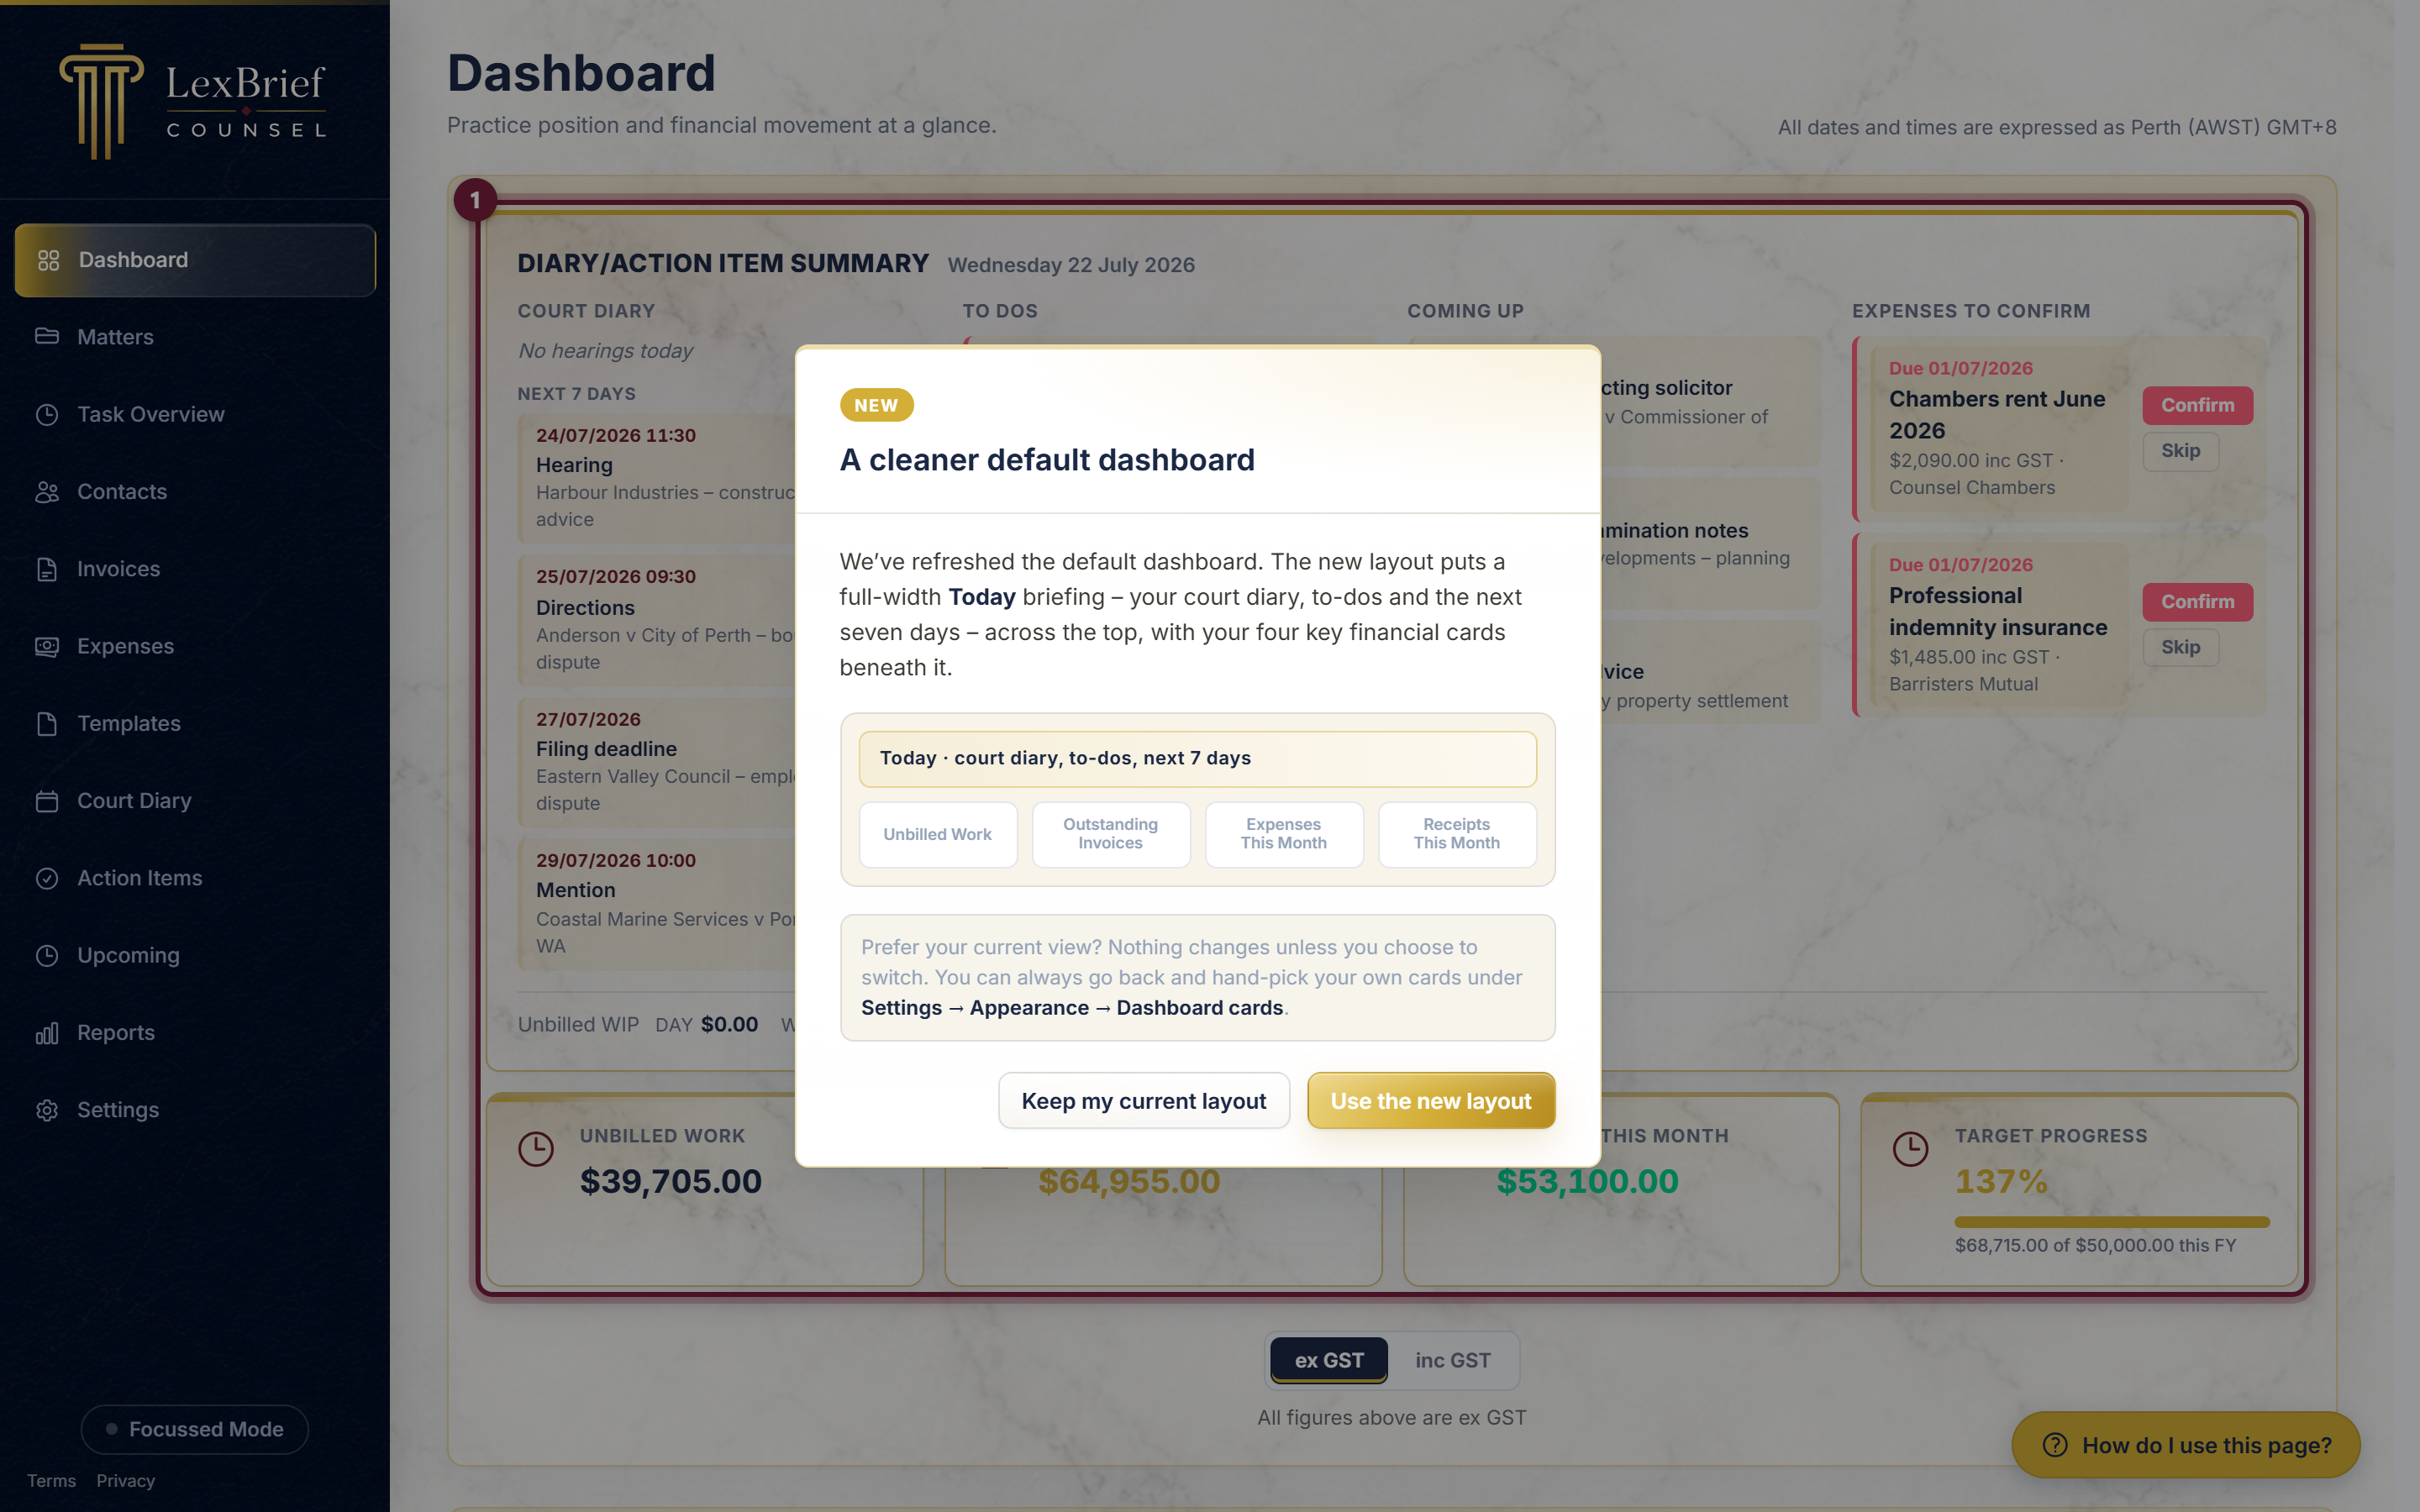
- Unbilled Work – the value of time you have recorded but not yet put on an invoice.
- Outstanding Invoices – the total your clients still owe you on invoices you have issued.
- Receipts This Month – the money that has actually come in this calendar month.
- Expenses This Month – what you have spent this calendar month.
The colours are a signal
The cards use colour the same way traffic lights do, so you can read your position at a glance:
- Yellow means "keep an eye on this" – it is used for Outstanding Invoices (money owed to you that has not arrived yet).
- Green means "good news, money in" – it is used for Receipts.
- Red means "money out" – it is used for Expenses.
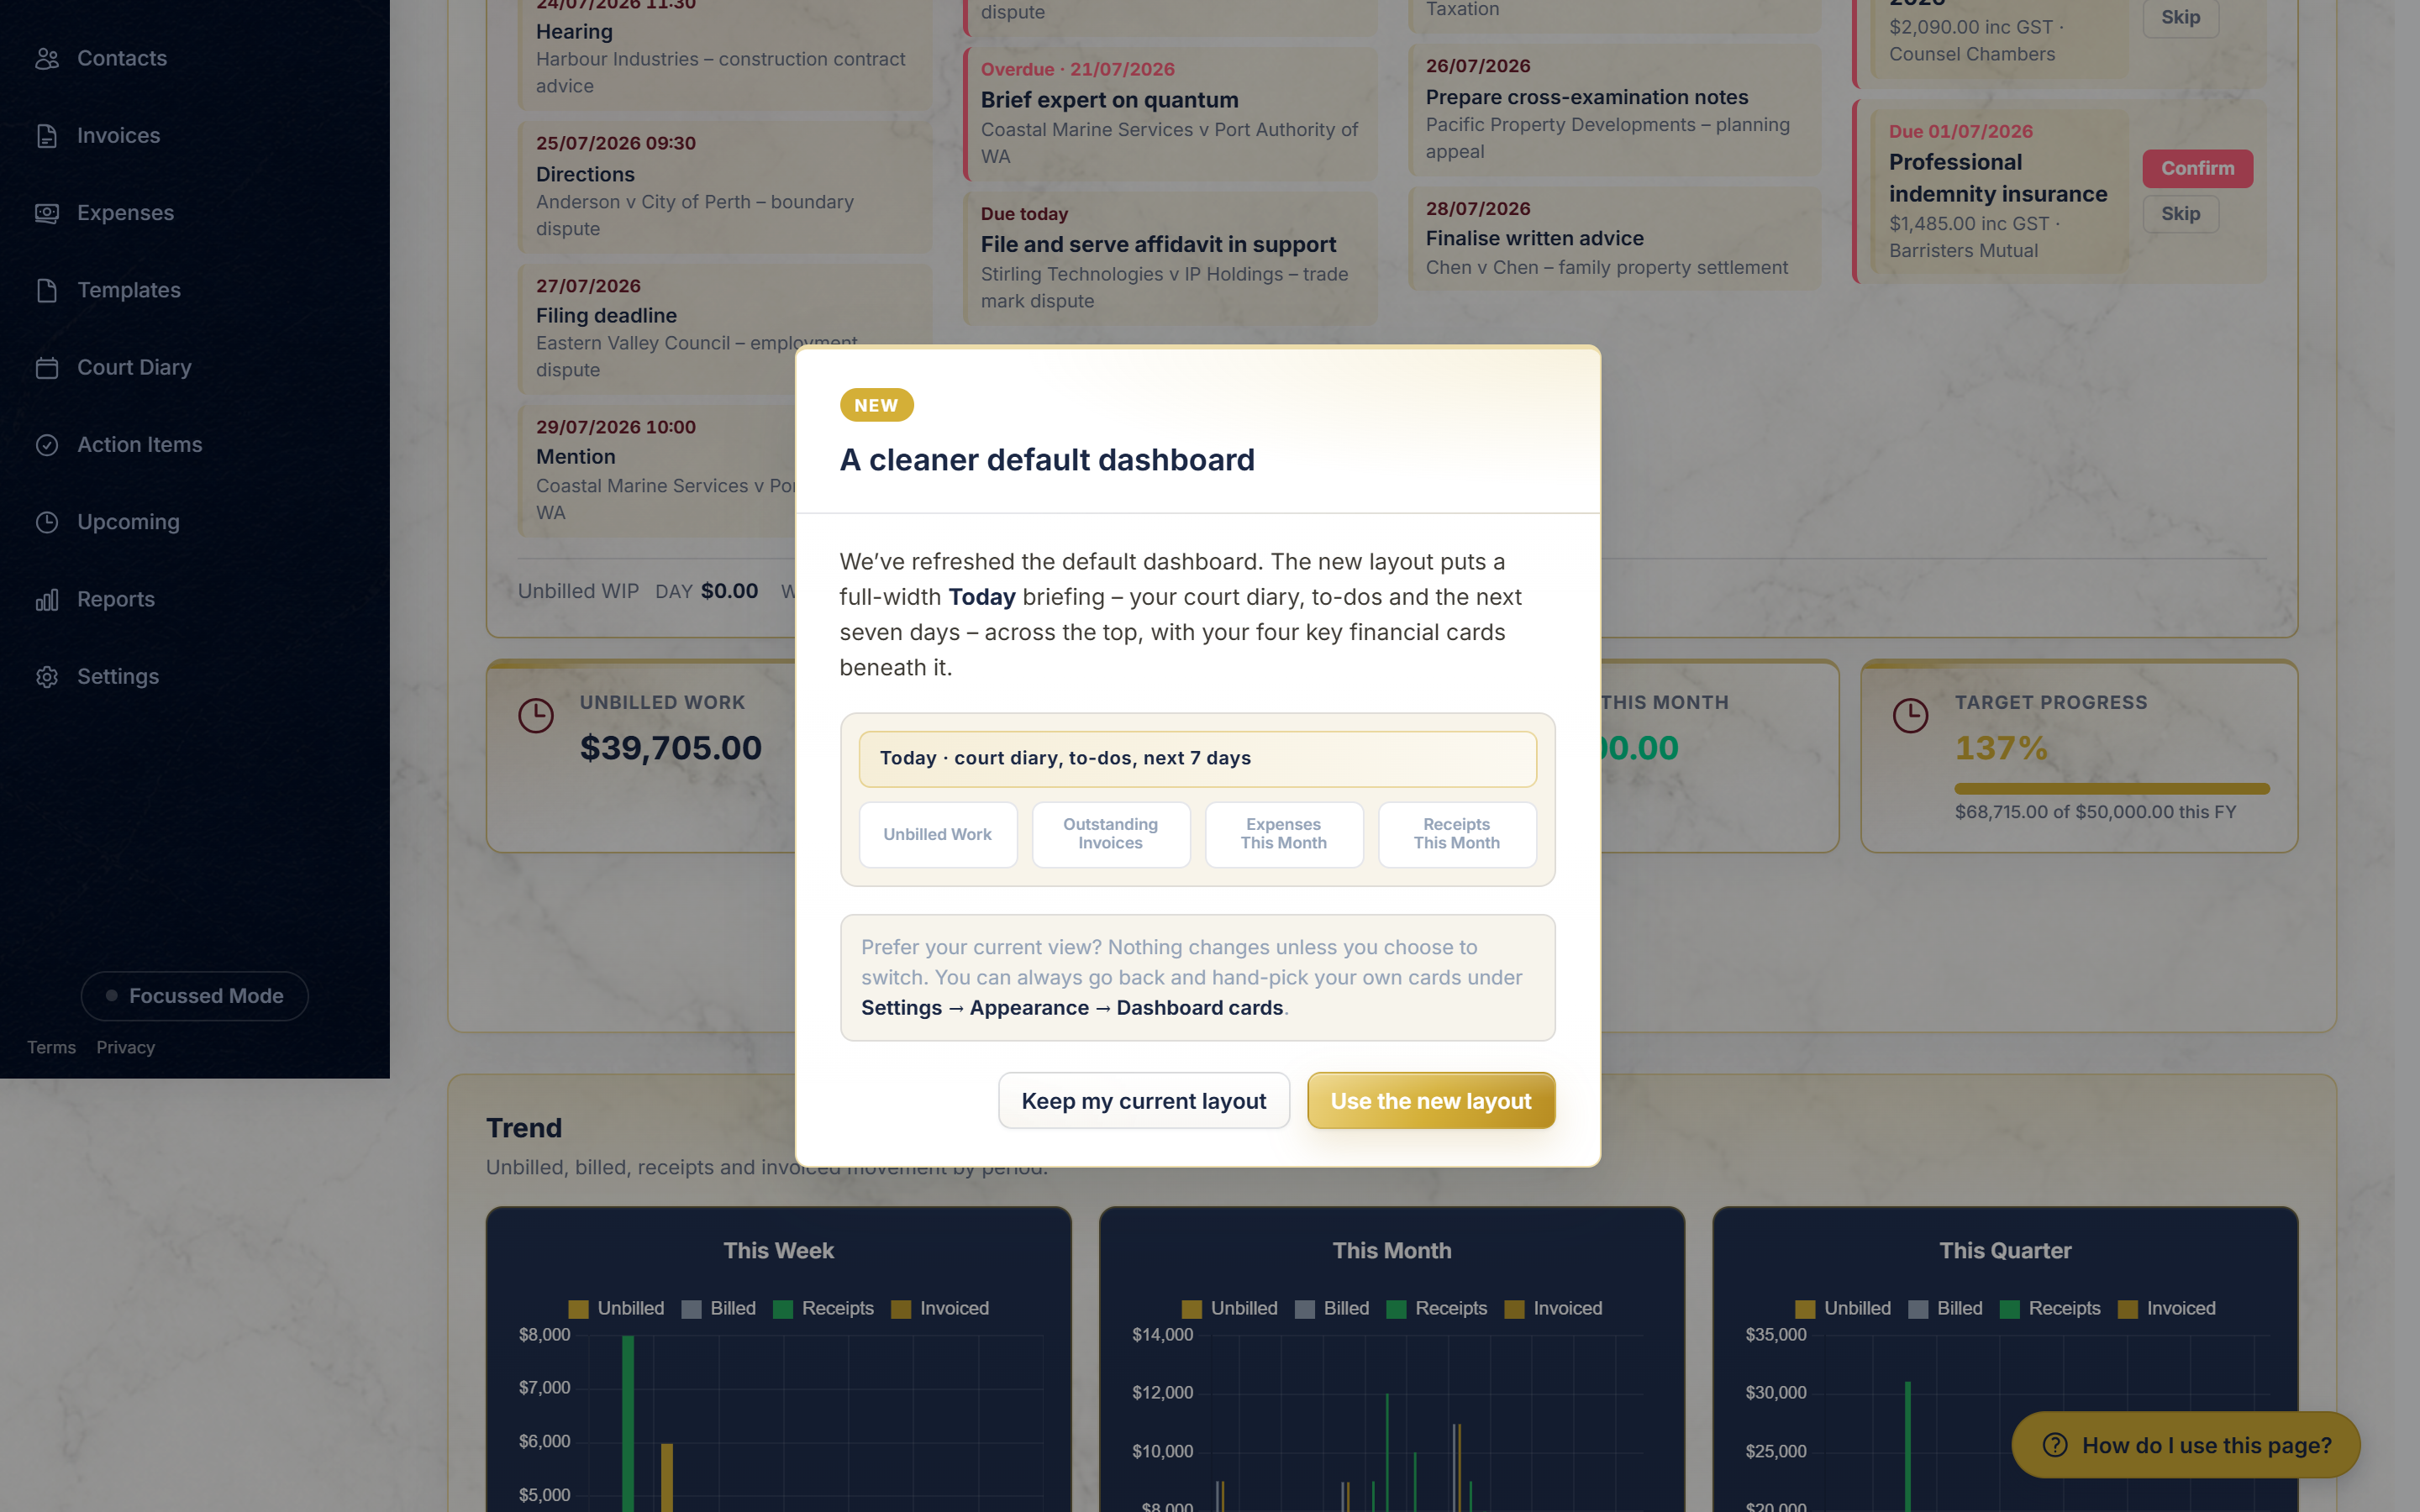
So the Outstanding Invoices figure sits on a card with a deep burgundy accent to draw your eye – it is the one to watch.
Some cards show a target, a percentage, or a bar
Not every card is a plain dollar figure. Depending on which cards you have chosen (see below), you may also see:
- A percentage – for example how much of what you invoiced this year has been paid.
- A progress bar – how far along you are toward a target you have set, such as your annual income goal.
- An ageing strip – your unpaid invoices split by how overdue they are (Current, 1–30 days, 31–60, and so on).
These "goal" cards only work once you have told LexBrief what your target is – there is a short section on that further down.
Unbilled work for the day, week and month
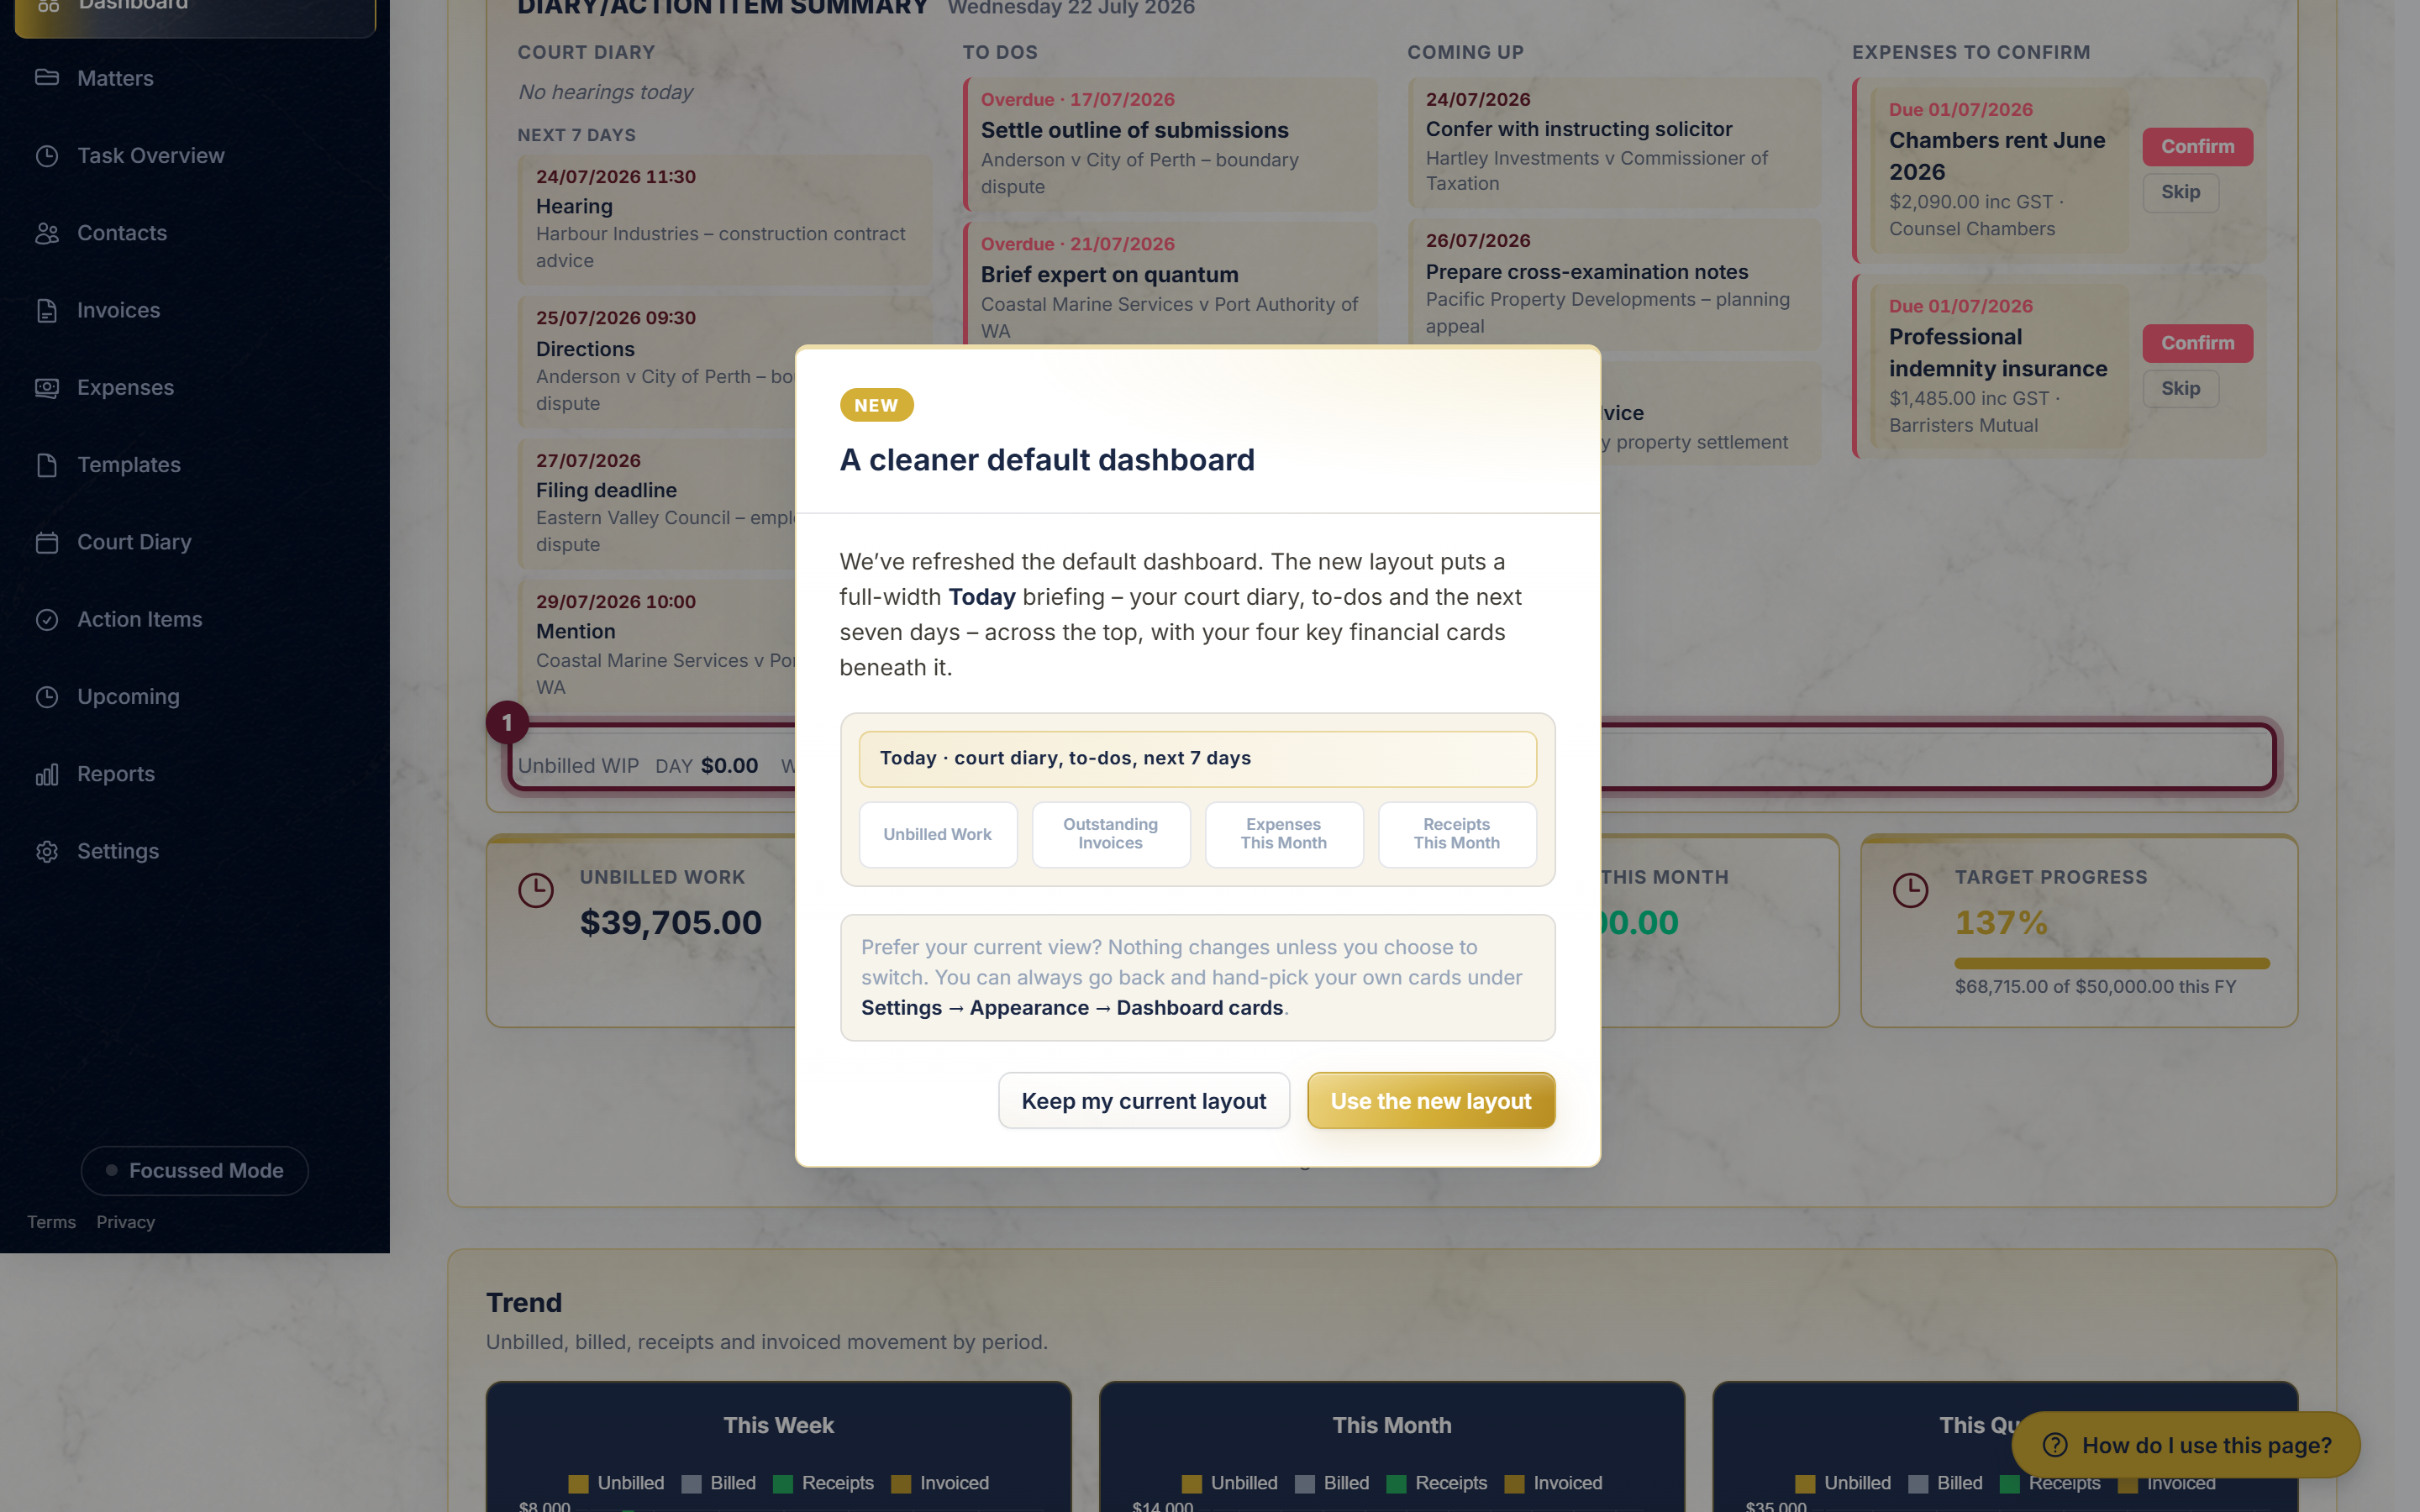
Along the bottom of the Diary/Action Item Summary card – the wide card across the top of the Dashboard – runs a line headed Unbilled WIP.
"Unbilled" means work you have recorded against a matter but have not yet put on an invoice. It is money you have earned and not yet asked for. That makes it the single most useful number on the card: if it is climbing, you have billing to do.
The line shows three figures side by side:
- Day – unbilled work you have recorded today.
- Week – from Monday of this week up to today.
- Month – from the 1st of this month up to today.
Each figure counts only up to today, so the Week and Month figures grow as the week and month go on. To the right of them, Draft invoices tells you how many invoices you have started but not yet issued.
These three figures follow the ex GST / inc GST buttons below the row of cards, just as the other card figures do. Click inc GST and all three switch to the amount including GST.
What you should see: the words "Unbilled WIP", then Day, Week and Month each with a dollar figure, then "Draft invoices" and a number. If all three read $0.00, you have simply recorded no unbilled work in those periods.
Confirm a recurring expense that is due
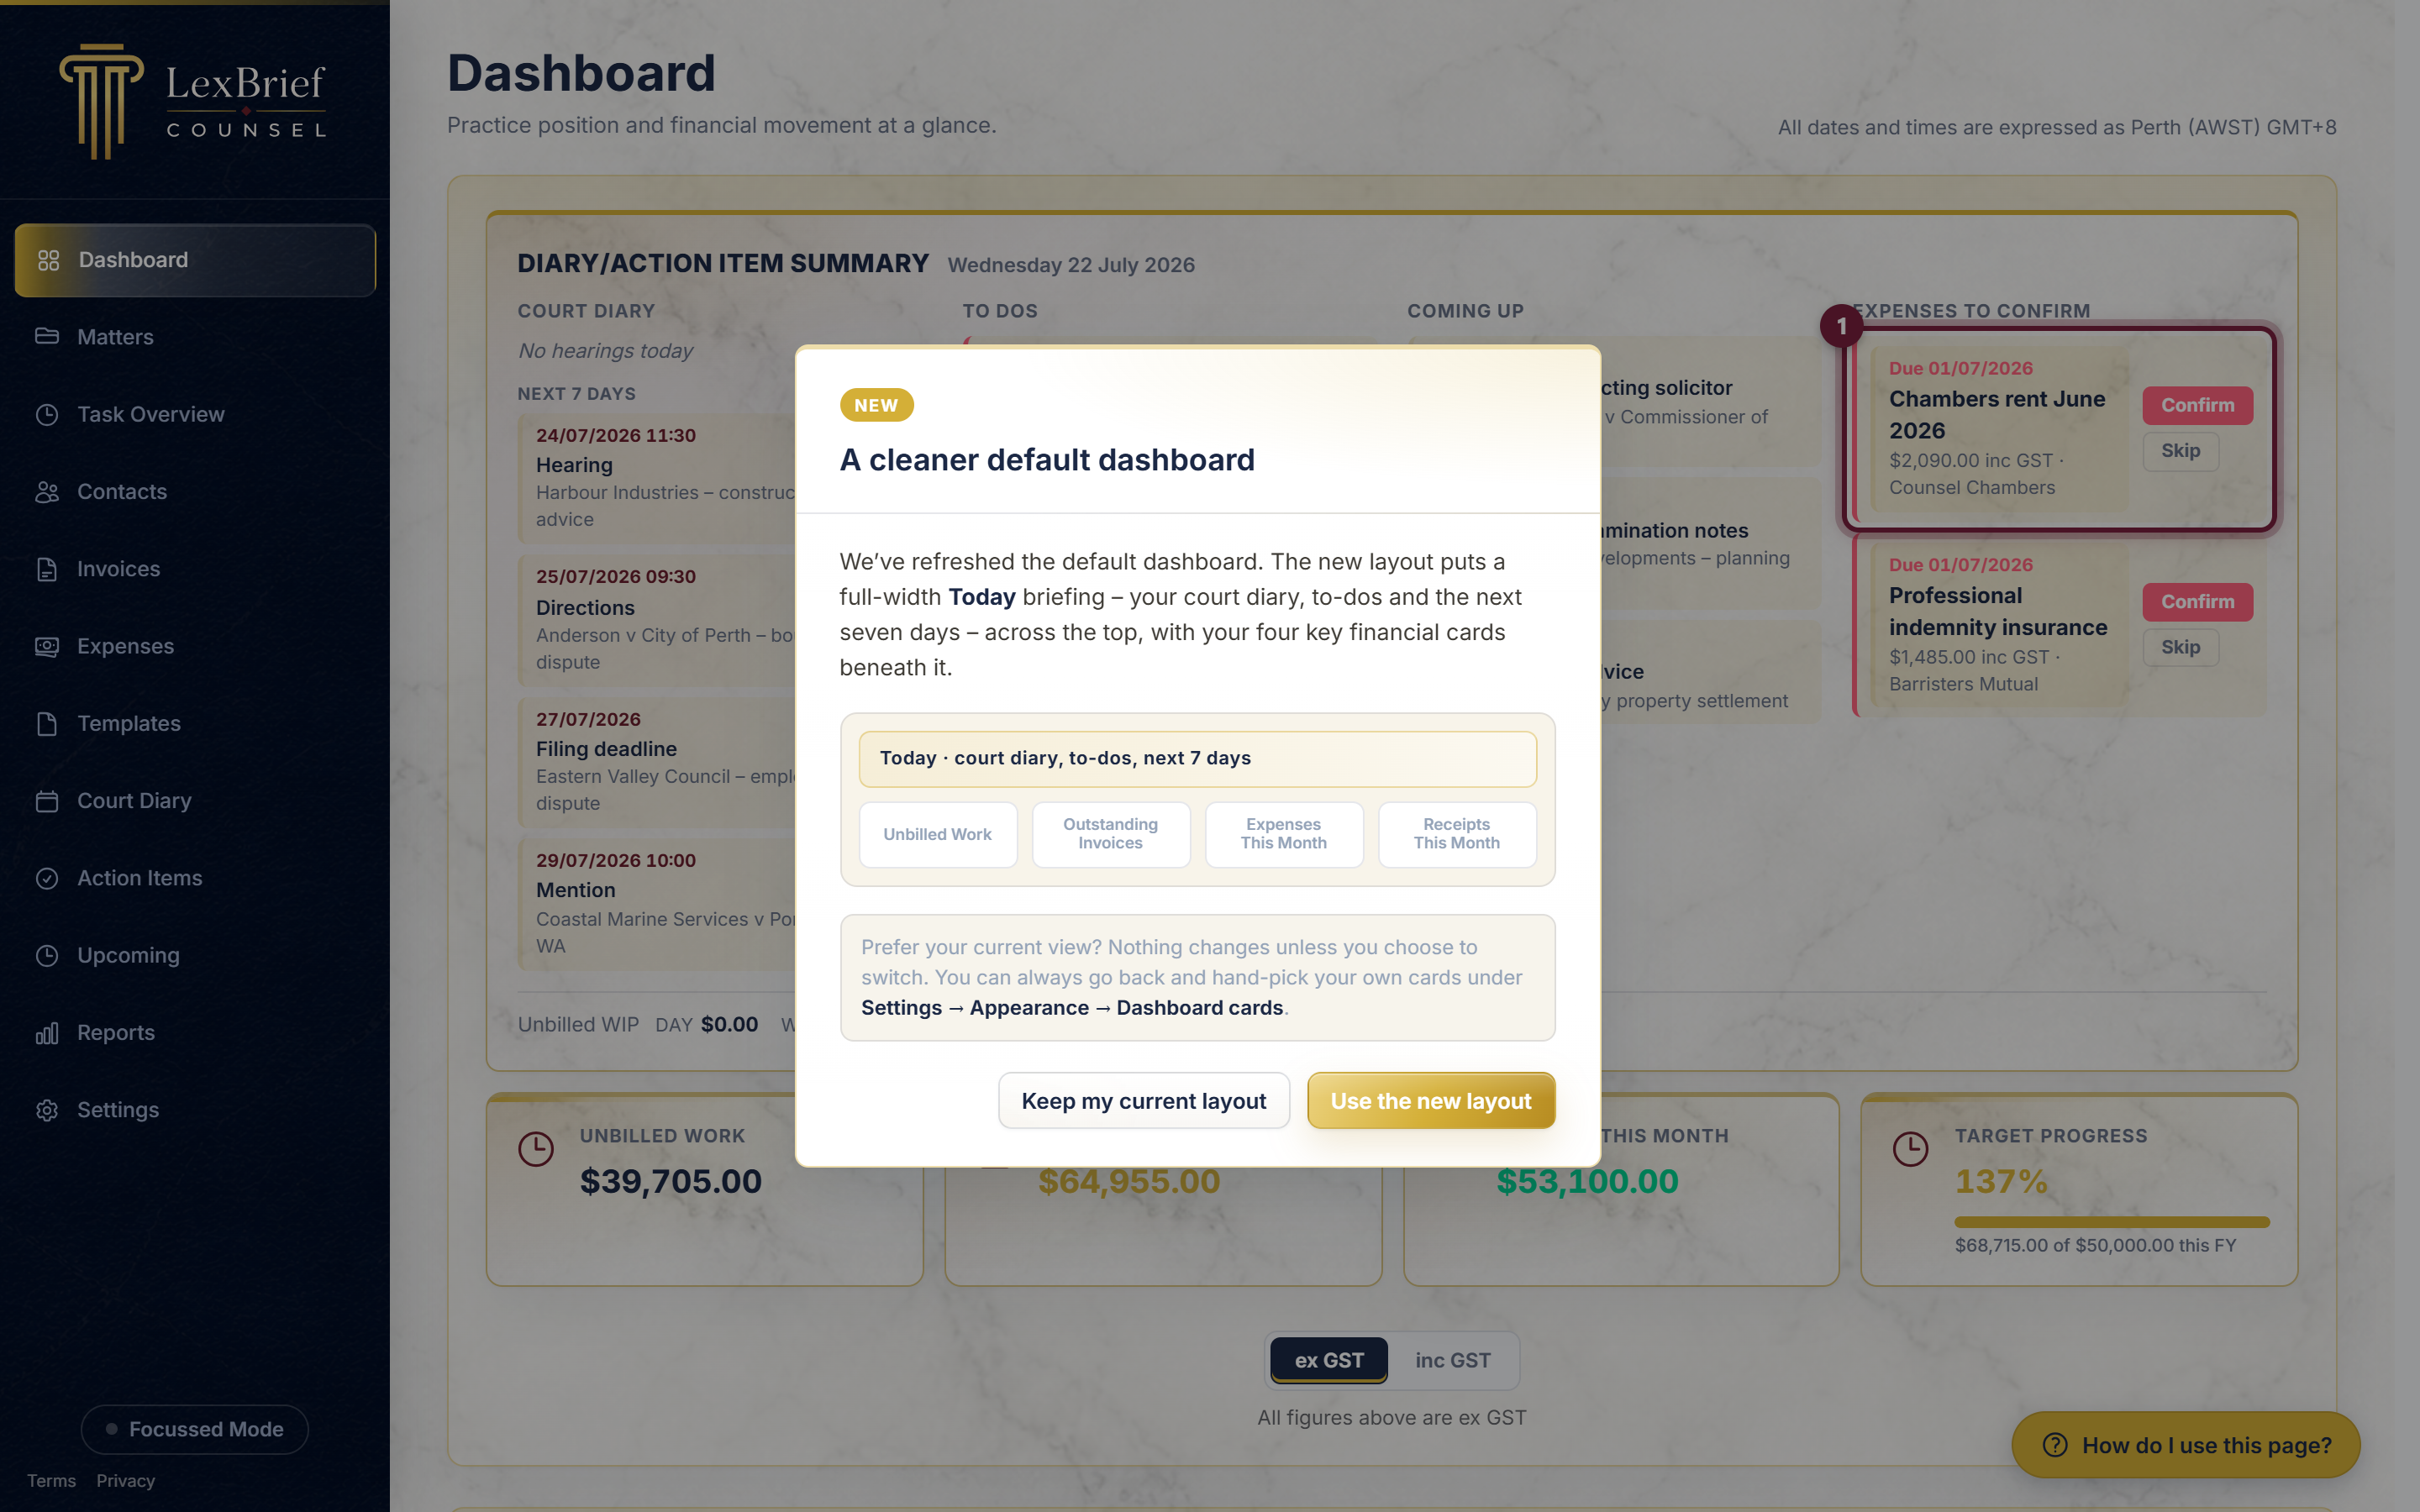
A recurring expense is one you have told LexBrief to expect again and again – chambers rent, your phone bill, a subscription. When one of those falls due, a red column headed Expenses to confirm appears on the Diary/Action Item Summary card, listing each one with its due date, its amount and who it is paid to.
1. Look at the row
Each row shows the due date, what the expense is for, and the amount including GST. If the amount is right, you can deal with it from the Dashboard without going anywhere.
2. Click Confirm, or Skip
Two buttons sit on each row:
- Confirm – records the expense as it stands and clears the row.
- Skip – passes over this one occurrence without recording anything, and clears the row.
If the amount has changed, or you want to attach a receipt, click the description instead. That takes you to the full list of expenses waiting to be confirmed, where you can edit before recording.
What you should see: the row disappears from the card. Once you have dealt with the last one, the whole Expenses to confirm column disappears too.
If several are due at once, the card lists the first few and shows a link reading "+2 more to confirm" (or however many are left) to take you to the rest.
Setting up a recurring expense in the first place is covered in the Expenses guide.
Show figures with or without GST
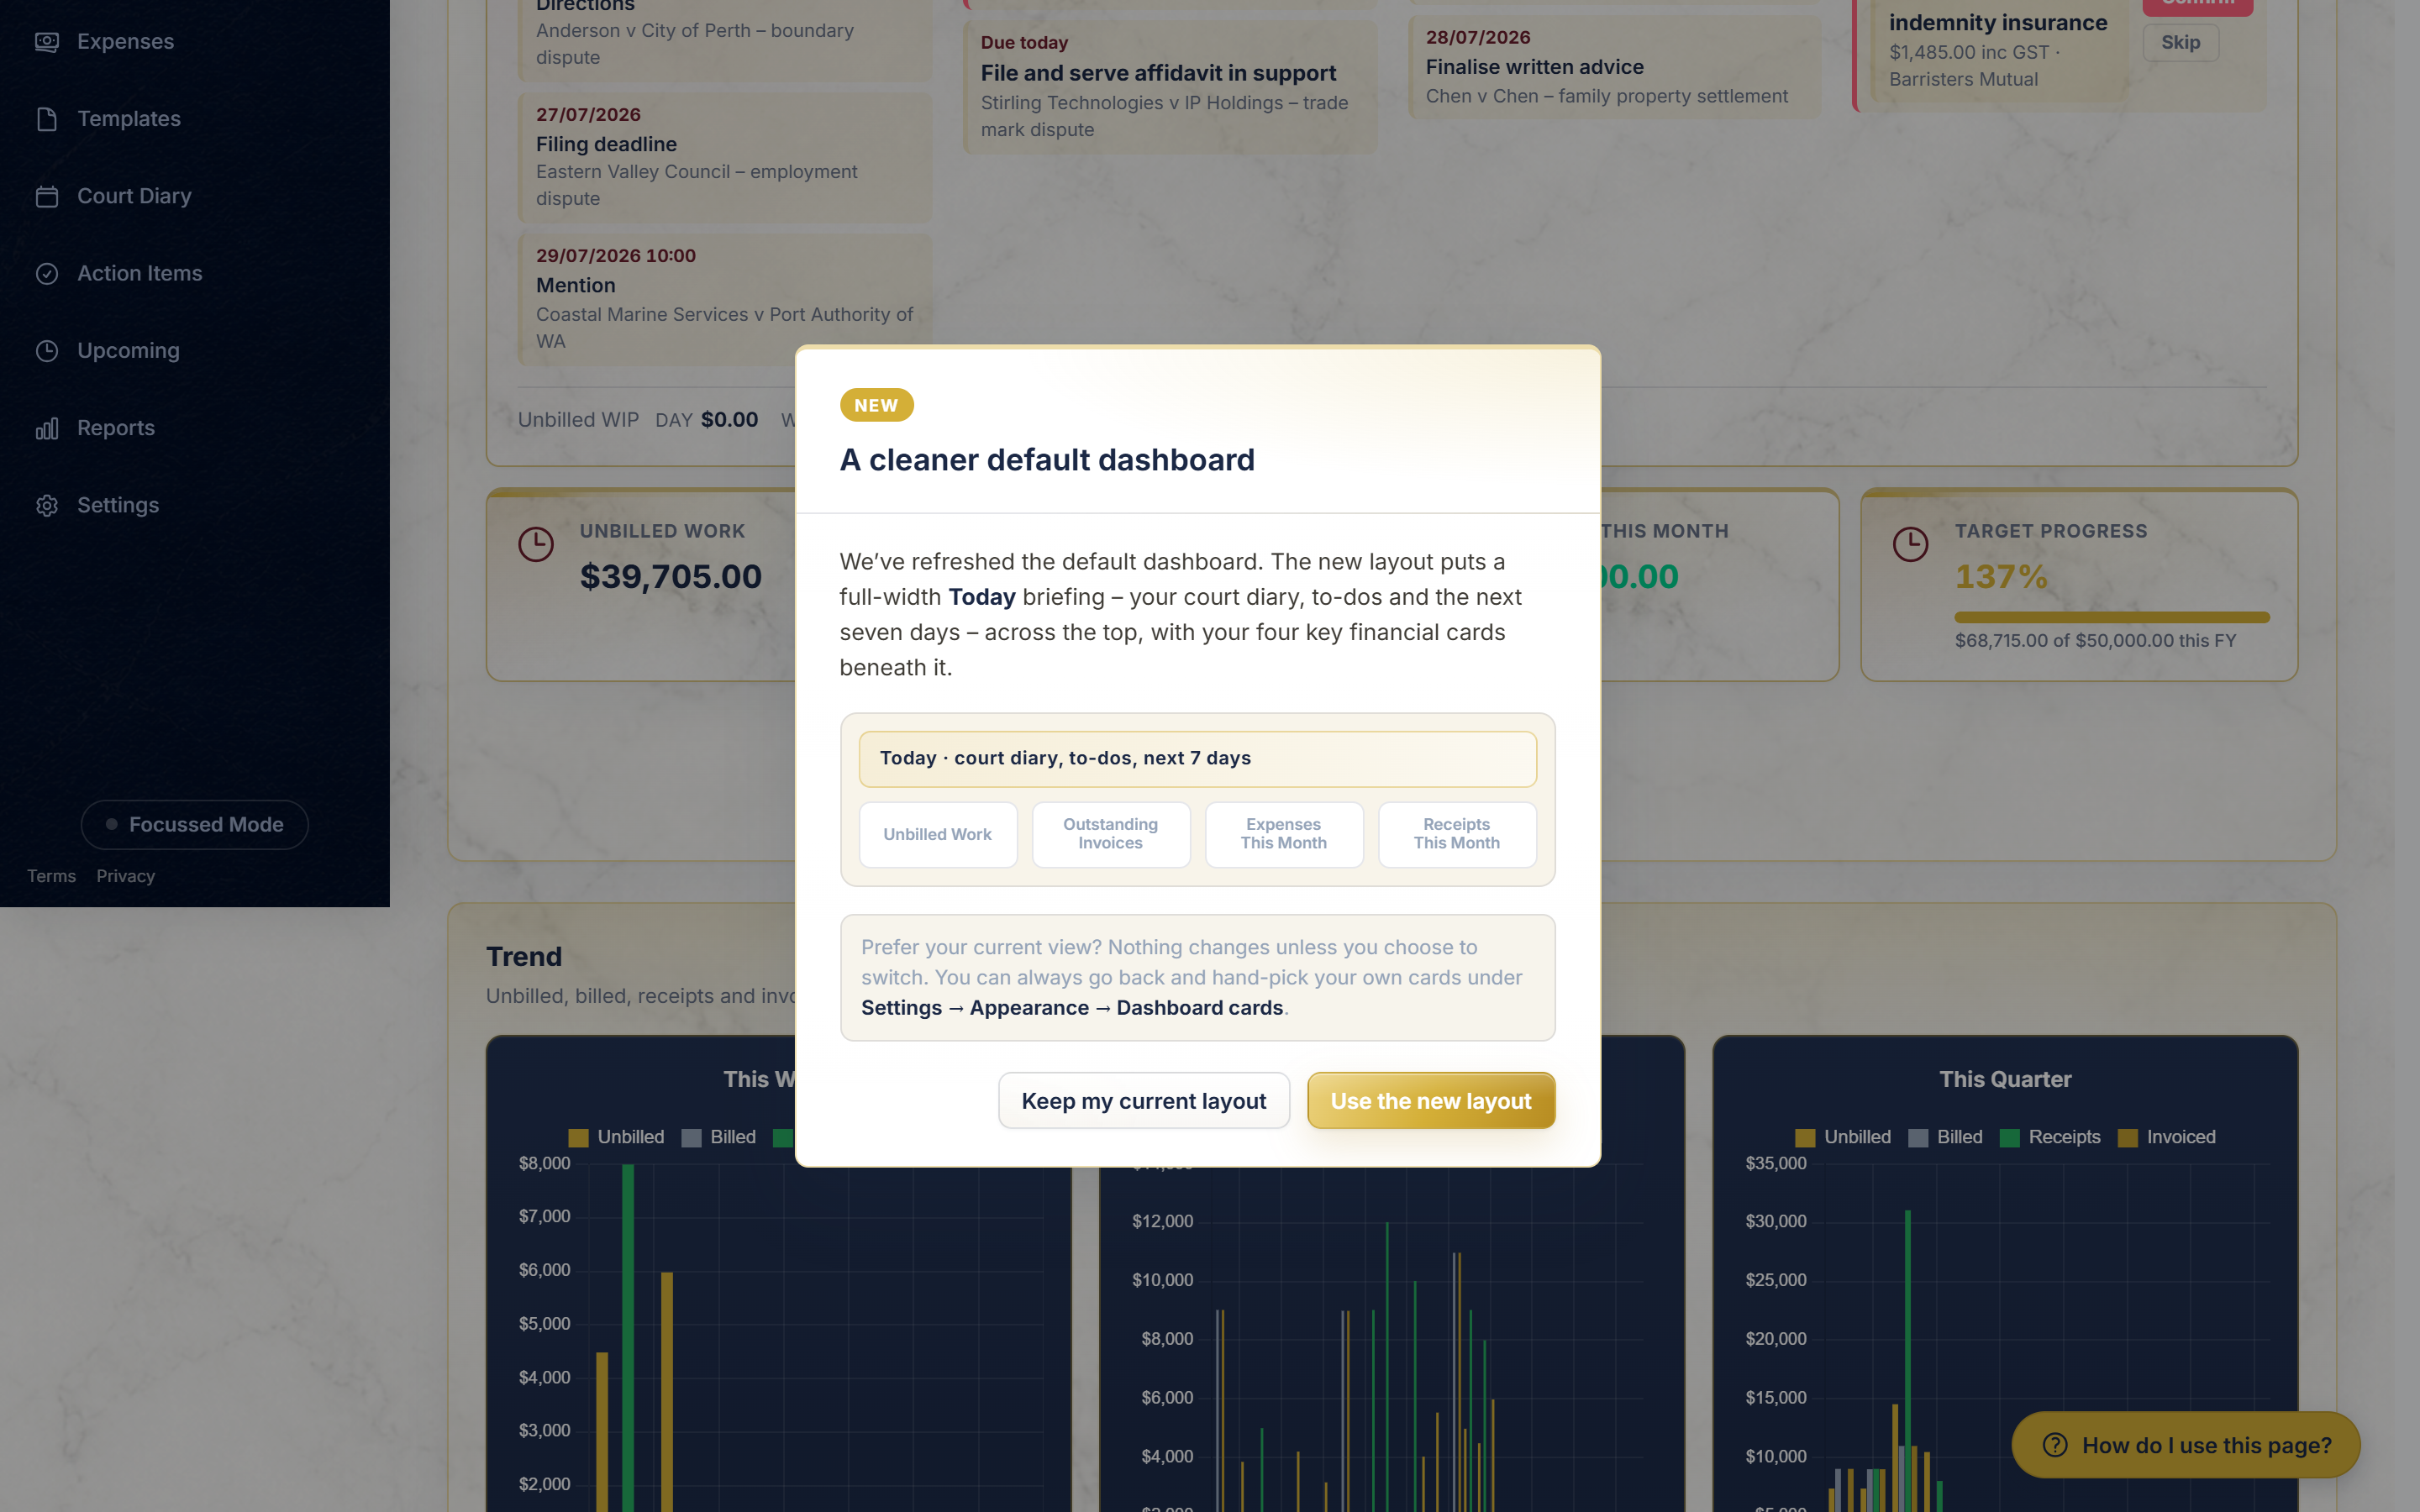
Below the cards is a small pair of buttons: ex GST and inc GST. They switch every dollar figure on the cards between the amount before GST and the amount including GST. Click whichever you prefer; a line underneath confirms which one you are seeing.
The trend charts
Below the cards is the Trend section – a few small bar charts showing how your practice has moved over time. Each chart covers a different window (for example This Week, This Month and This Quarter), and each bar breaks your activity into four colours: unbilled work, billed work, receipts and invoiced.
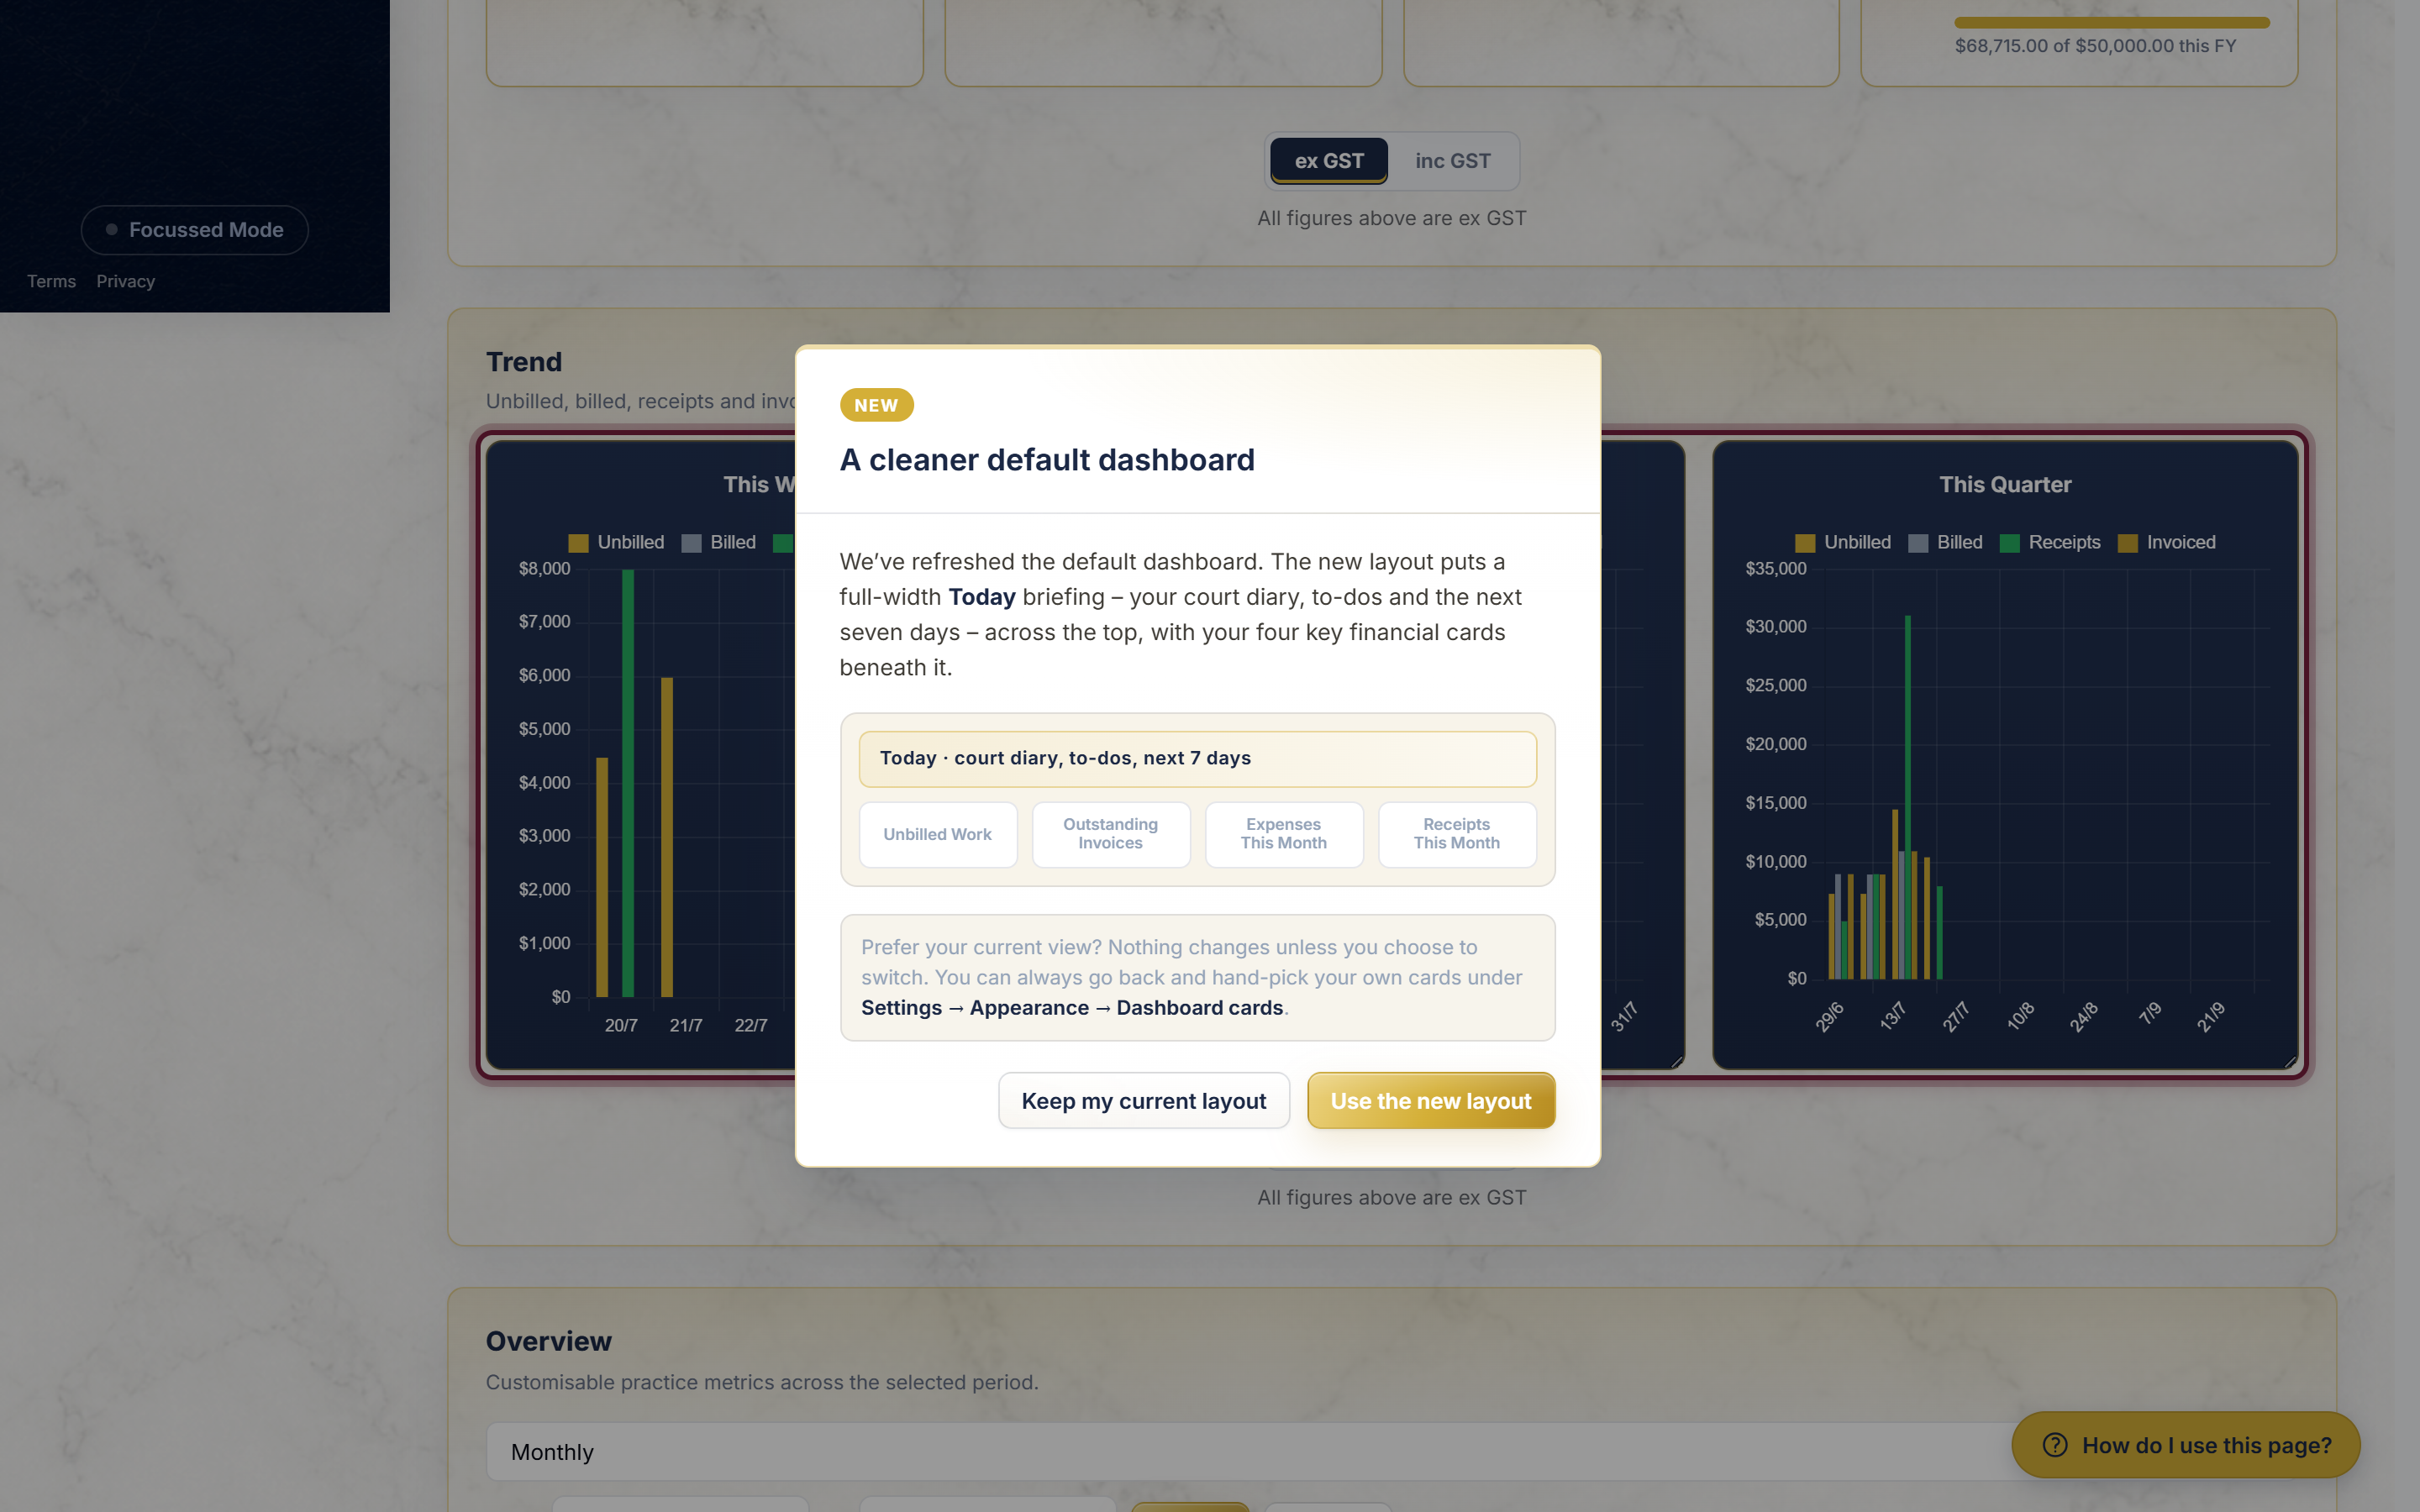
These charts have their own ex GST / inc GST buttons underneath, separate from the cards. Which charts appear, and their colours, can be changed under Settings → Appearance → Trend chart – but you do not need to touch any of that to read them.
The overview table
At the bottom is the Overview table. It lays out your figures period by period – for example month by month, or year by year – so you can compare them side by side.
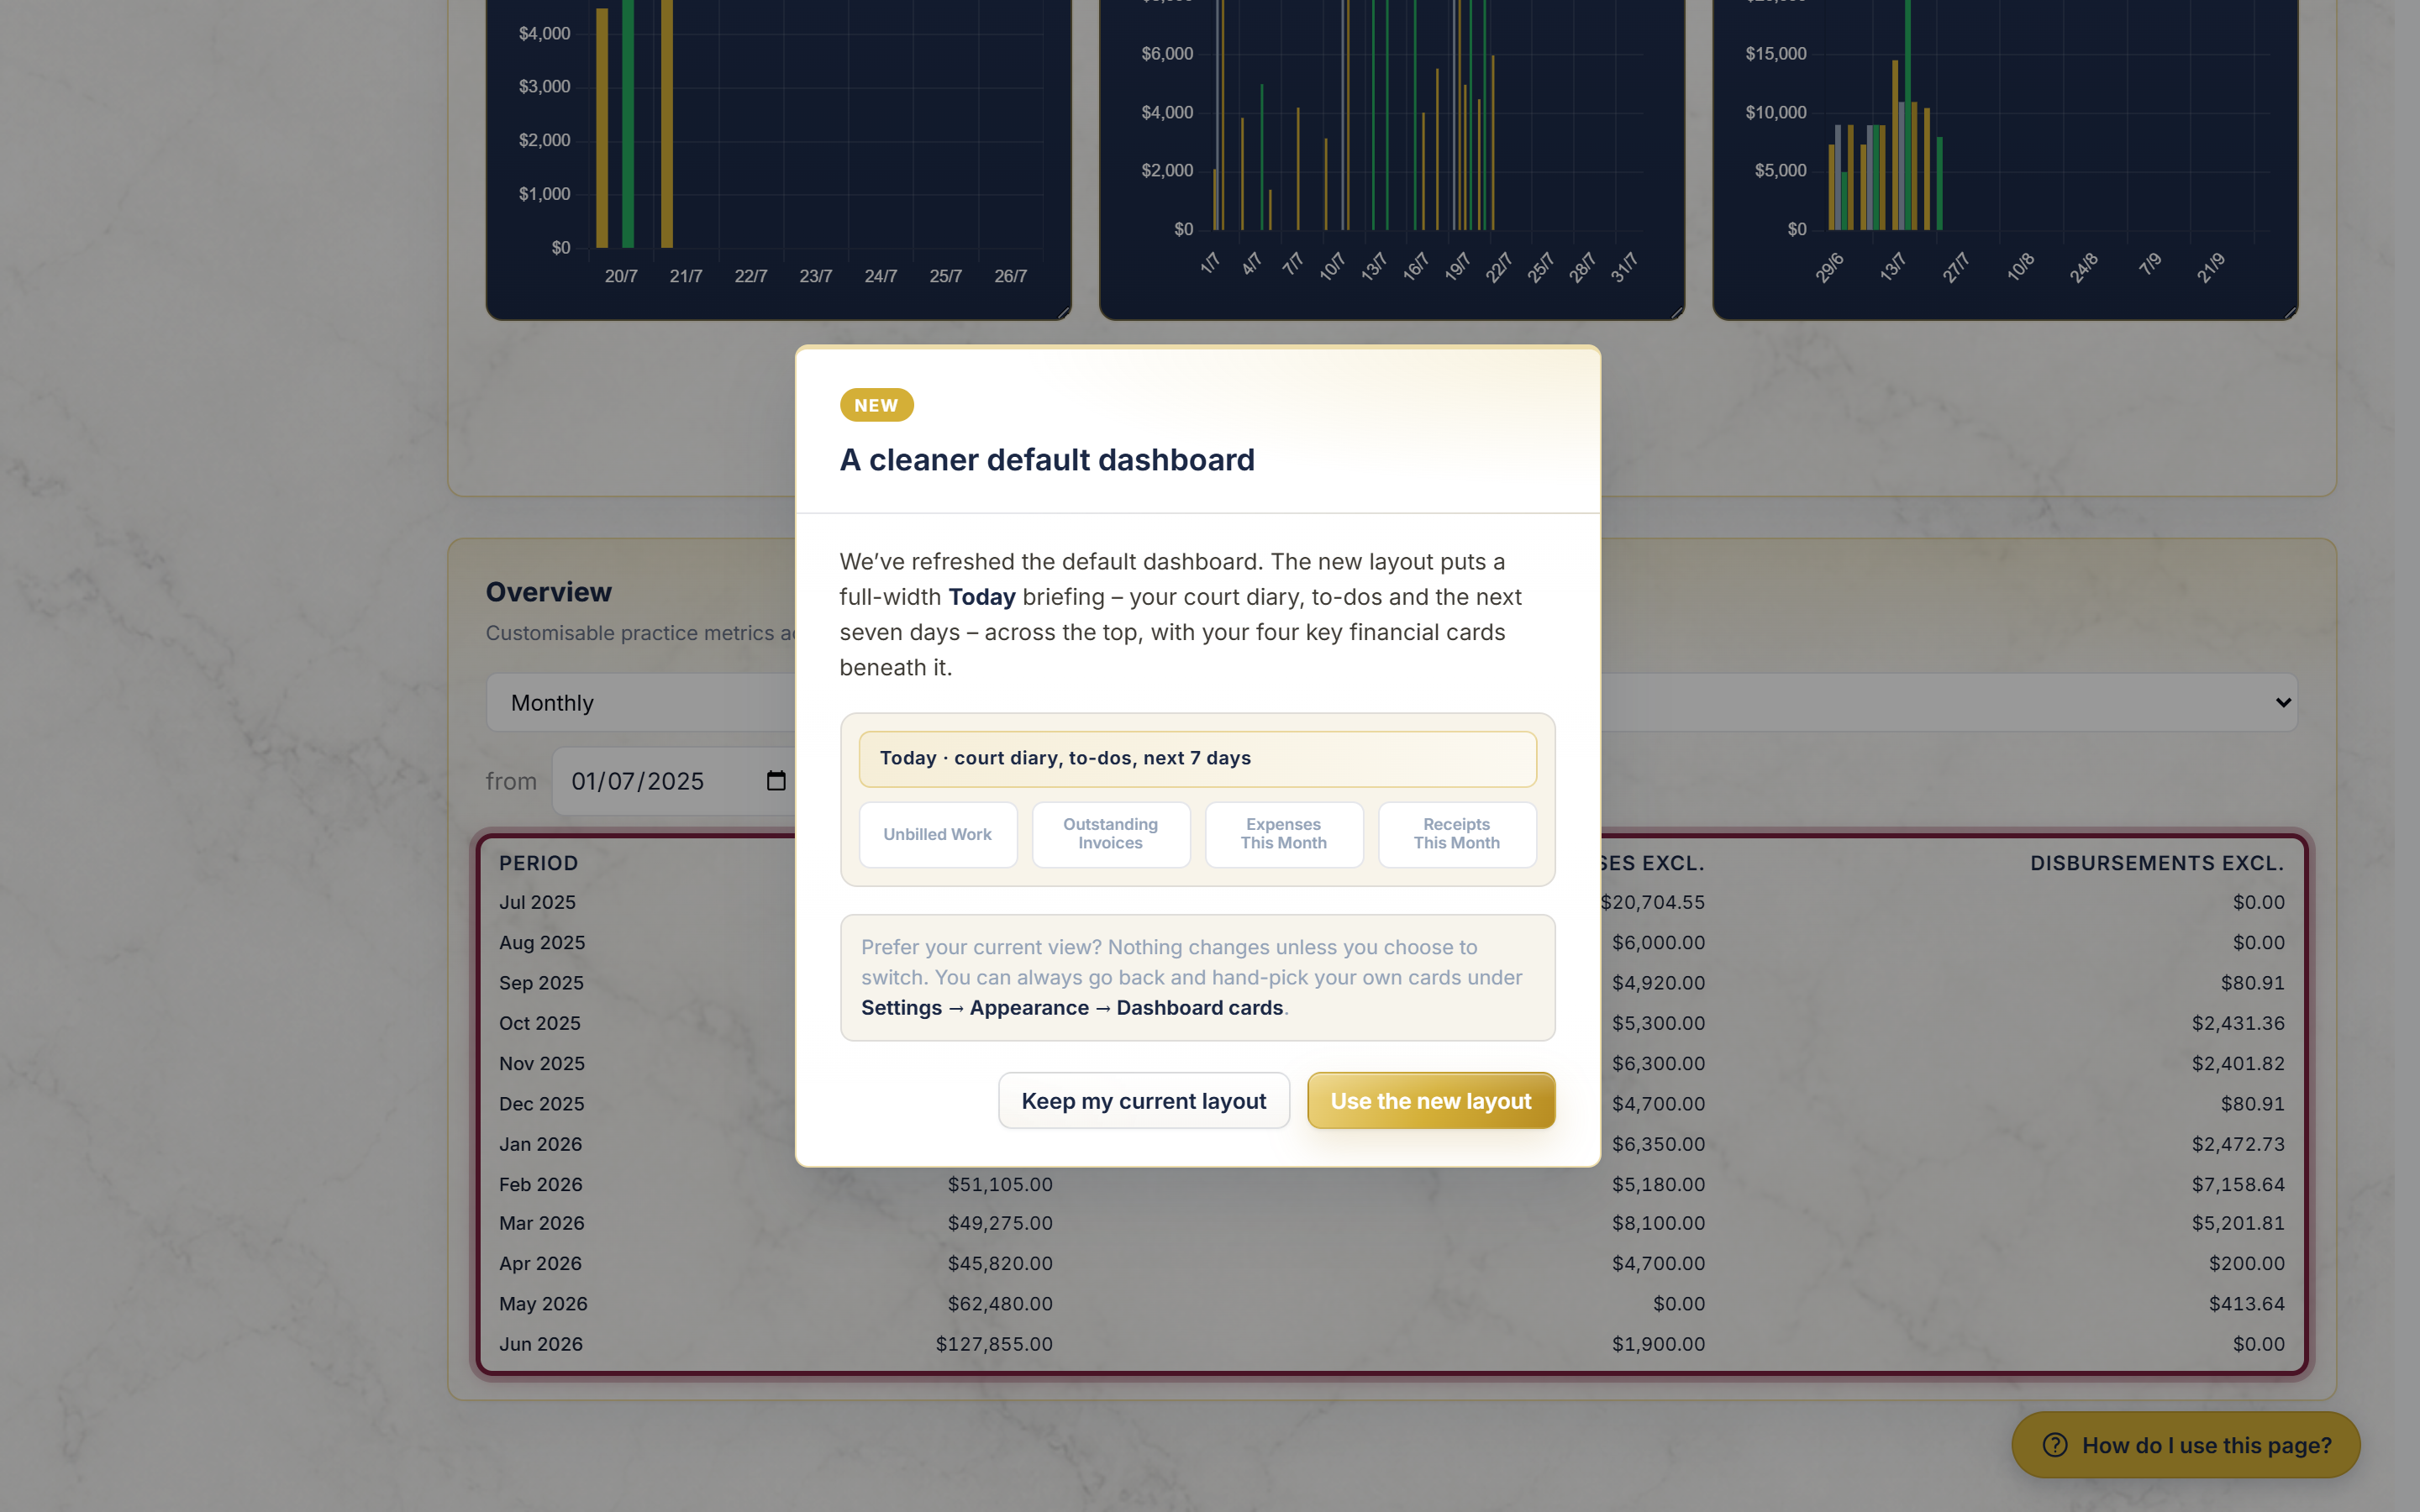
Two controls sit just above the table:
- A Monthly / Quarterly / Yearly chooser and a from and to date, so you can set the span the table covers, then click Refresh.
- A Columns button, which lets you pick exactly which figures appear as columns.
To change the columns, click Columns.
A small box opens listing every figure you can add. Tick the ones you want, drag them into the order you like, then click Save. The table redraws with your chosen columns.
Choose which cards show
You are not stuck with the default arrangement. You can fill up to eight slots, in any order, and choose from a longer list that includes the Diary/Action Item Summary briefing and the goal cards.
1. Open the card chooser
Click Settings at the bottom of the left-hand menu, then click the Appearance tab across the top, then click Dashboard cards.
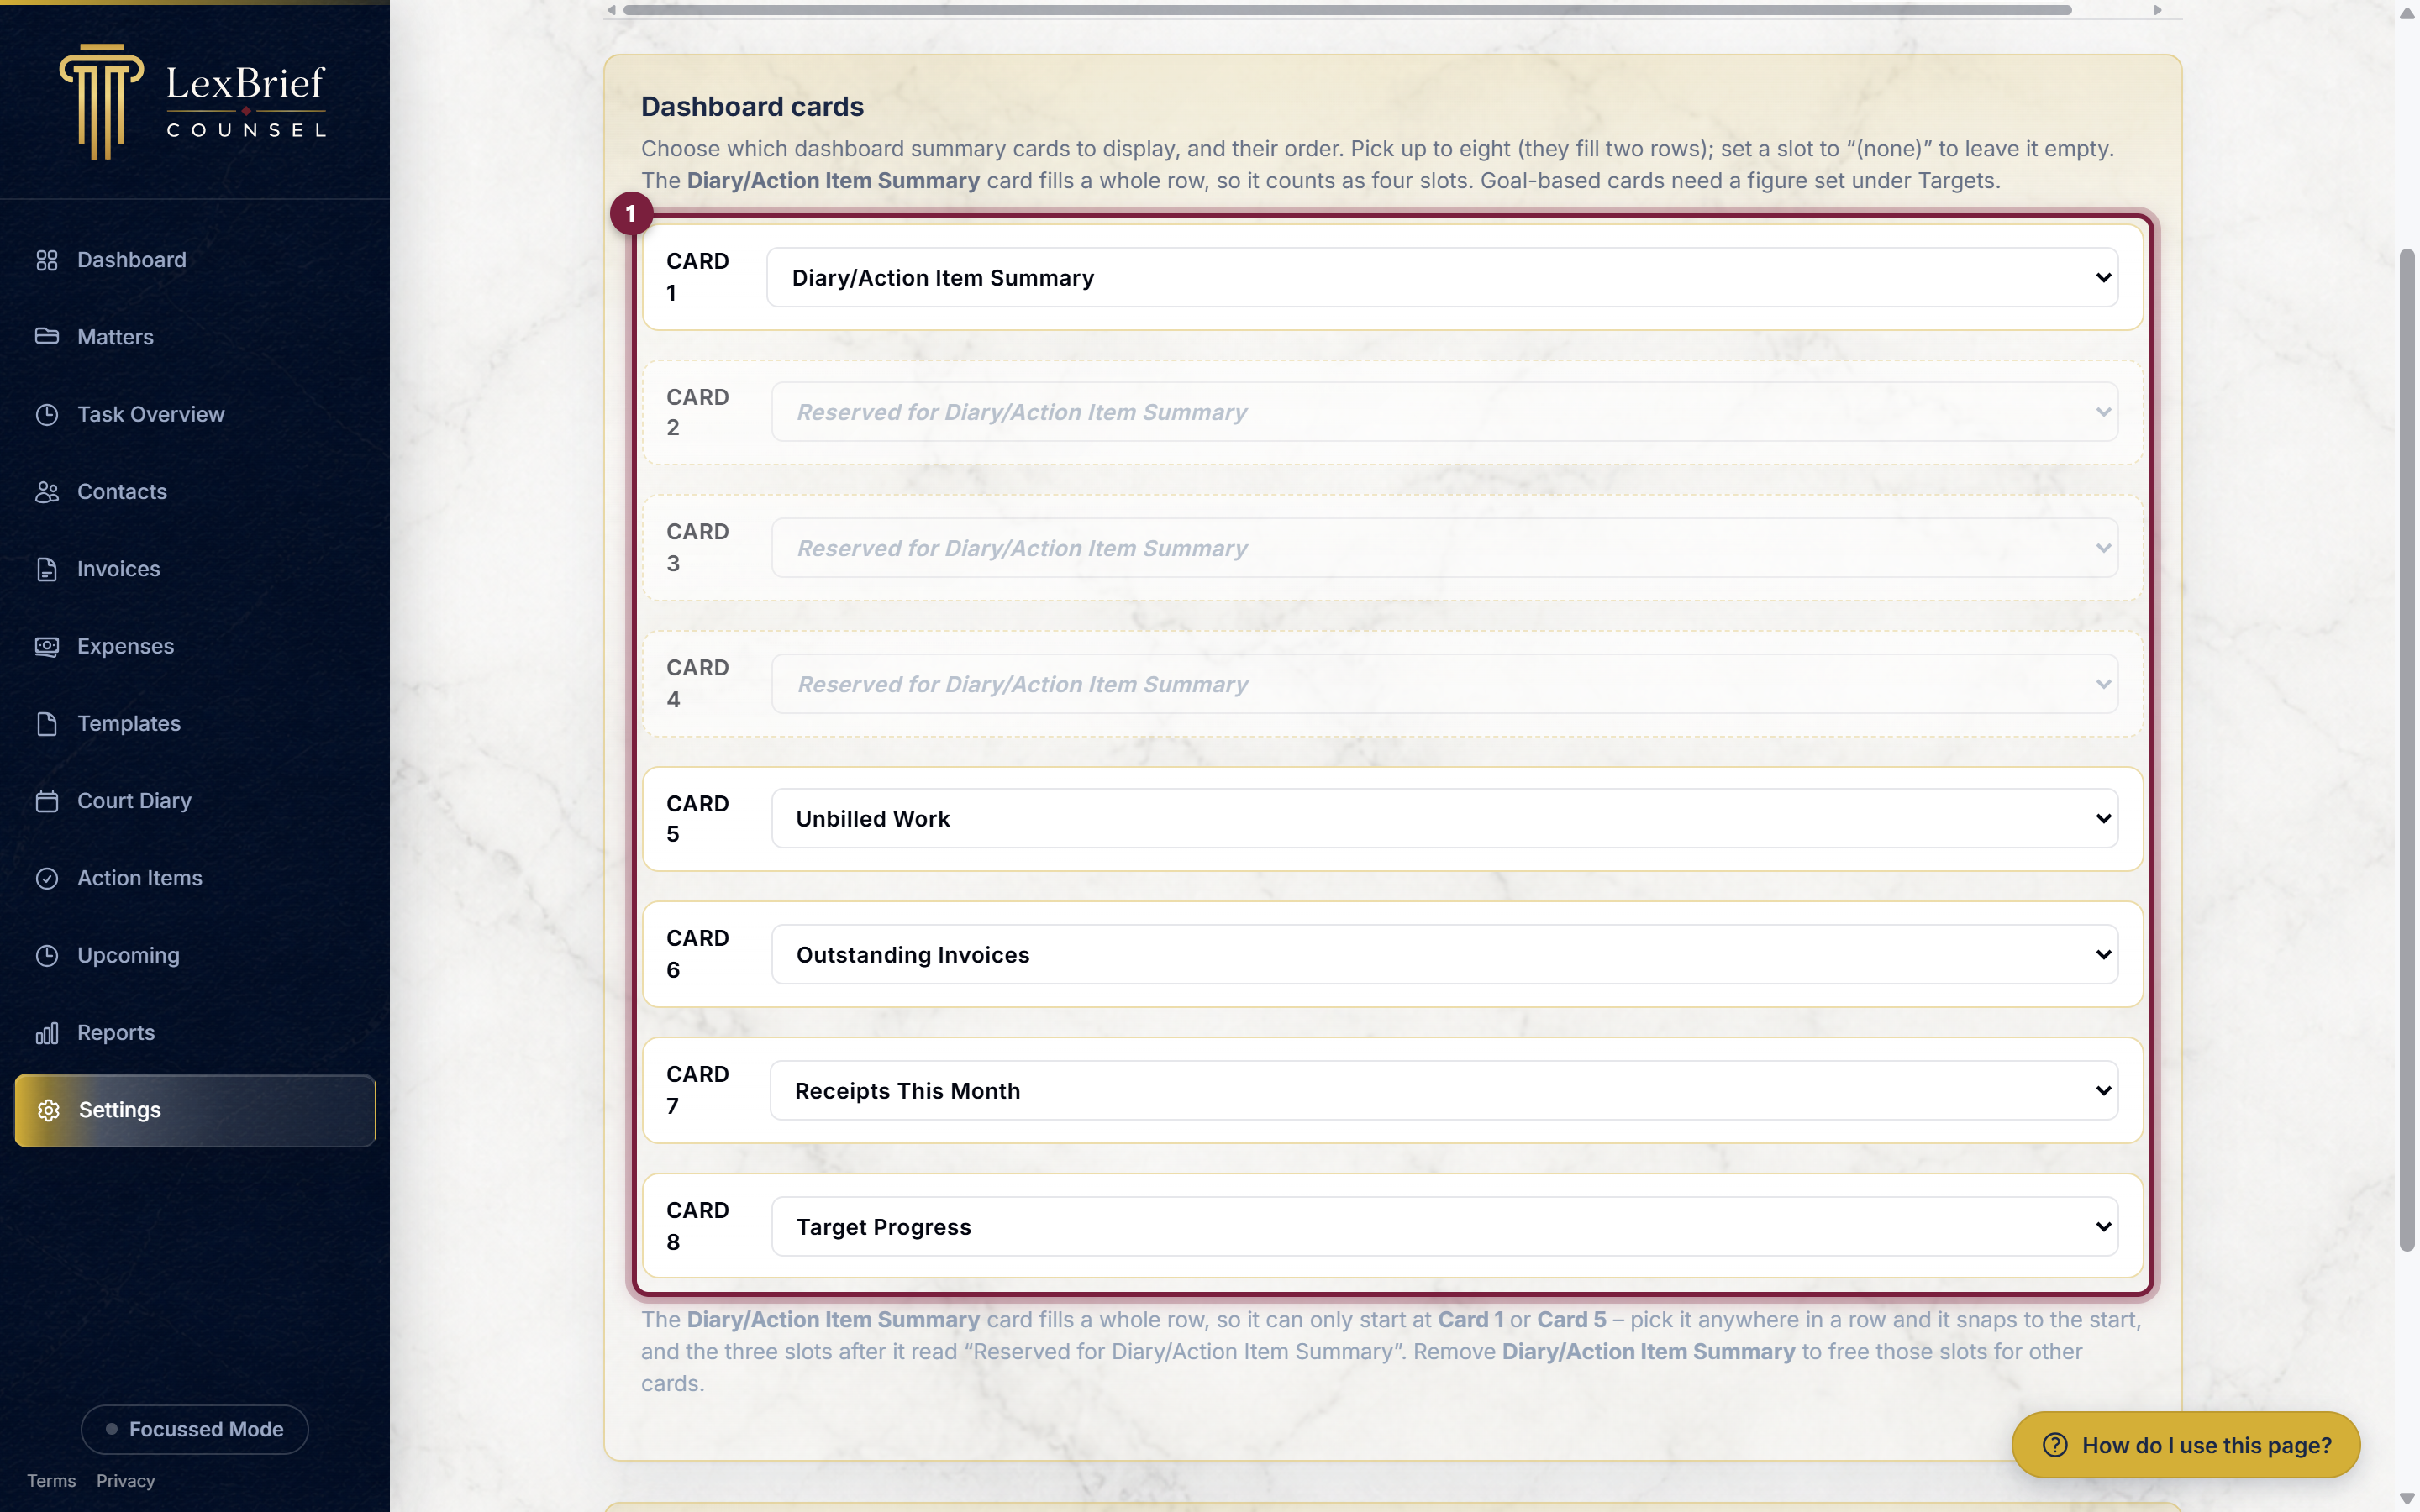
The same Dashboard cards tab also carries a Card background setting: Default, a Custom colour of your choosing, or Transparent so the cards sit straight on the page background.
2. Pick a card for each slot
There are eight slots, labelled Card 1 to Card 8. Each has a list you open by clicking it. Choose the card you want in that position. The cards fill two rows of four on the Dashboard, in the order of the slots.
3. Save
Scroll down and click the Save button. Go back to the Dashboard (click Dashboard in the left-hand menu) to see your chosen cards.
What you should see: the Dashboard now shows the cards you picked, in the order you set them.
Set targets for the goal cards
Some cards measure your progress toward a goal – for example Target Progress (toward your annual income) and Billable Hours Progress. These need a target to measure against. Until you set one, the card politely shows a "Set a target" prompt instead of a figure.
1. Open the Targets page
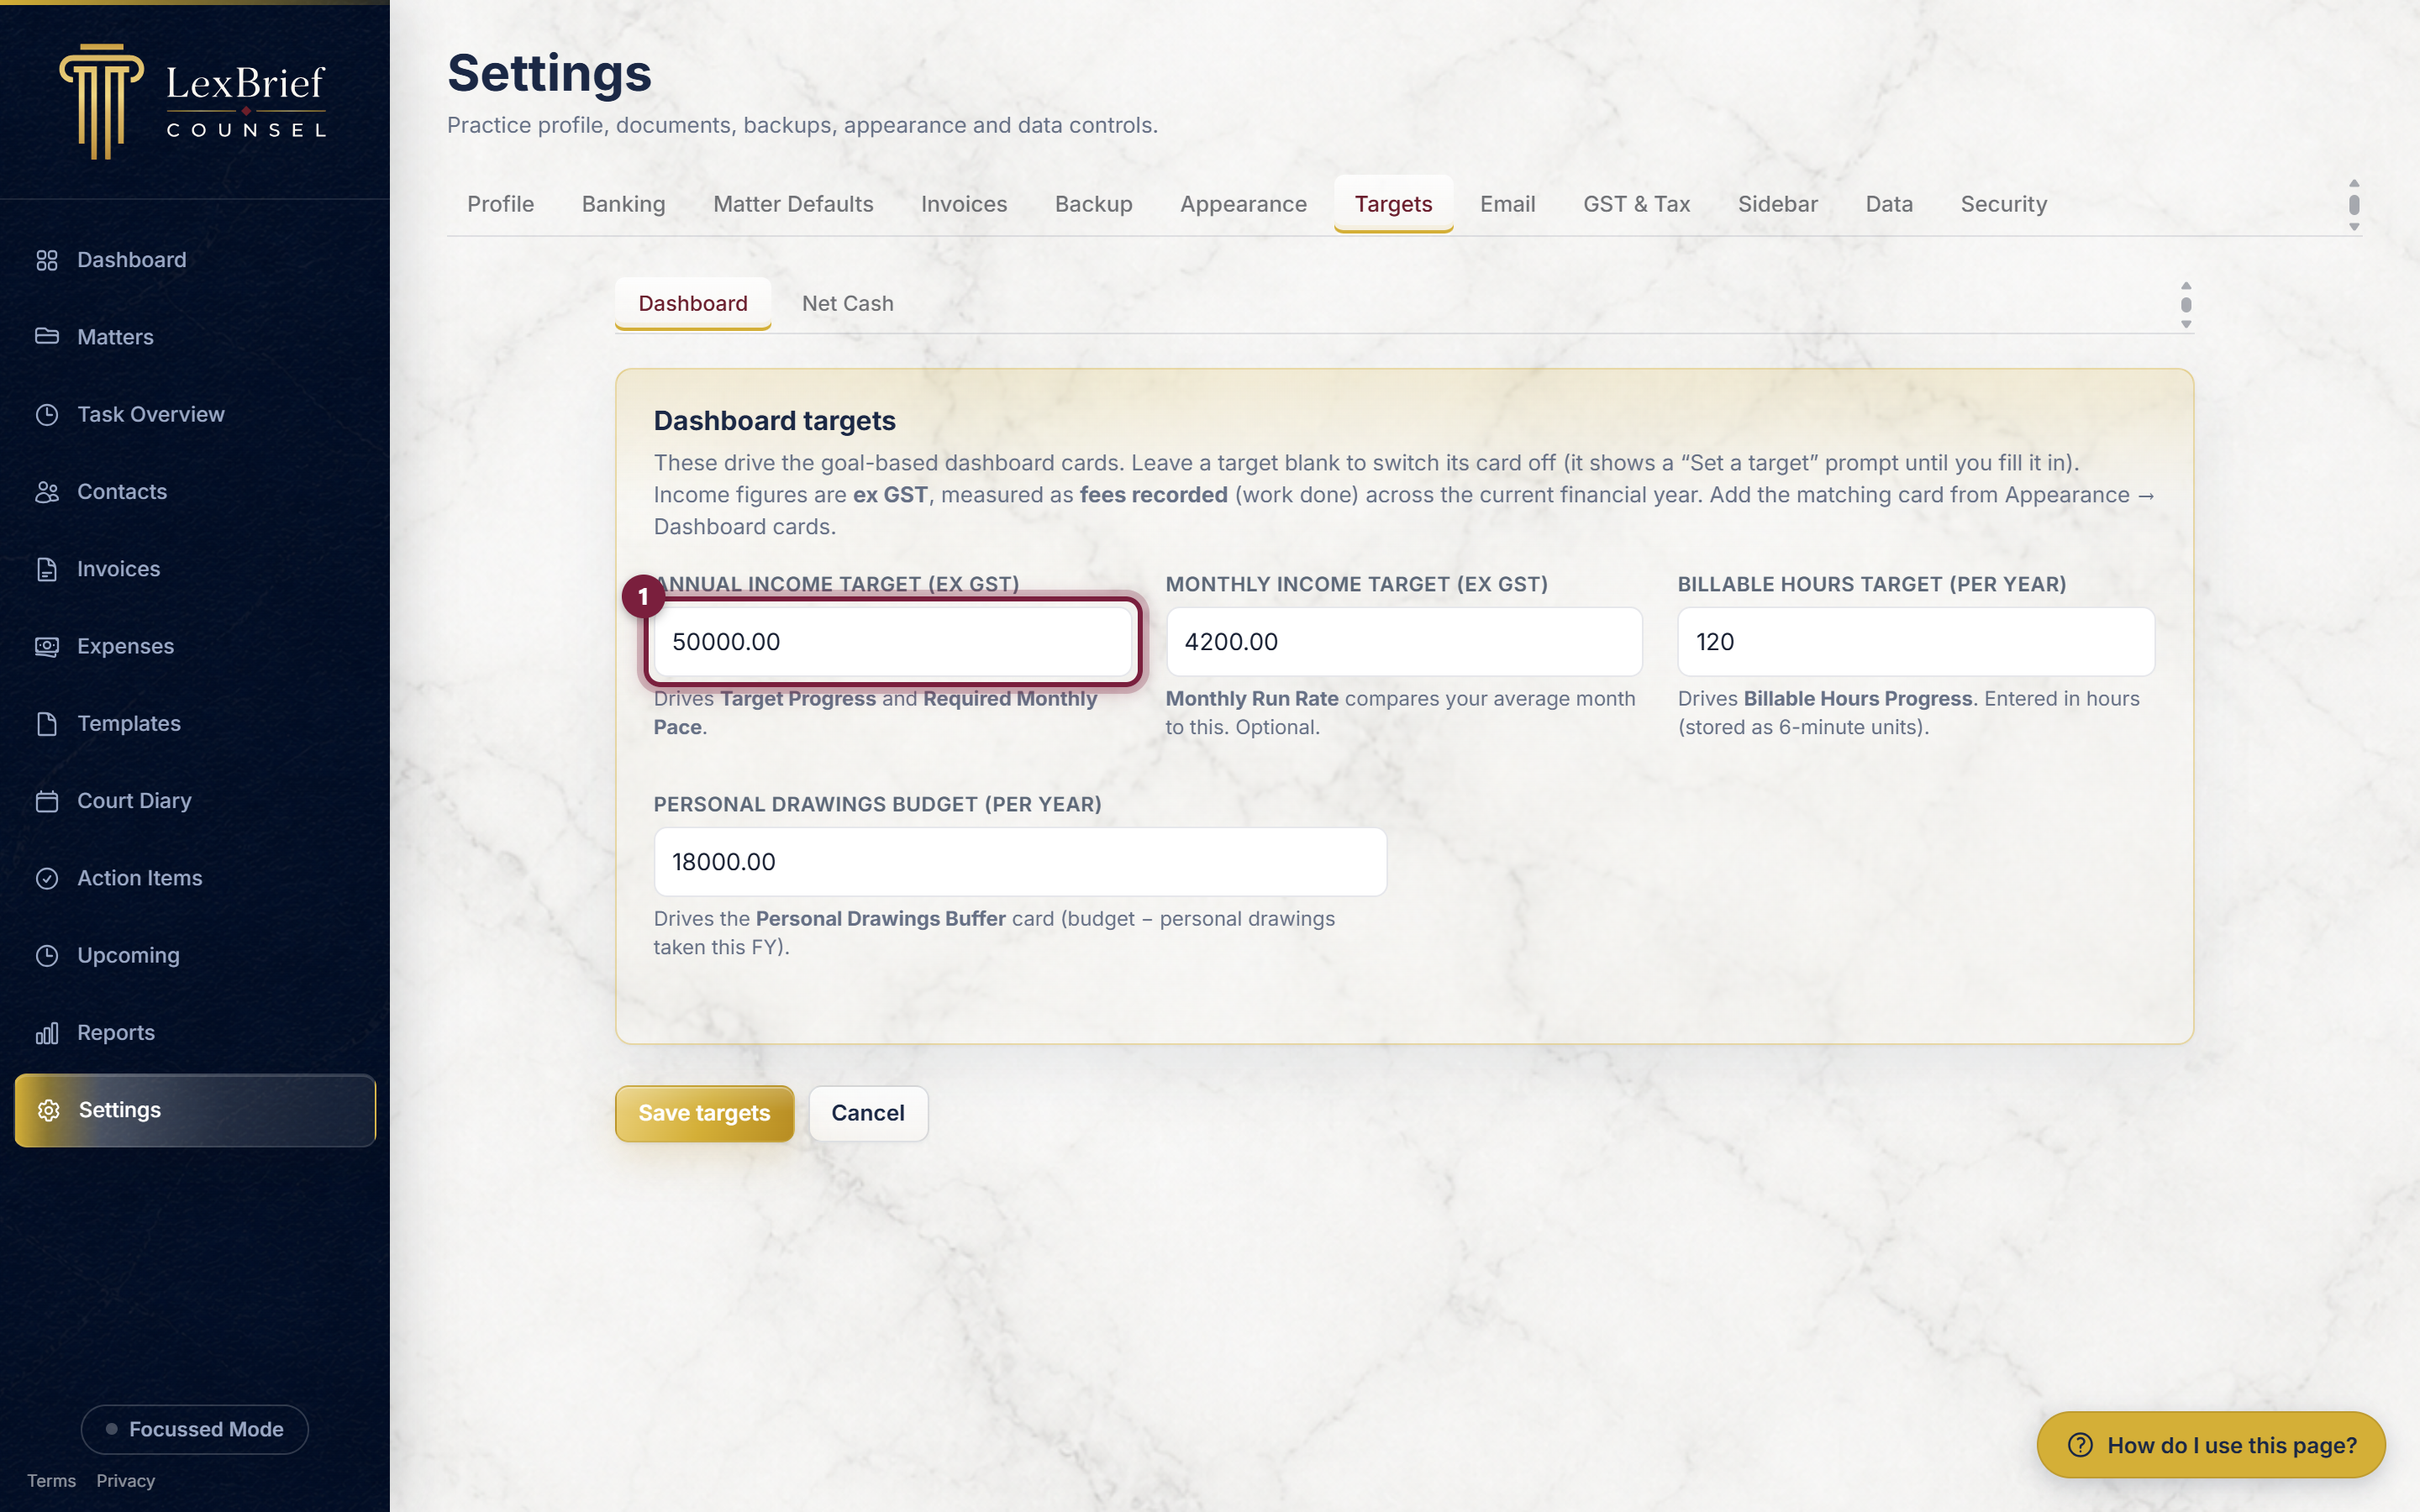
Click Settings in the left-hand menu, then click the Targets tab across the top.
2. Type in the targets you want
Each box has a note underneath telling you which card it feeds:
- Annual income target – drives the Target Progress bar (and the "required monthly pace" card, if you show it).
- Monthly income target – the Monthly Run Rate card compares your average month to this.
- Billable hours target (per year) – drives Billable Hours Progress. Enter it in hours.
- Personal drawings budget – drives the Personal Drawings Buffer card.
Income figures are the amount before GST, and are measured as fees you have recorded this financial year. Leave a box blank to switch its card off.
3. Save
Click the Save targets button at the bottom. Now, on the Dashboard, any goal card you have chosen shows a filled bar and a "so far, out of the target" figure.
On your phone
If you open LexBrief on your phone, the Dashboard shows a simpler set of cards suited to a small screen, with a Customise cards button to choose which ones appear. The desktop cards, charts and table above are for the full-size screen. A separate guide will cover using LexBrief on your phone; for now, everything else in this guide describes the desktop view.
Recurring expenses that have fallen due appear on your phone too, in the same briefing card, each with a Confirm button so it is one tap.
What next
The Dashboard is only as full as the records behind it, so the more you keep up to date, the more it tells you:
- Matters – your files, and the time recorded on them, feed the Unbilled Work figure.
- Invoices – issuing and getting paid moves the Outstanding and Receipts cards.
- Reports – when you need the full detail behind a Dashboard figure, run the matching report.
- Browse all help guides
Stuck on anything at all? Email support@lexbrief.au – a real person reads it, usually the same working day.