

If at any point your screen does not look like the picture, stop and email support@lexbrief.au – we would rather help than have you guess.
Before you start
A note on wording used throughout this guide:
- The dark strip of links down the left-hand side of the screen is the menu.
- The row of words across the top of the Settings page (Profile, Banking, and so on) are the tabs. Click a tab to switch to it.
- Under those, most tabs show a second, smaller row: the sub-tabs. They split a long tab into named groups, so instead of scrolling you click the group you want. Matter Defaults, for example, has sub-tabs reading New Matters, Rates, Timezone and so on.
- A box you type into is a box; a list you open and pick from is the list that appears; an on/off setting is a switch you click to slide it on or off. Where you are choosing several things from a list (which data to export, which tasks to bill), those are still tick boxes.
Almost every tab has its own Save button. Changes are only kept once you click Save on that tab, and each tab saves on its own. A green "Settings saved" bar confirms it worked, and you are returned to the sub-tab you saved from.
Opening Settings
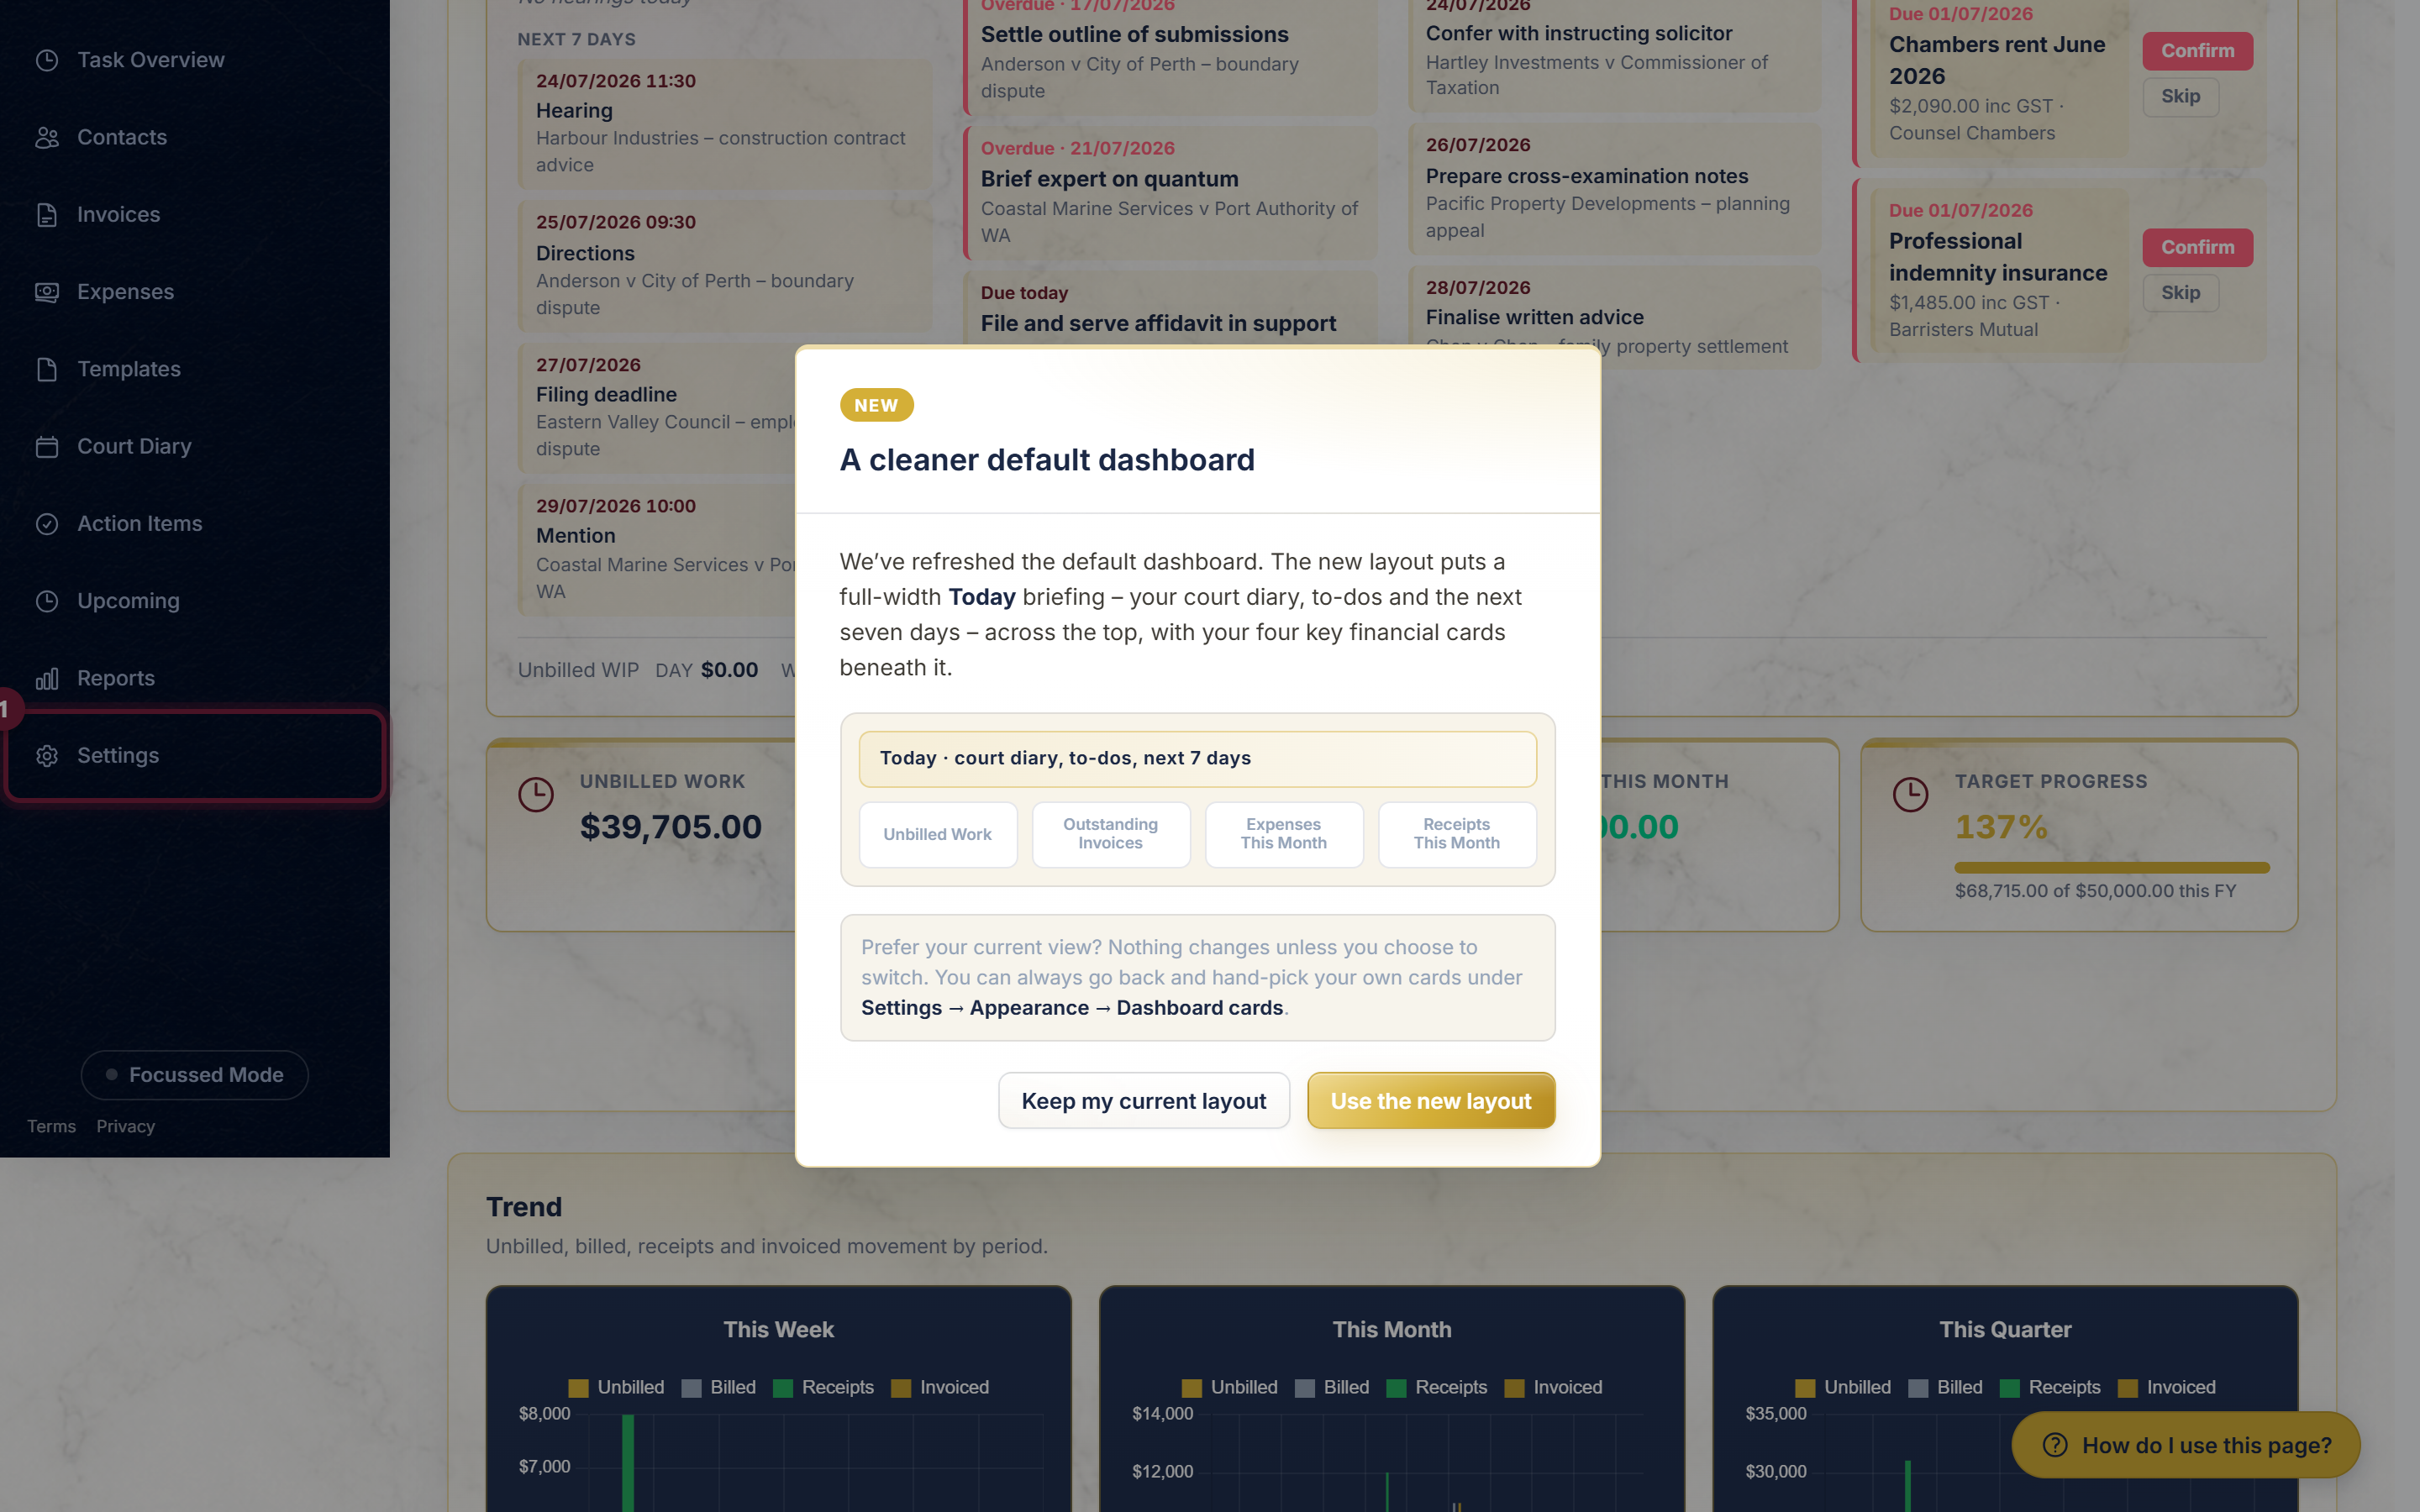
Click Settings at the very bottom of the left-hand menu.
The Settings page opens on the Profile tab. Along the top you will see the full row of tabs.
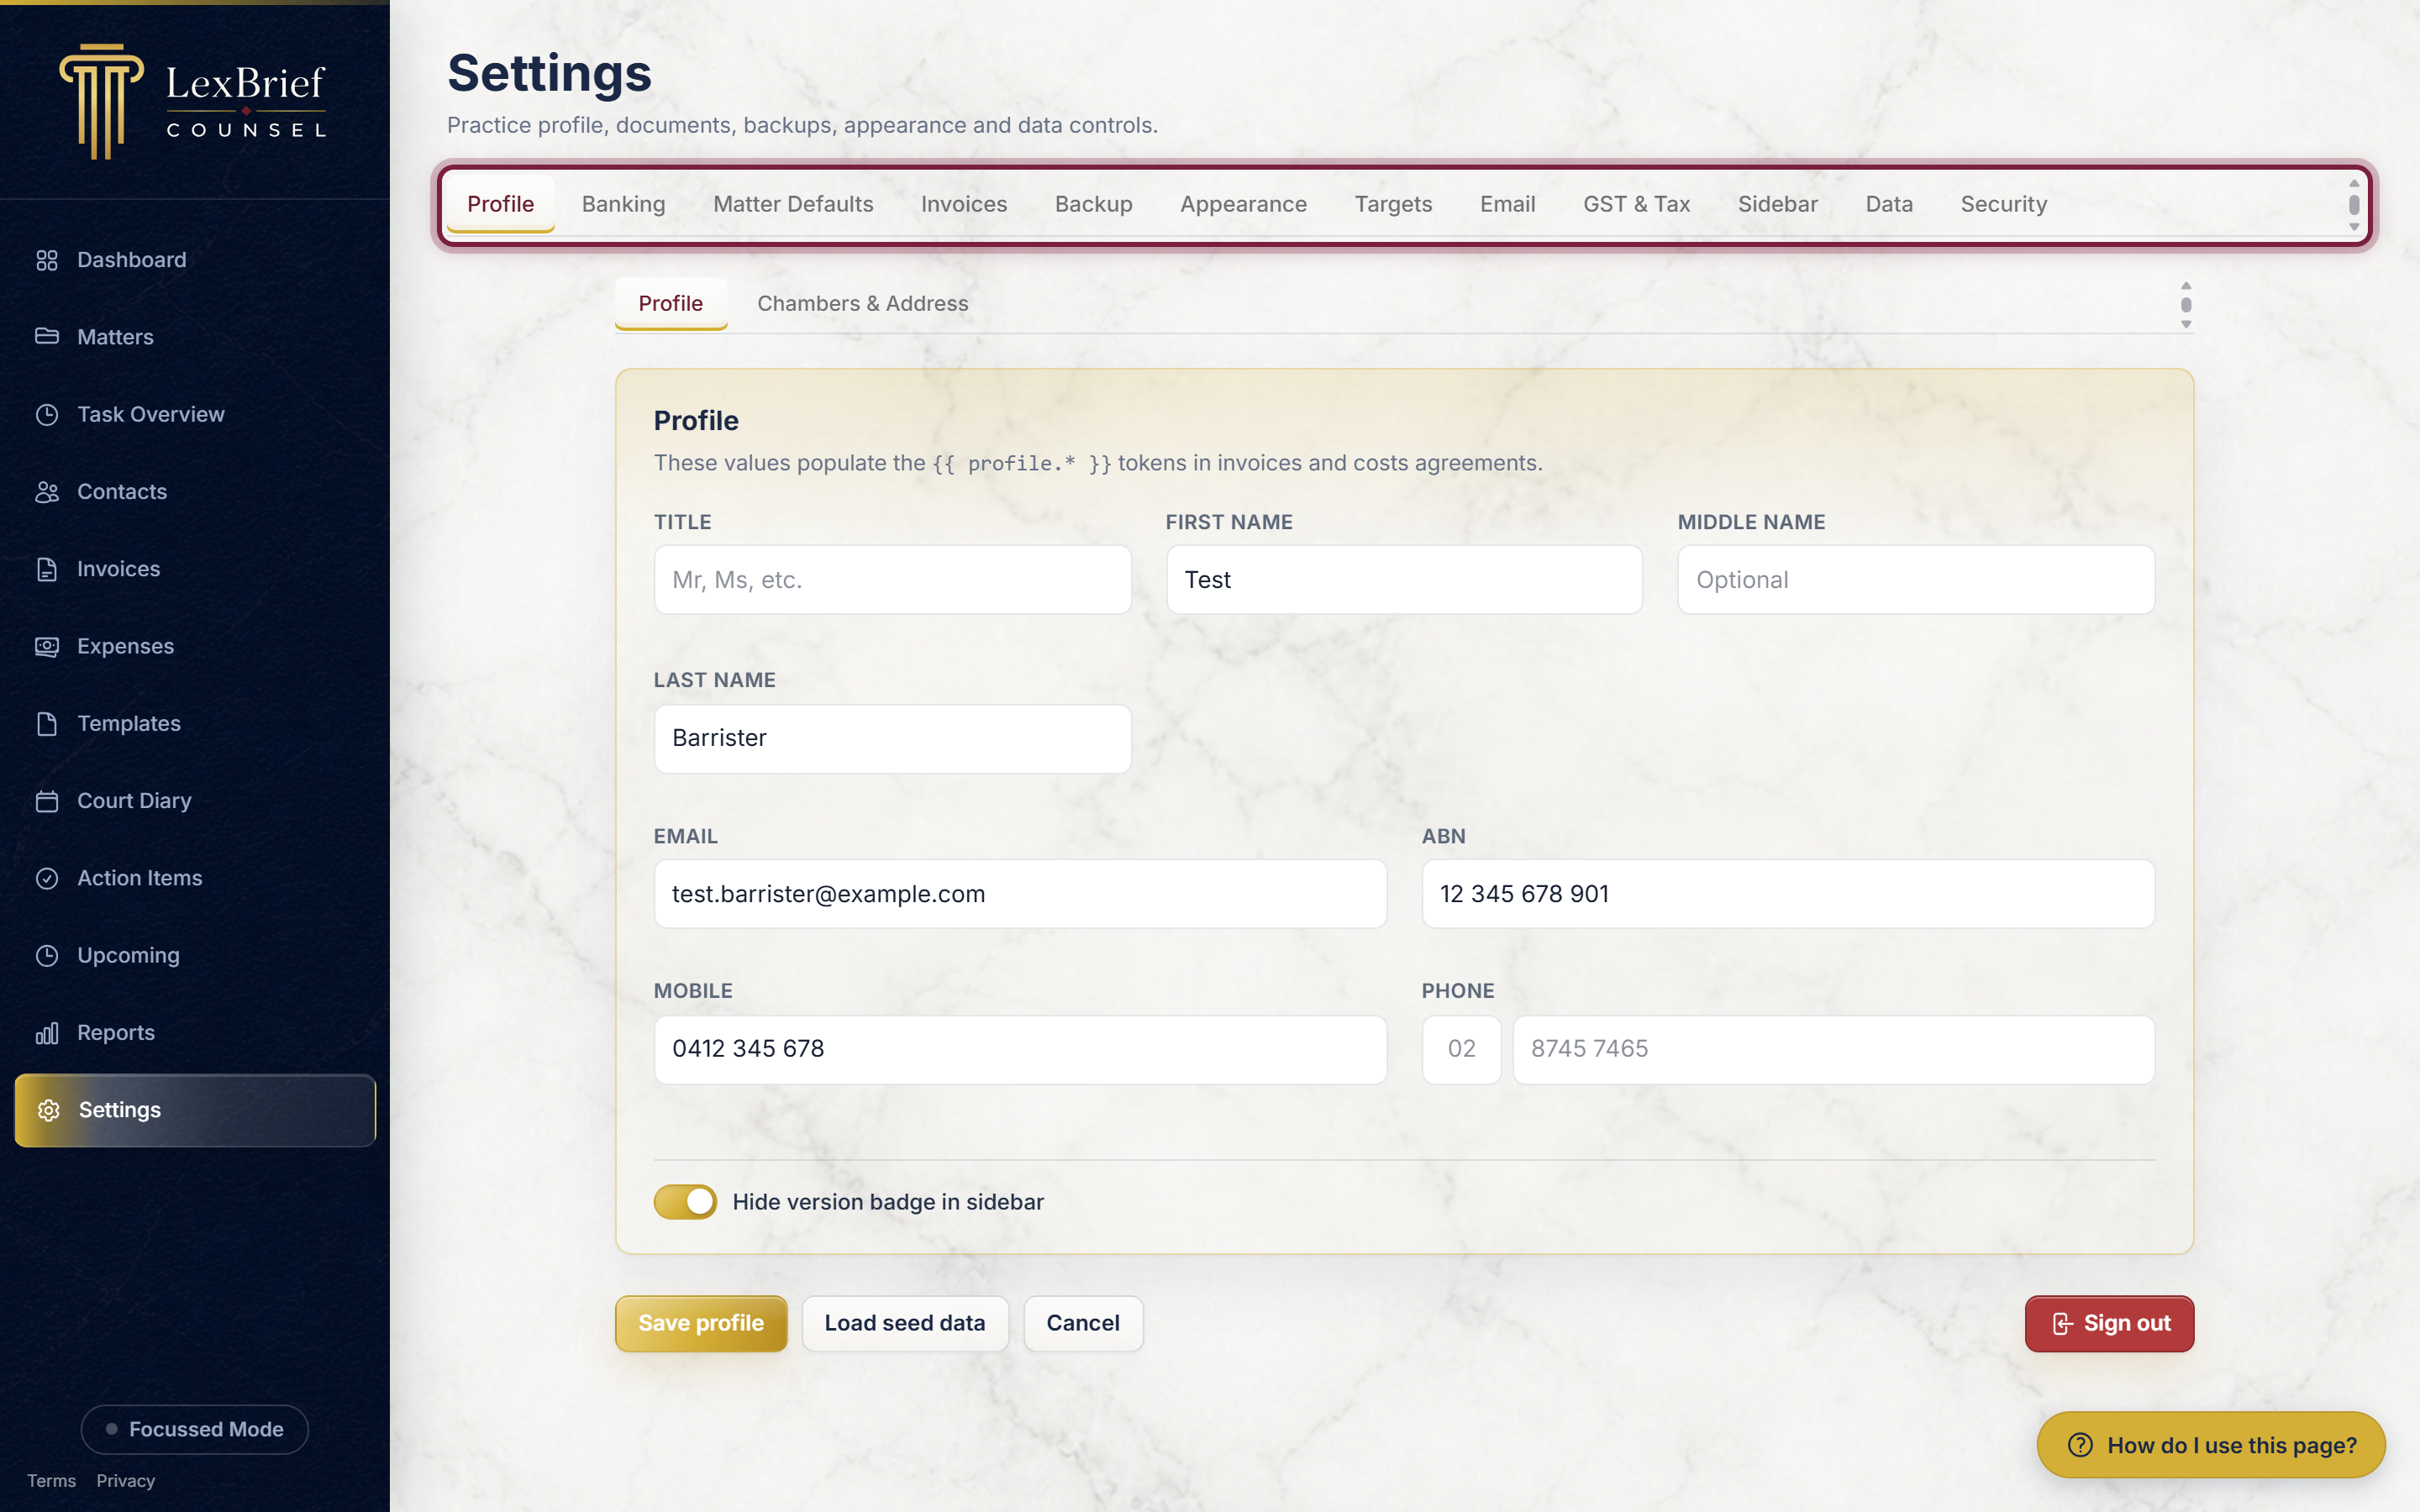
What you should see: a heading "Settings" and, just under it, tabs reading Profile, Banking, Matter Defaults, Invoices, Backup, Appearance, Targets, Email, GST & Tax, Sidebar, Data and Security. Click any tab to jump to that section; the tabs below explain each one.
Profile
Your Profile holds your own details as the practitioner: your name, email, ABN, phone, and your chambers address. These are the details LexBrief prints on your invoices and drops into your document templates, so it is worth filling in first.
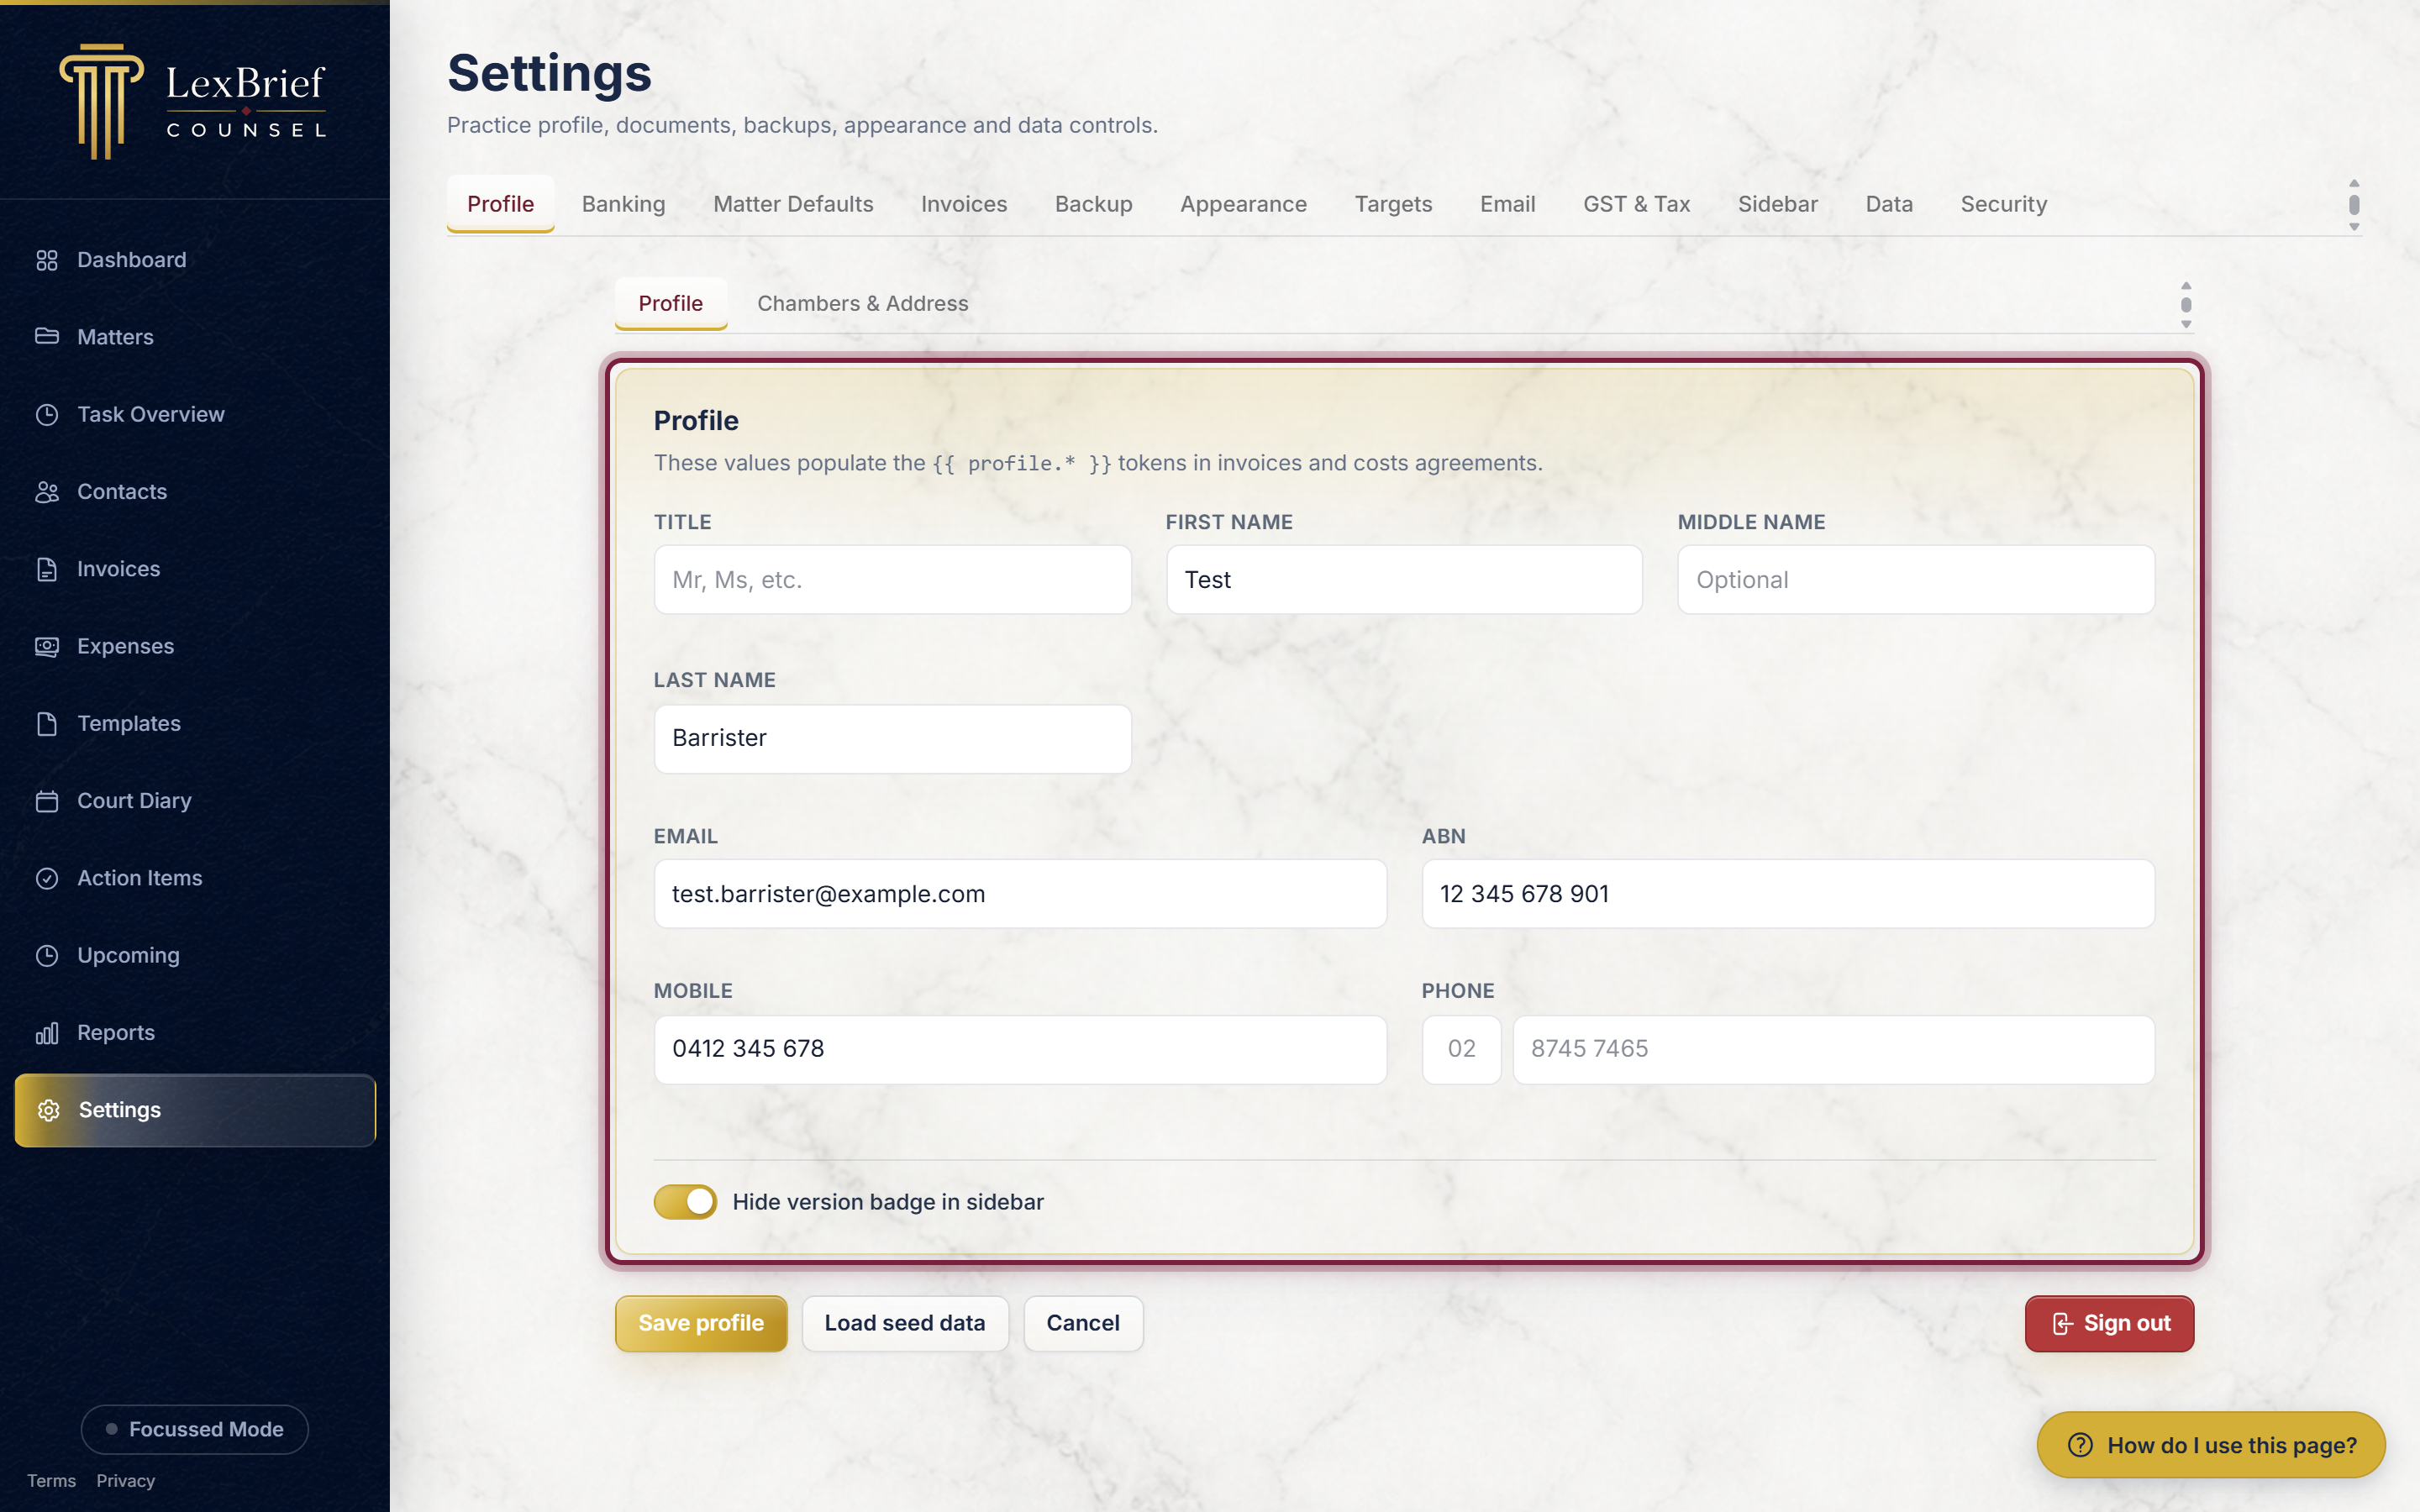
To fill in your details:
- Type your name into the First name and Last name boxes (Title and Middle name are optional).
- Add your Email and ABN, then your phone and mobile.
- Click the Chambers & Address sub-tab and fill in your chambers name and address.
- Click the Save profile button at the bottom.
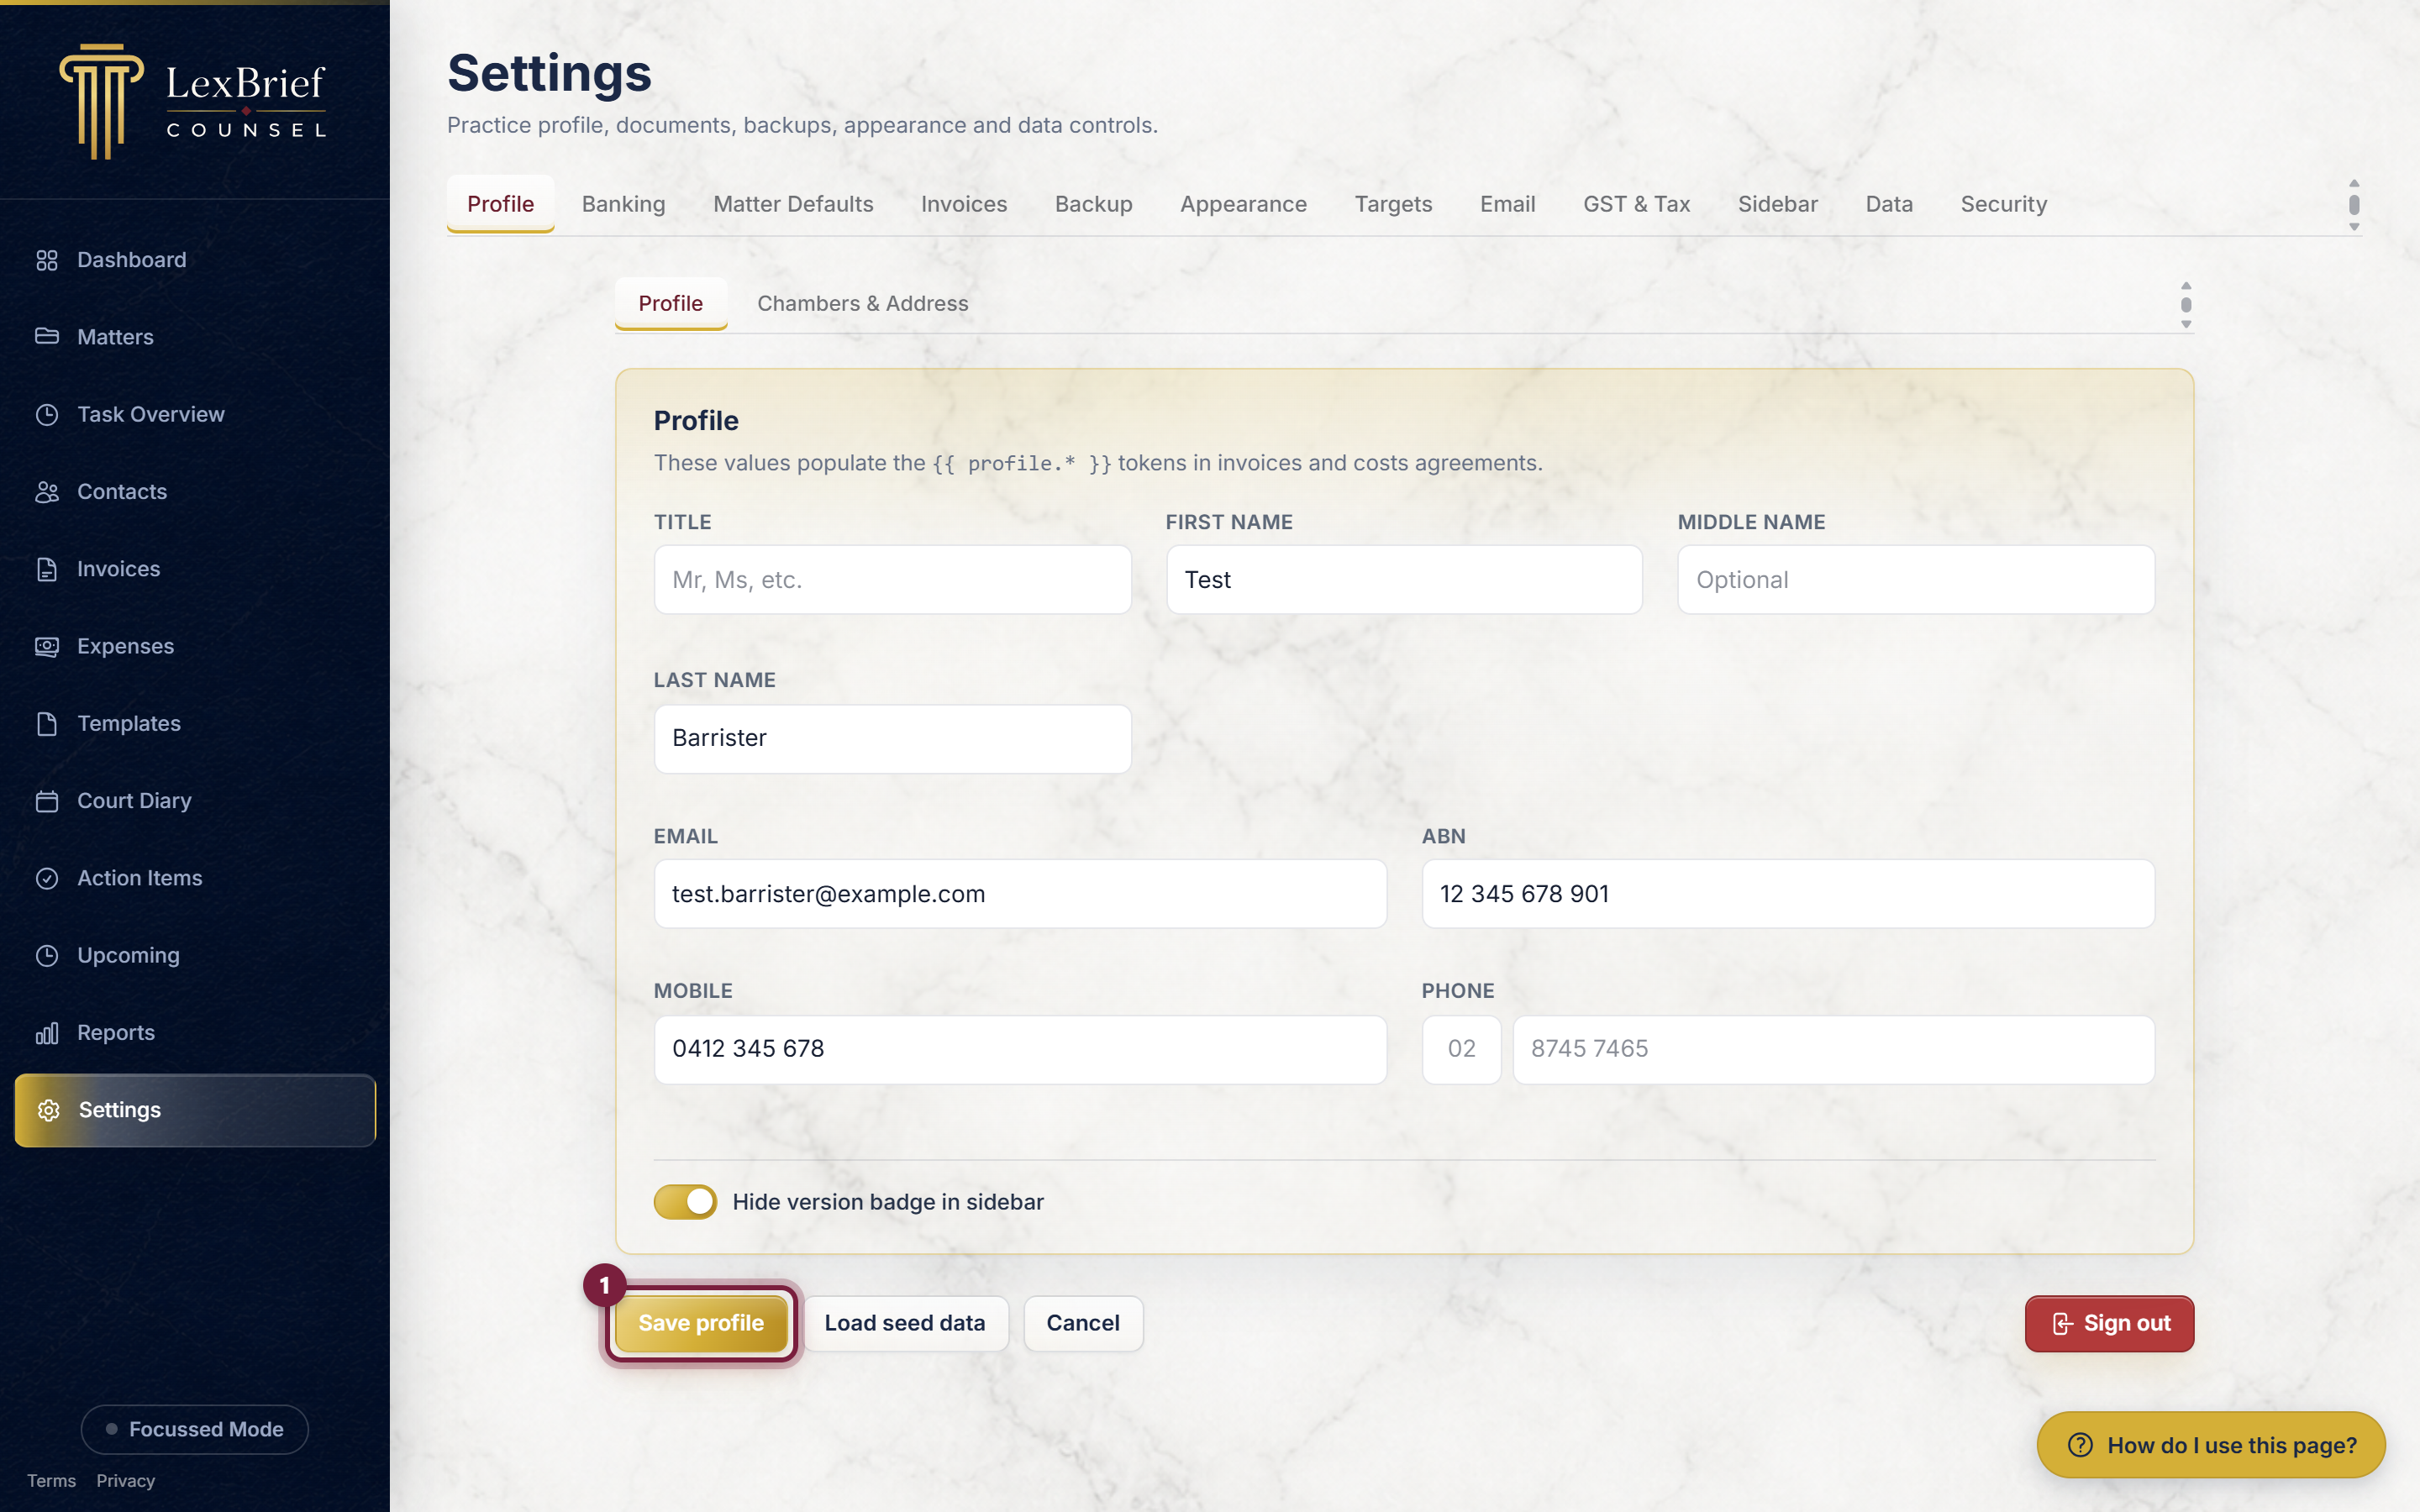
What you should see: a green "Settings saved" bar. One Save covers both sub-tabs, so you do not need to save Profile and Chambers & Address separately. There is also a Hide version badge in sidebar switch on the Profile sub-tab, and a Sign out button at the far right if you ever need to log out.
Banking
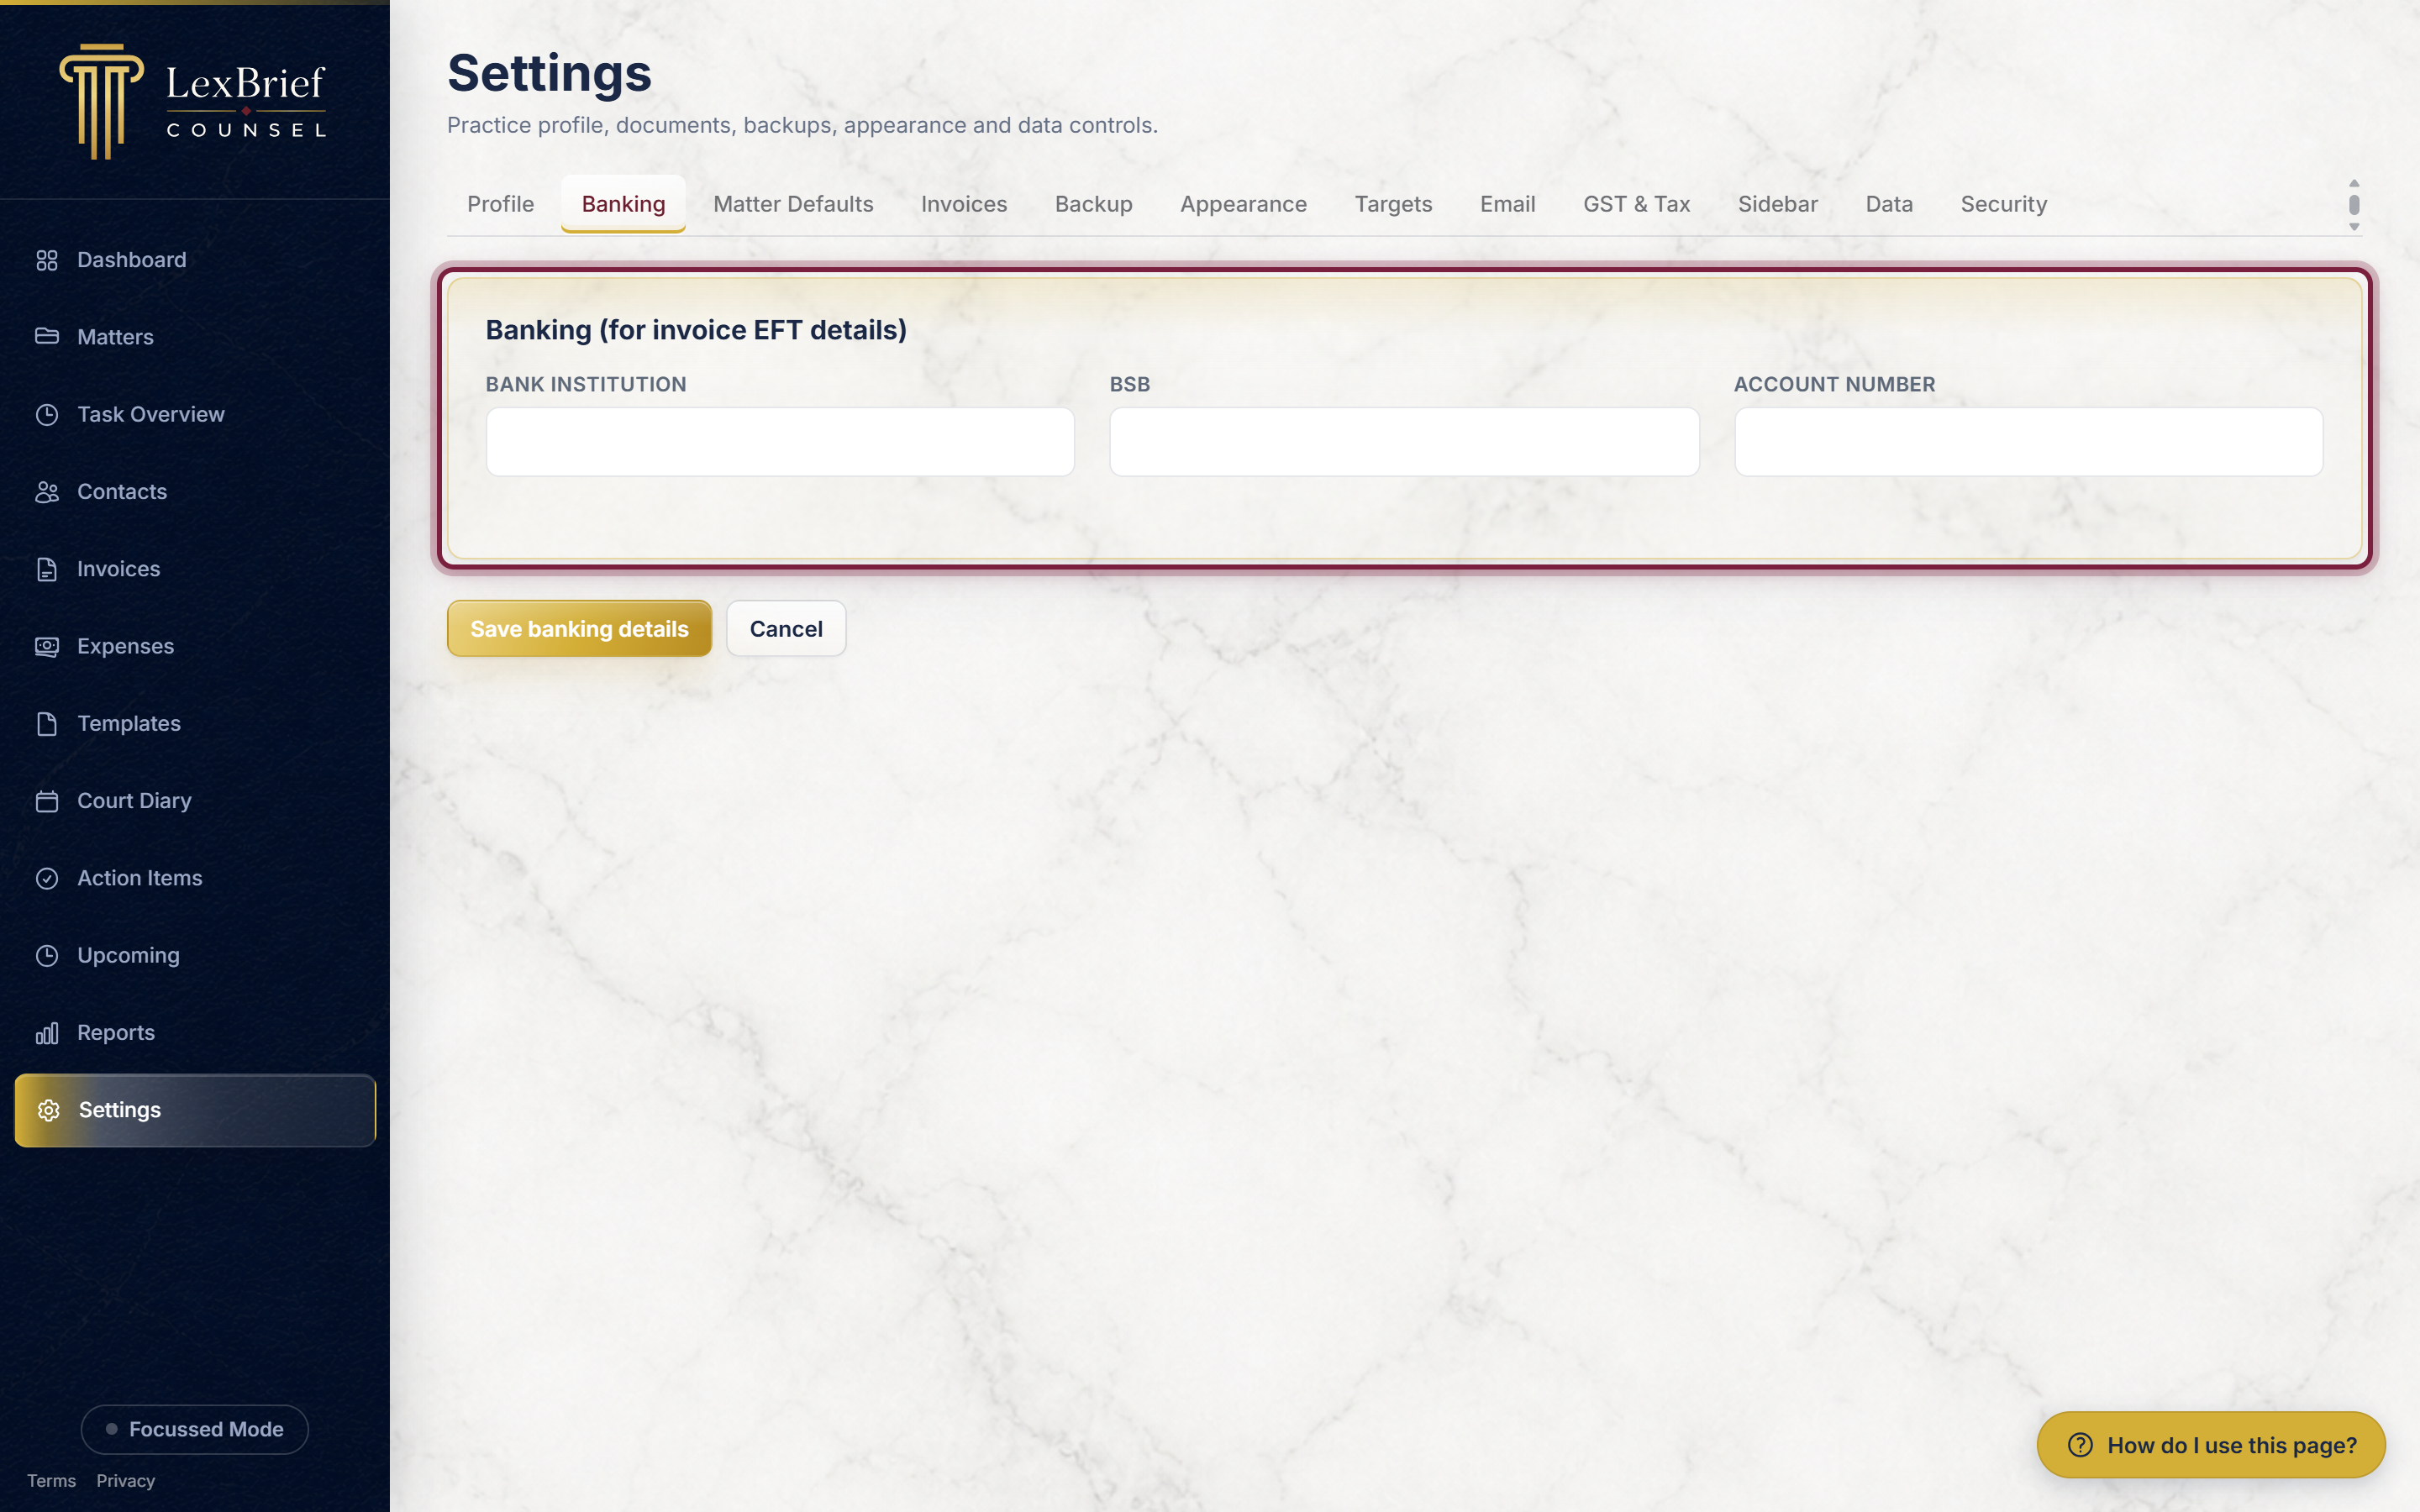
The Banking tab holds your bank details for the EFT (electronic funds transfer) block that prints on your invoices, so clients know where to pay. Fill in your Bank institution, BSB and Account number, then click Save banking details.
Matter Defaults
The Matter Defaults tab sets the values that are filled in for you each time you create a new matter, so you are not re-typing the same rate or GST figure every file. Anything here can be changed on an individual matter later.
The two things most people set first are your default rates and your GST and due days. They sit on two different sub-tabs.
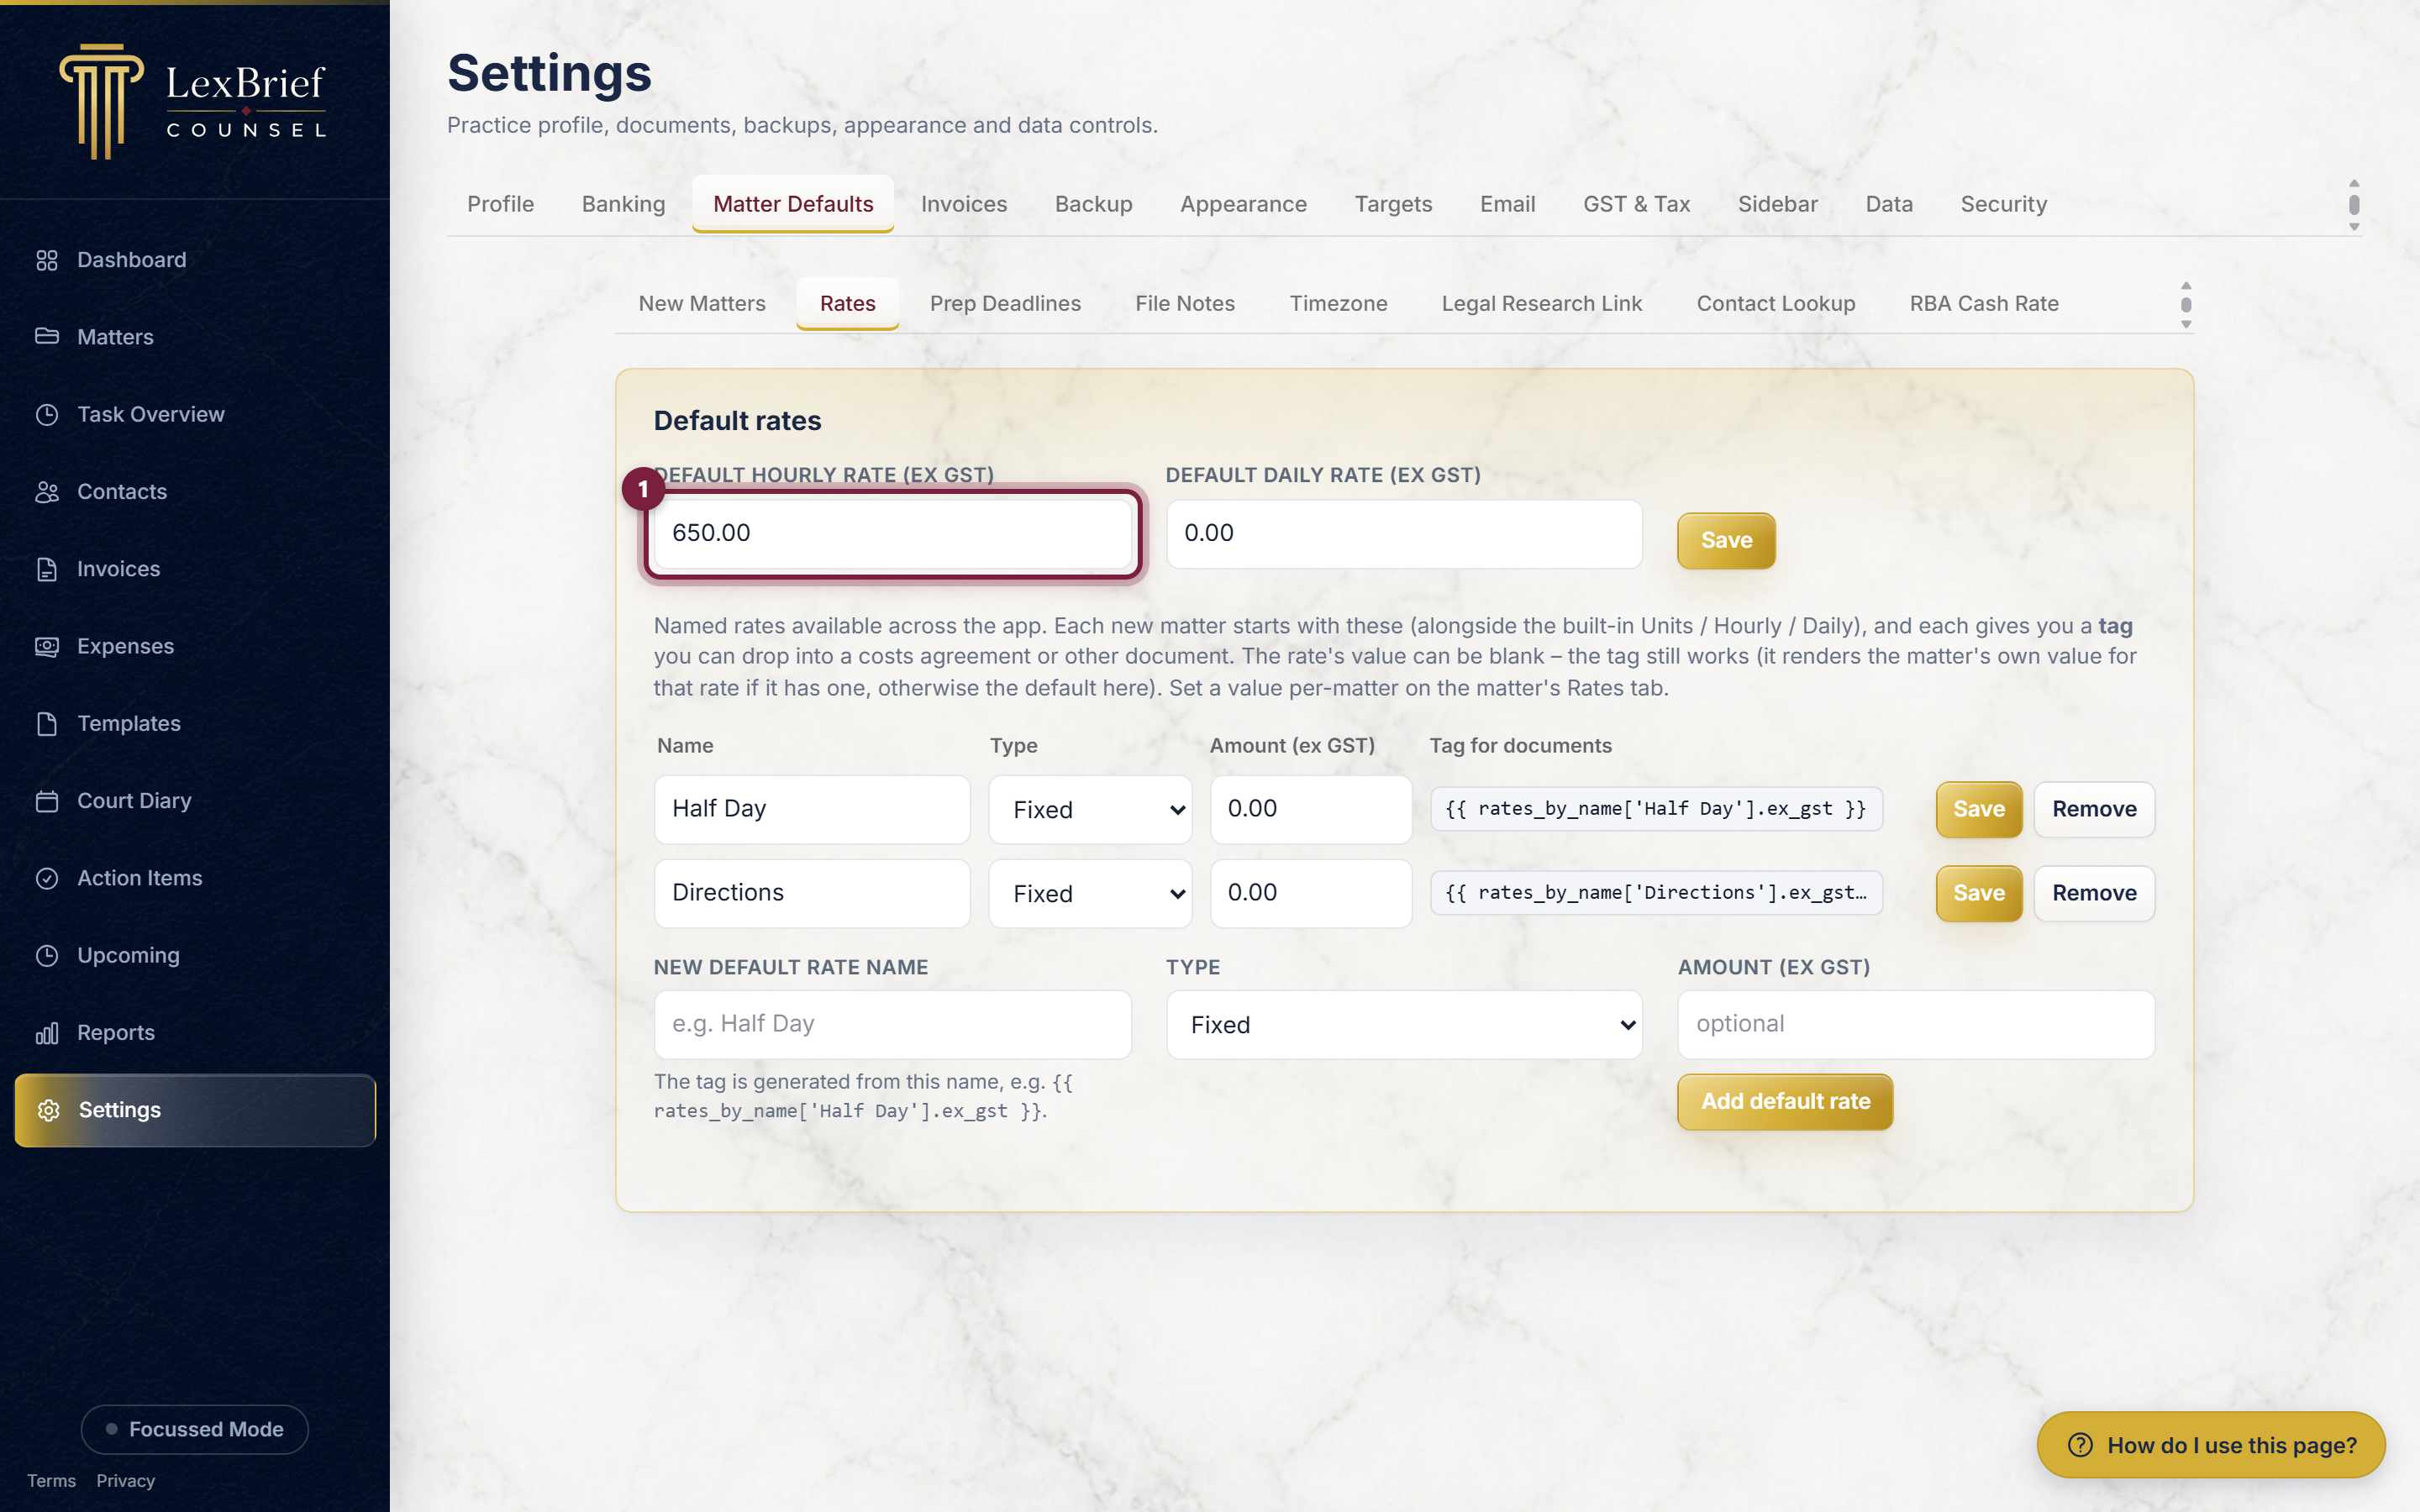
On the New Matters sub-tab:
- Set the GST % (10 for standard Australian GST) and the Default invoice due days if you want them different from the built-in values.
- The Default interest rate box sets the interest charged on overdue invoices. Leave it blank to use the legal maximum (the RBA cash rate on the invoice date, plus a fixed margin), which LexBrief keeps up to date for you.
- Click the Save button under that card.
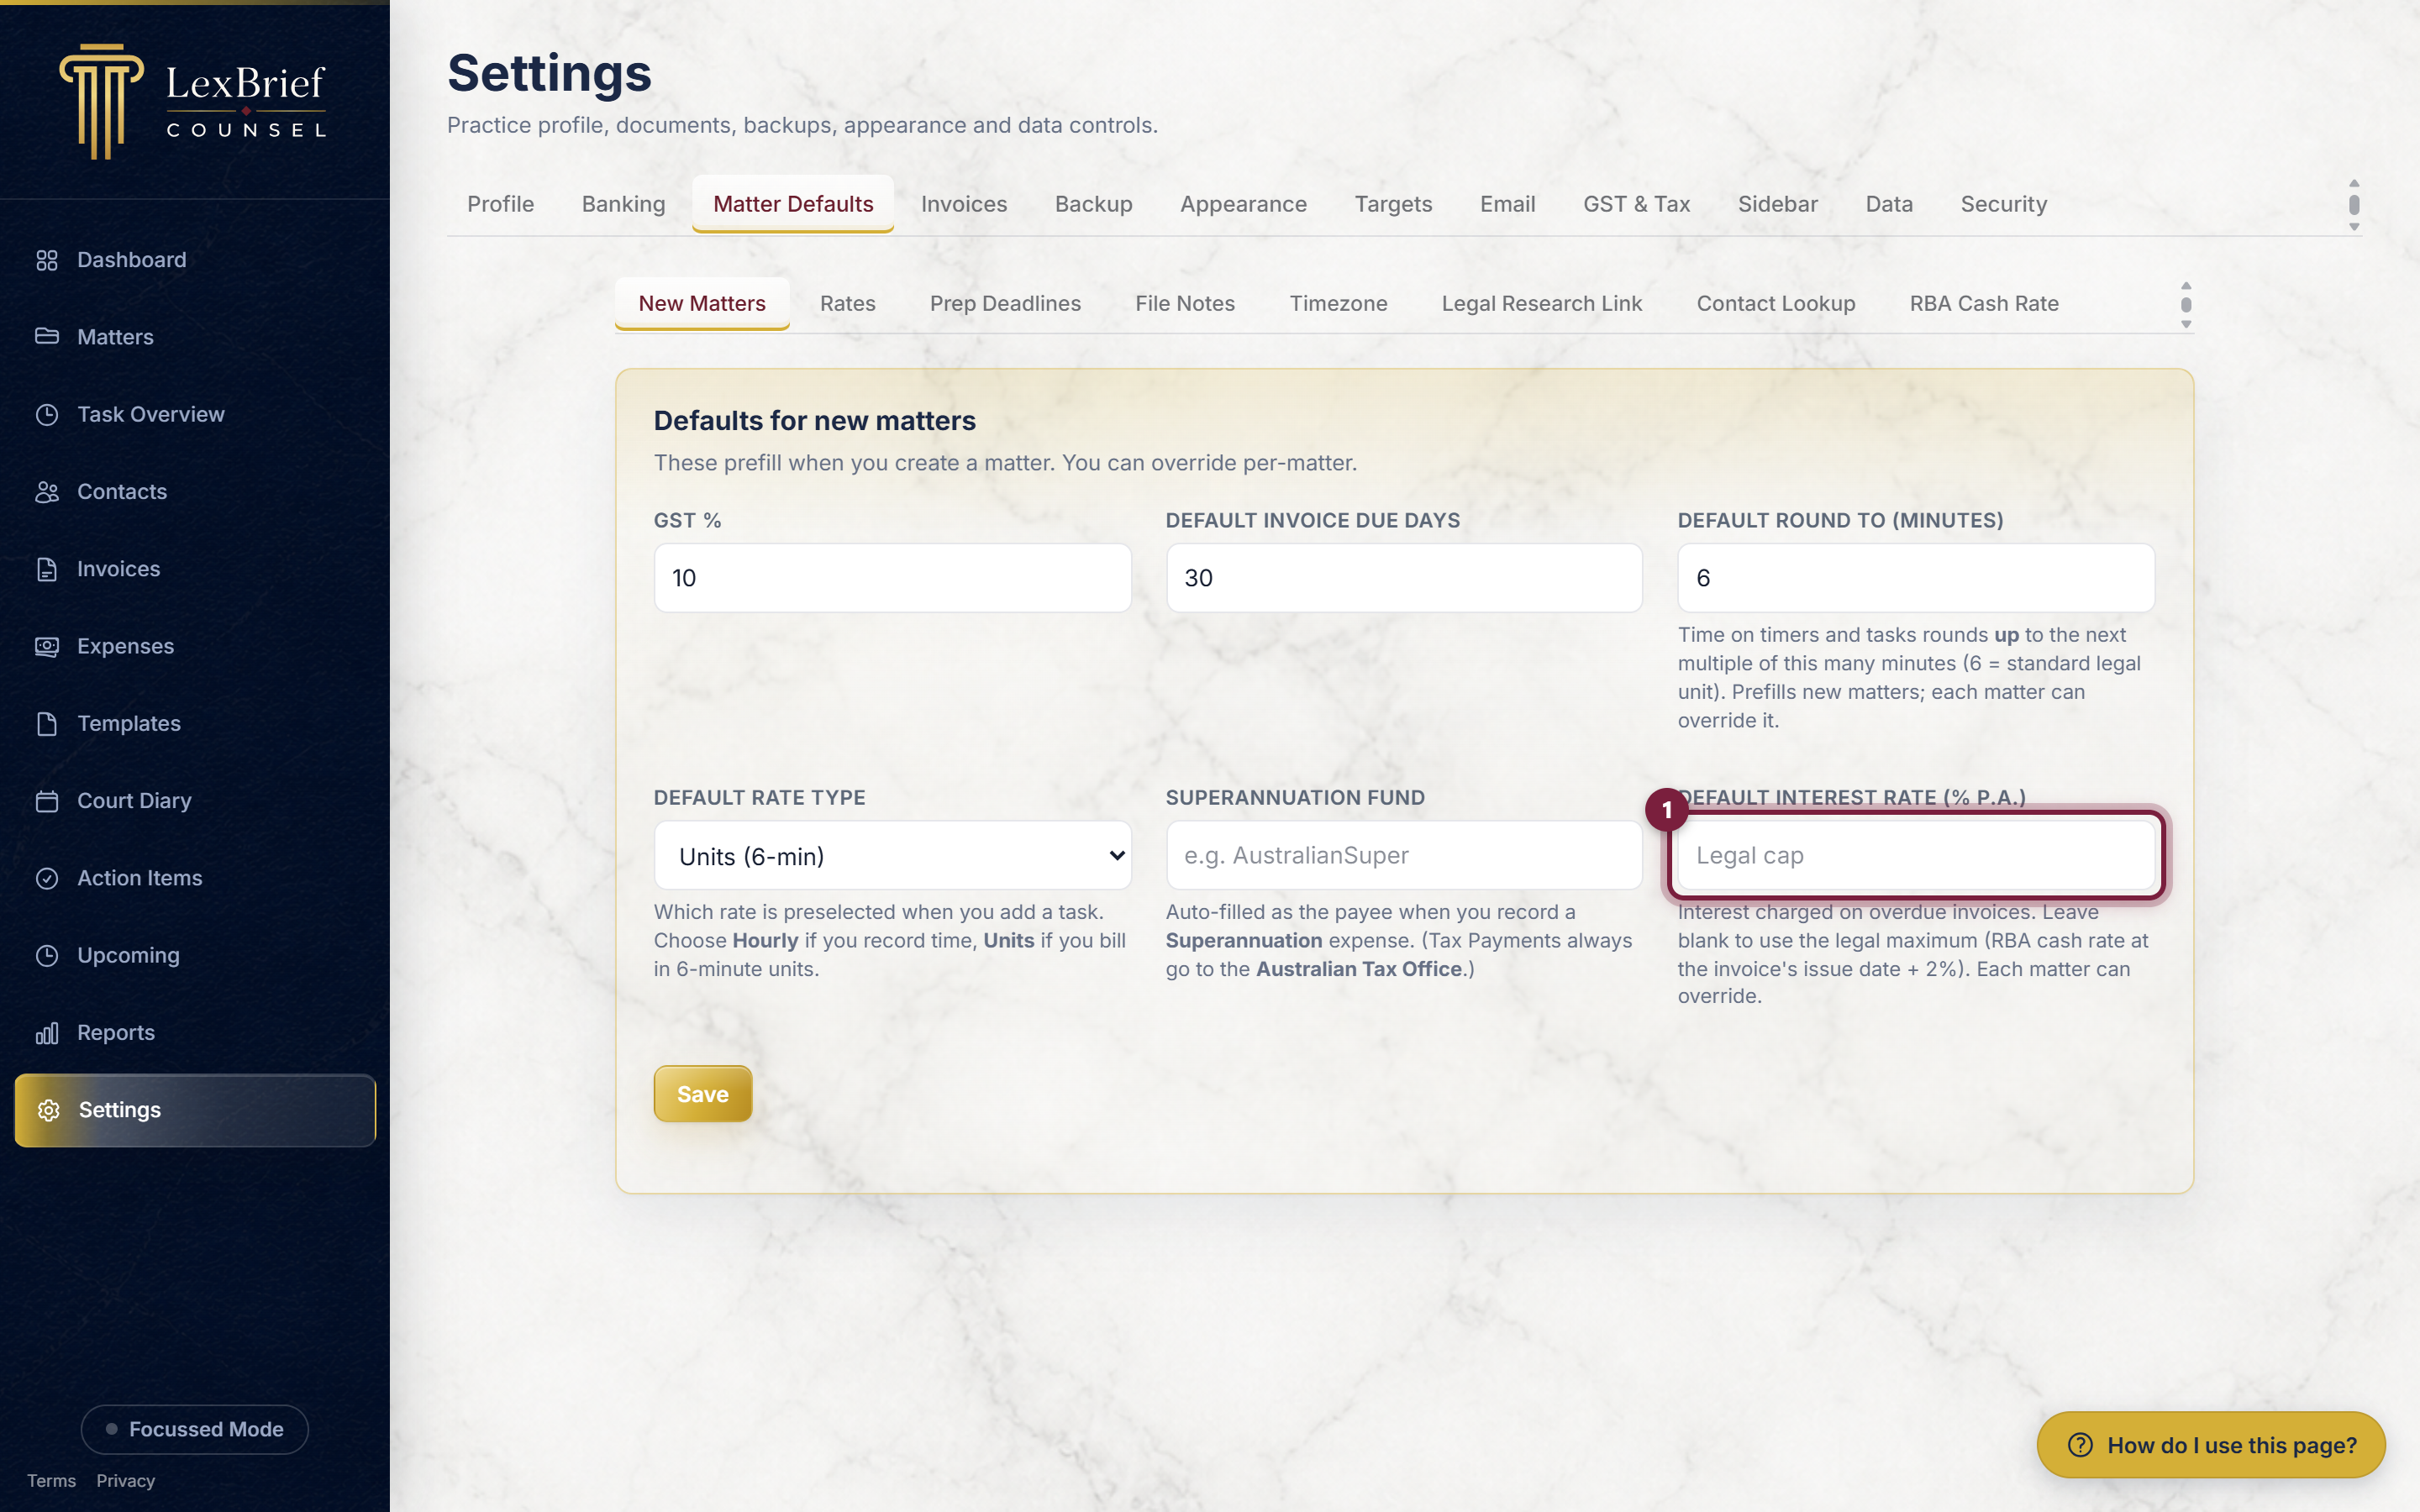
Then click the Rates sub-tab and type your usual rates into the Default hourly rate (ex GST) and Default daily rate (ex GST) boxes, for example 550. That sub-tab has its own Save button, and below it you can add named rates of your own.
The rest of this tab is split across its other sub-tabs, each with its own Save button: Rates (your named default rates), Prep Deadlines, File Notes (the edit policy), Timezone, Legal Research Link (an optional shortcut), Contact Lookup (keys for address and ABN autofill) and RBA Cash Rate.
Invoices
The Invoices tab has two sub-tabs. Numbering controls the invoice number your sequence starts from and how many digits it is padded to; Default Template is covered in the next section.
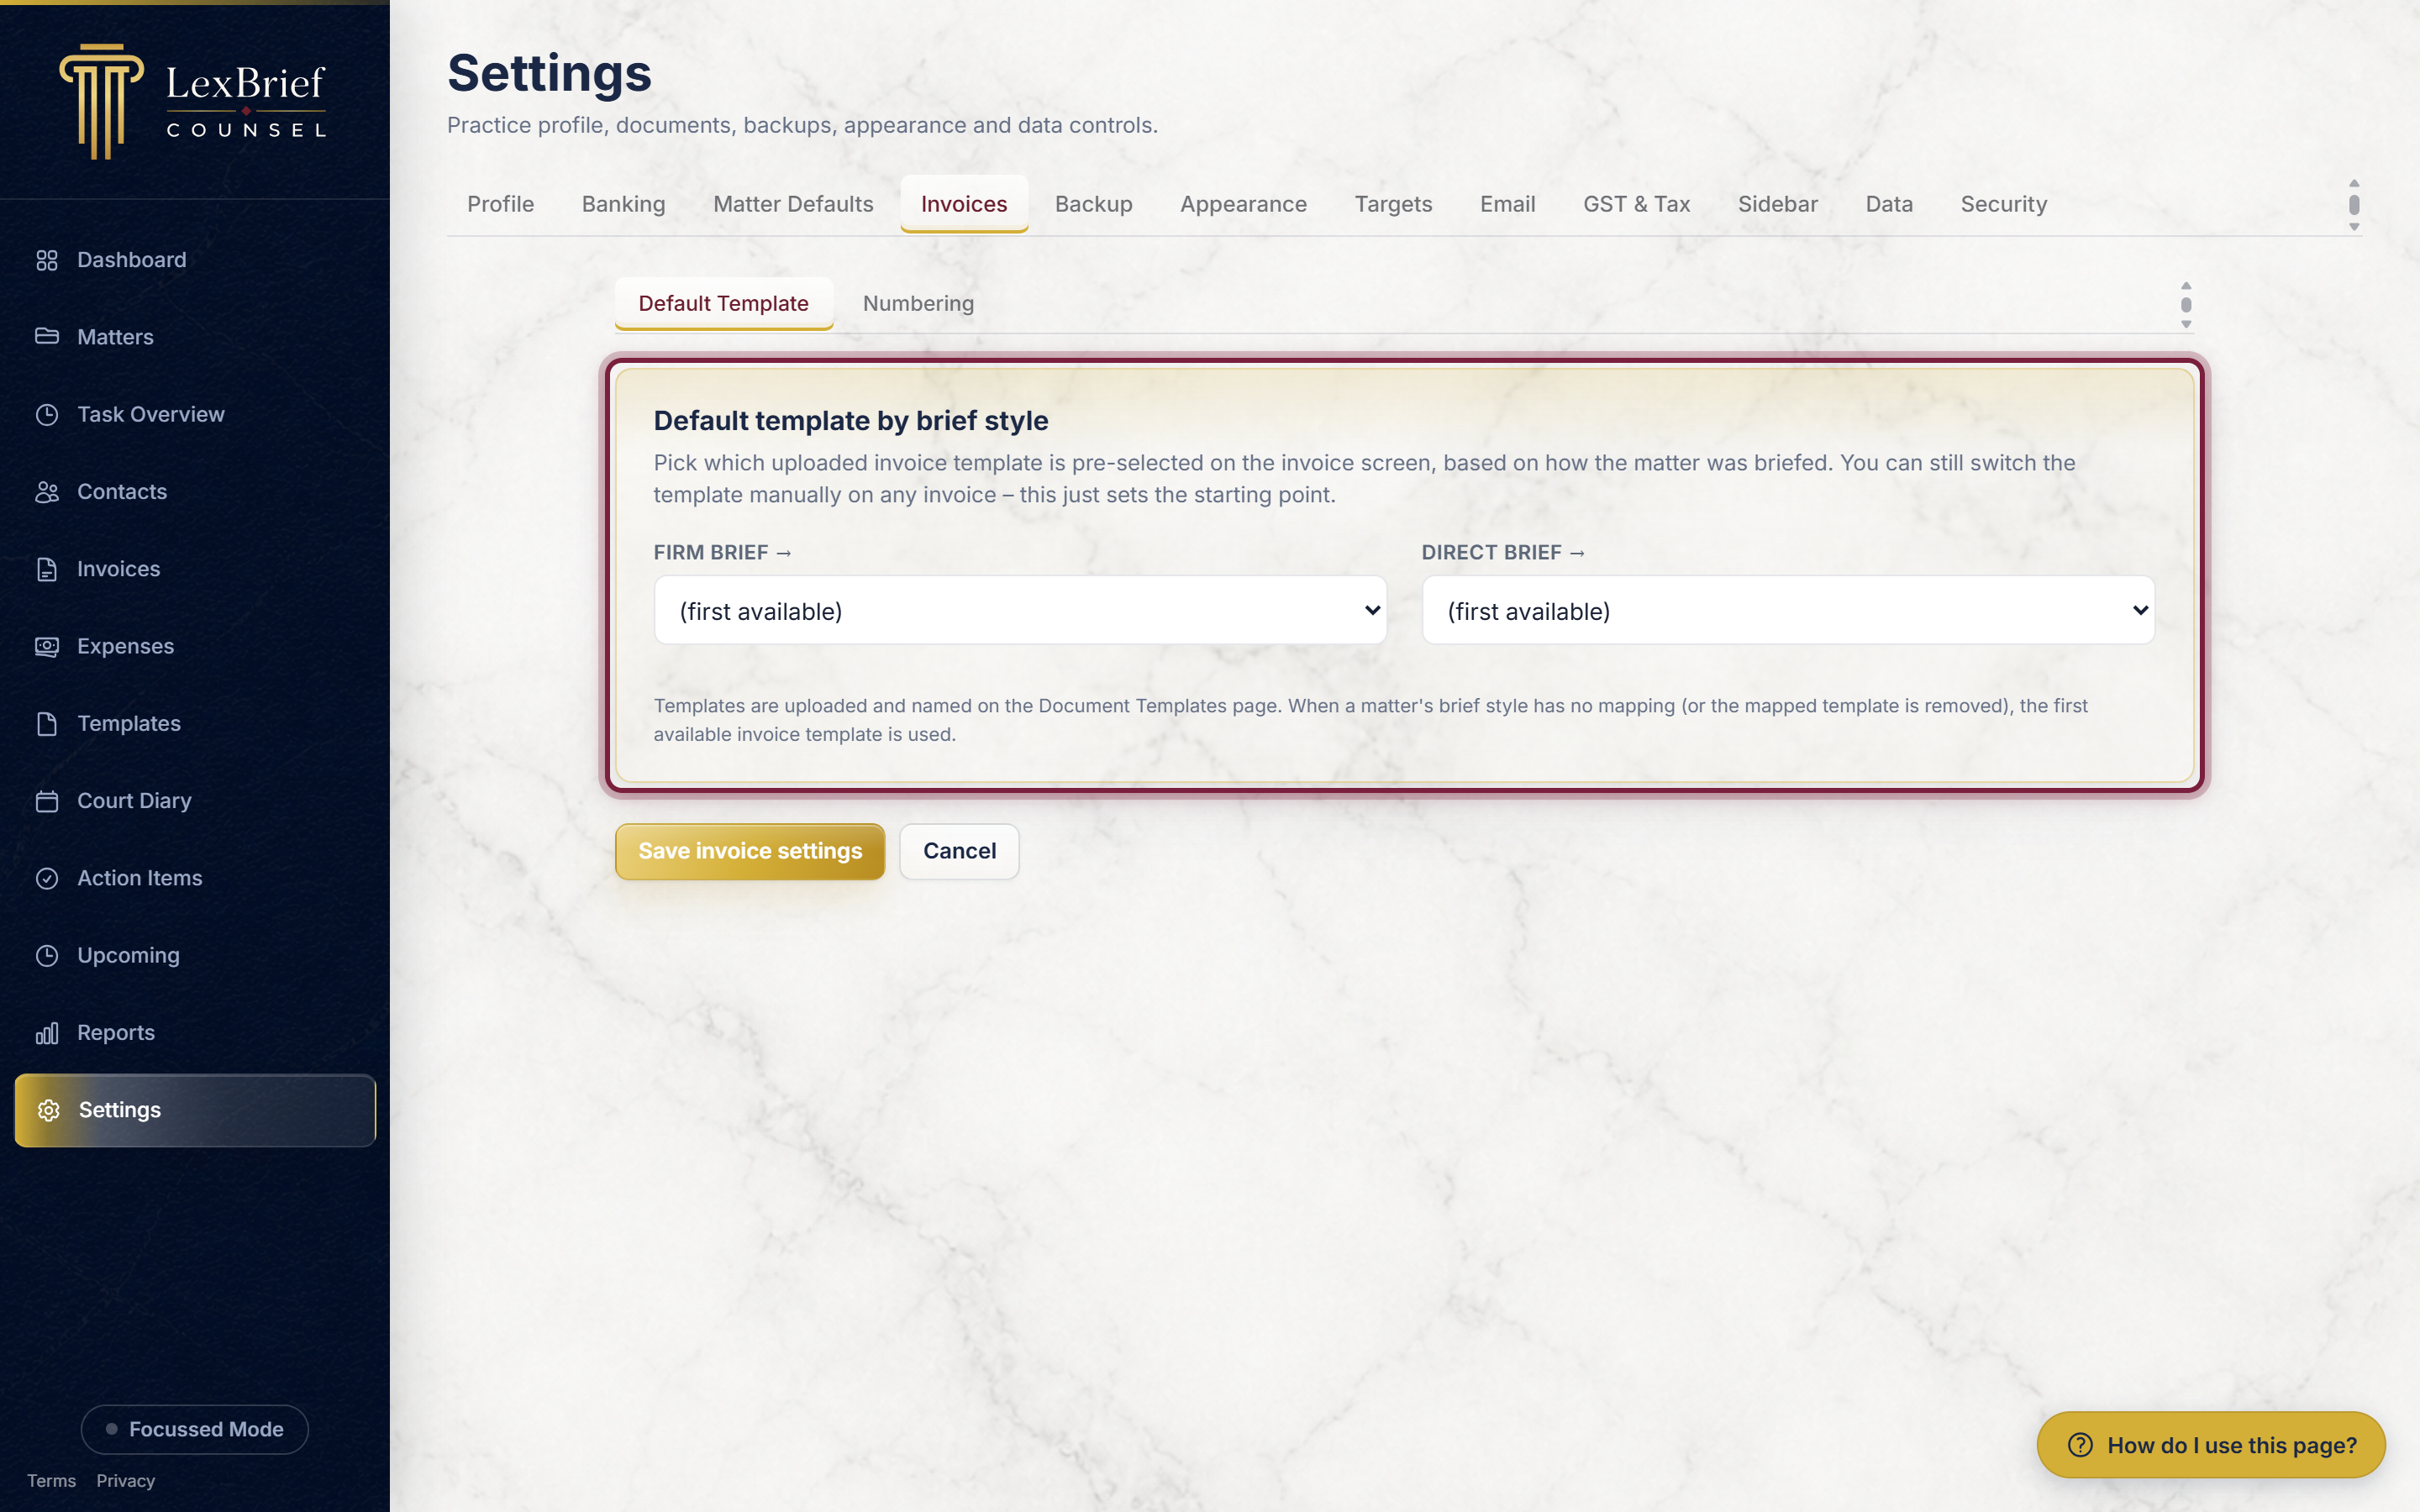
For most people the built-in numbering values are fine, so you can leave them alone until you need them. If you do change anything, click the tab's Save button.
Choosing a default invoice template
If you use more than one invoice template, this saves you picking the right one every time. A matter is briefed one of two ways: through a solicitor's firm (a firm brief) or by the client directly (a direct brief). Many barristers word those two invoices differently. Here you say which template each style should start with.
On the Invoices tab, click the Default Template sub-tab. It holds one card, headed Default template by brief style.
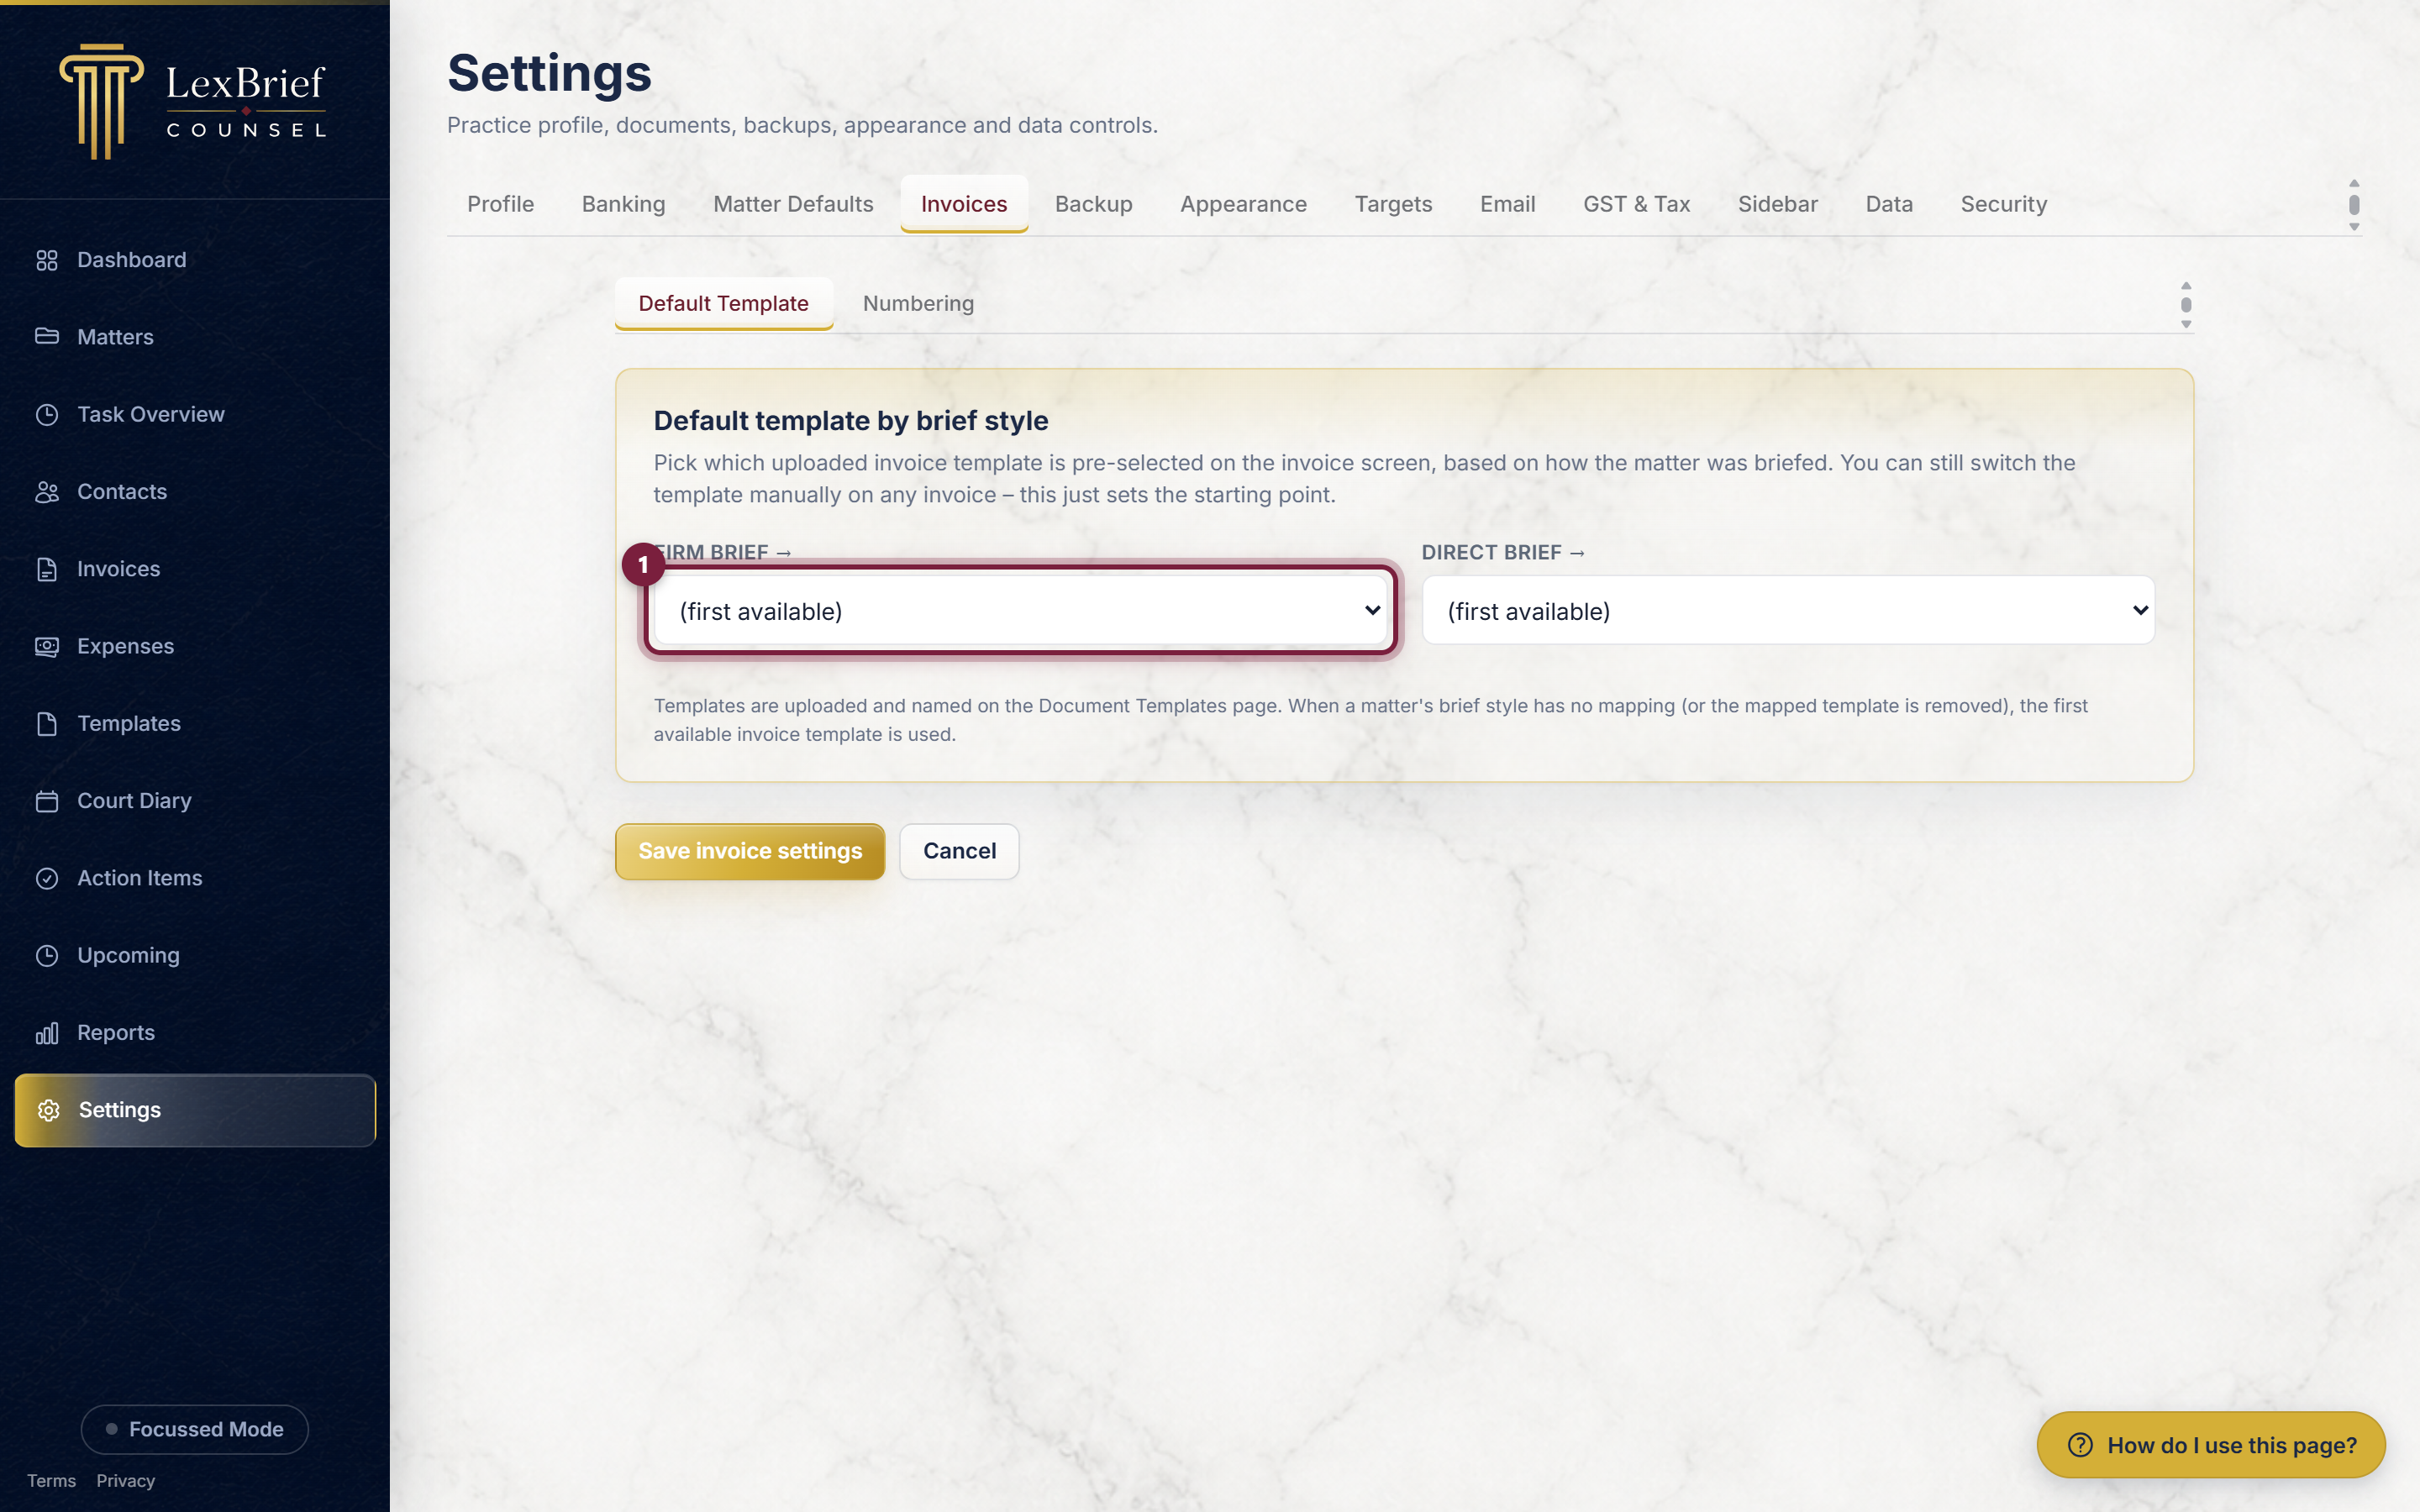
- Open the list next to Firm brief and choose the template you use for work briefed through a firm.
- Open the list next to Direct brief and choose the template you use for work briefed direct.
- Click the tab's Save button.
What you should see: a green "Settings saved" bar, and your two choices still showing in the lists.
Each list also offers (first available). Leave that selected if you do not want to nominate a template for that brief style. Templates are uploaded and named on the Document Templates page; see the Templates guide.
Appearance
The Appearance tab is where you choose how LexBrief looks: the colour theme, text size, spacing, and which cards and charts your Dashboard shows.
To change the colour theme:
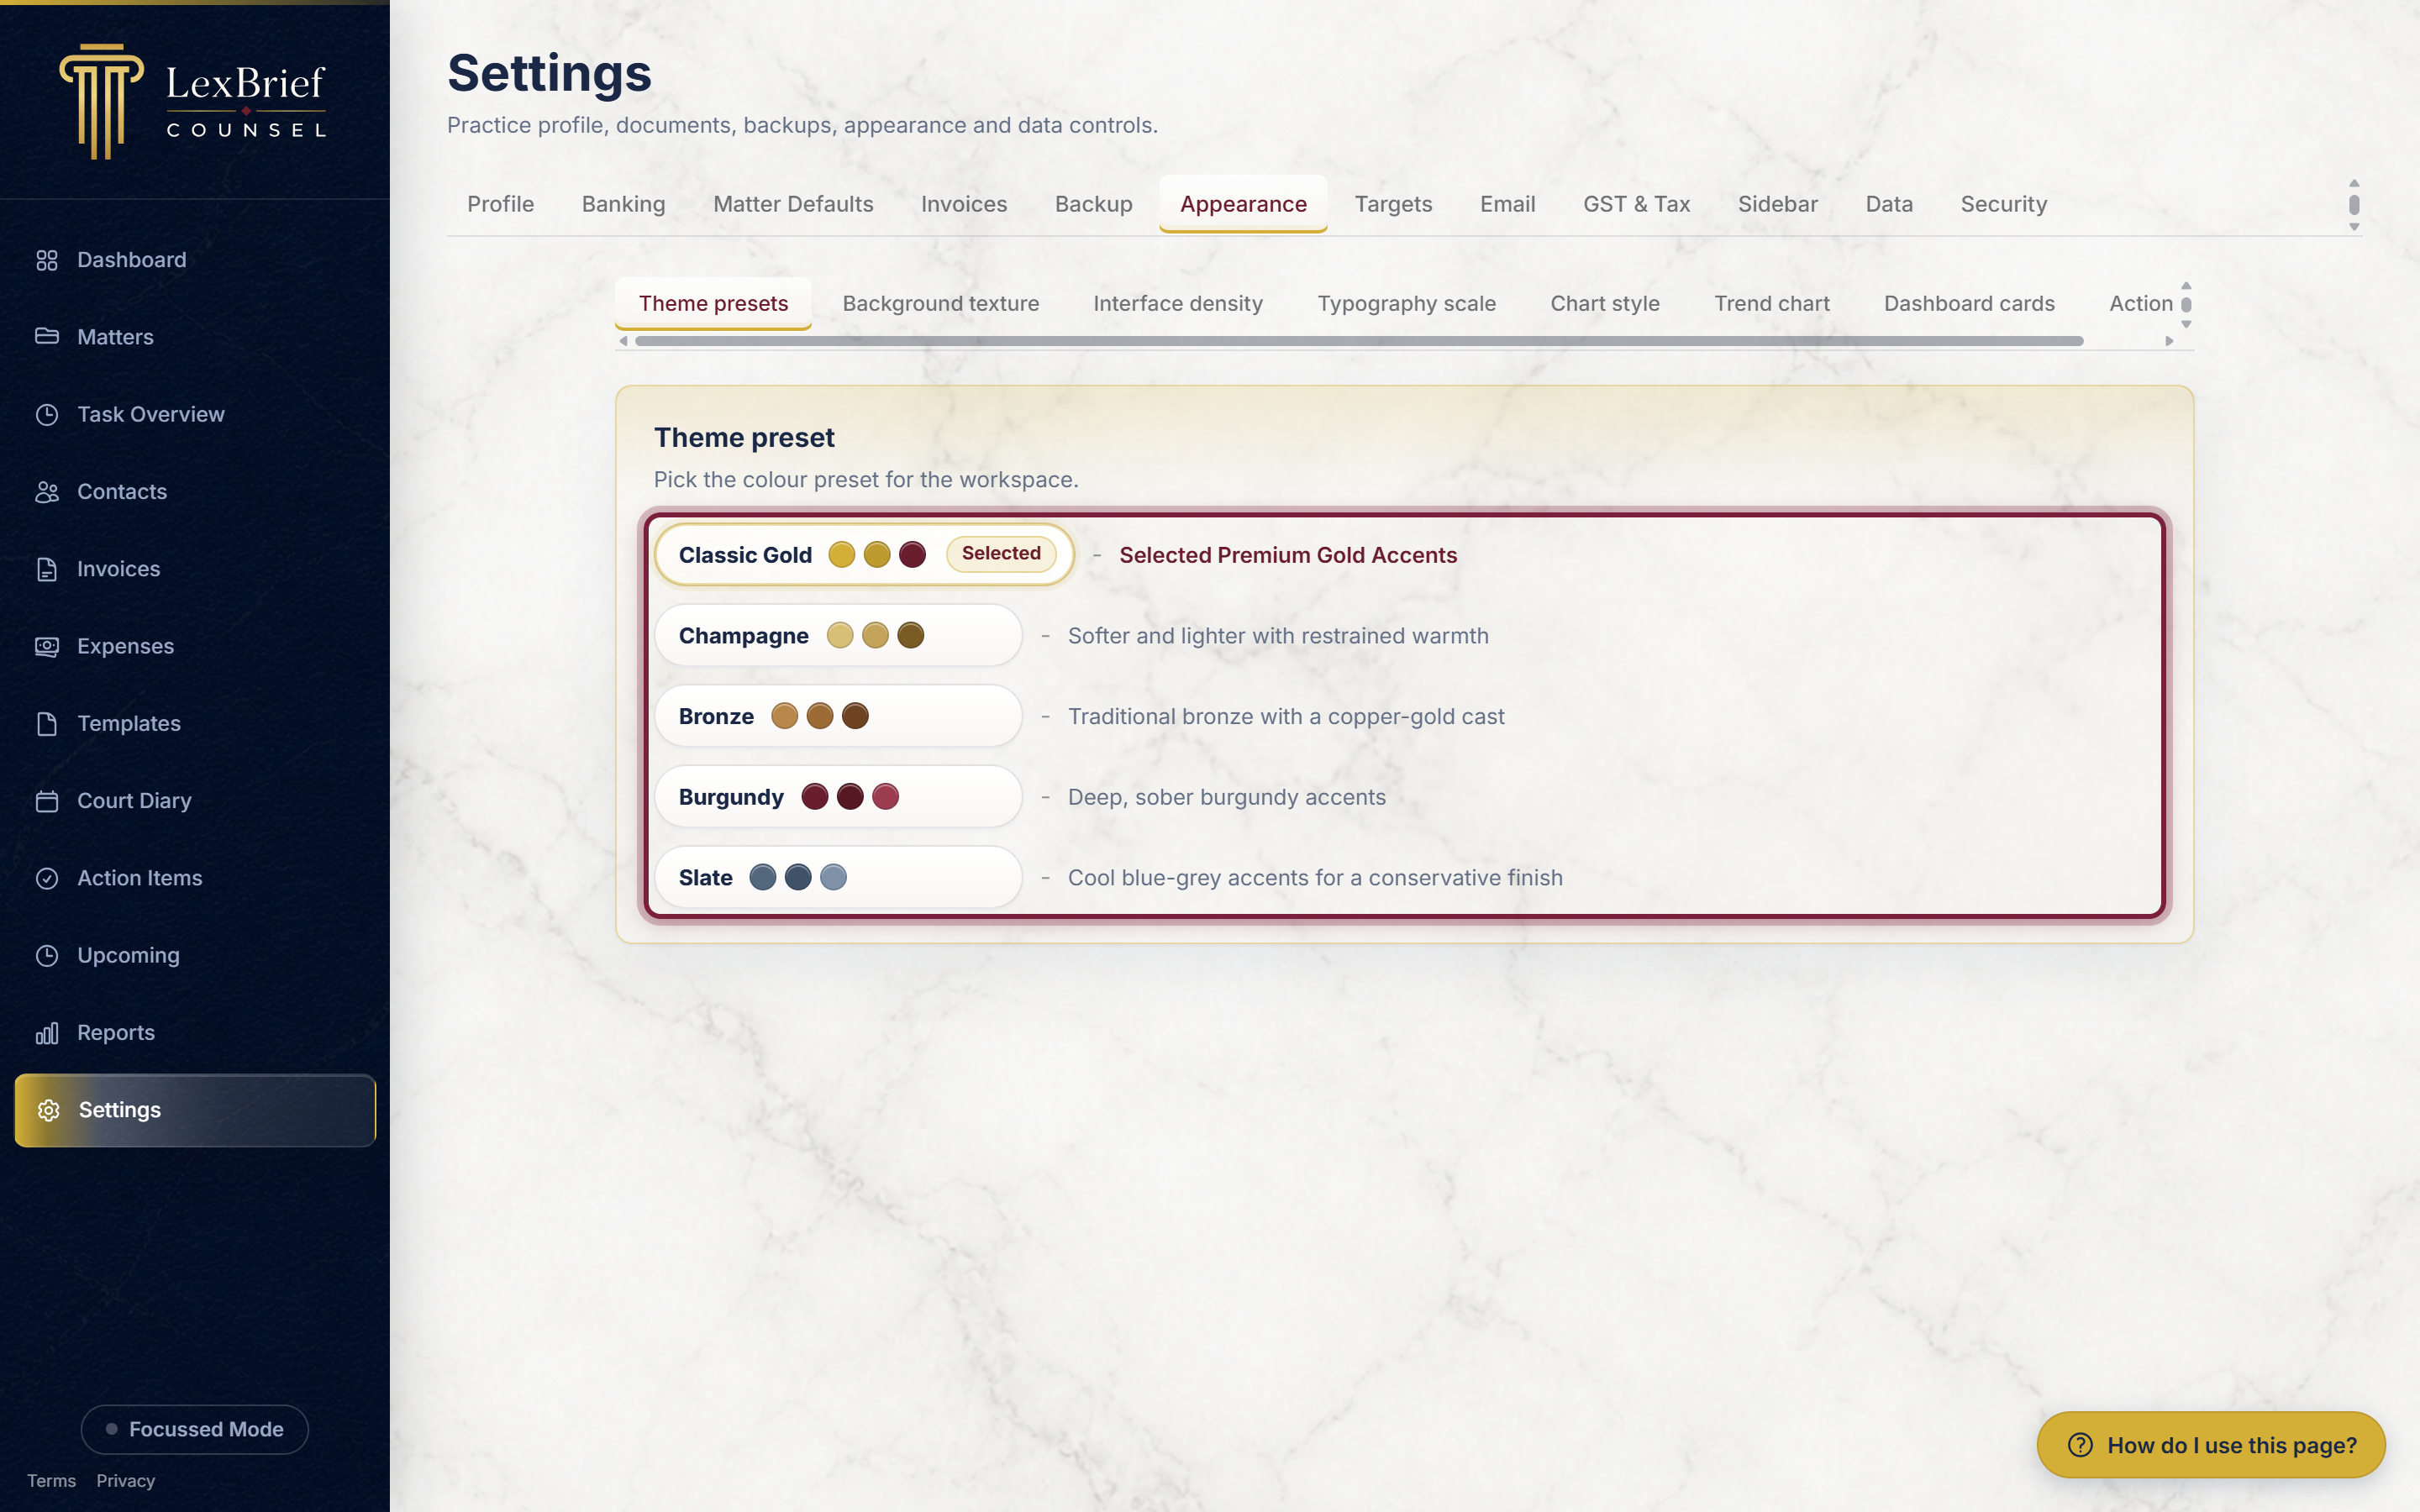
- Open the Theme presets panel (it is the first one shown).
- Click the preset you like from the list – for example Classic gold or Slate. The whole app recolours straight away.
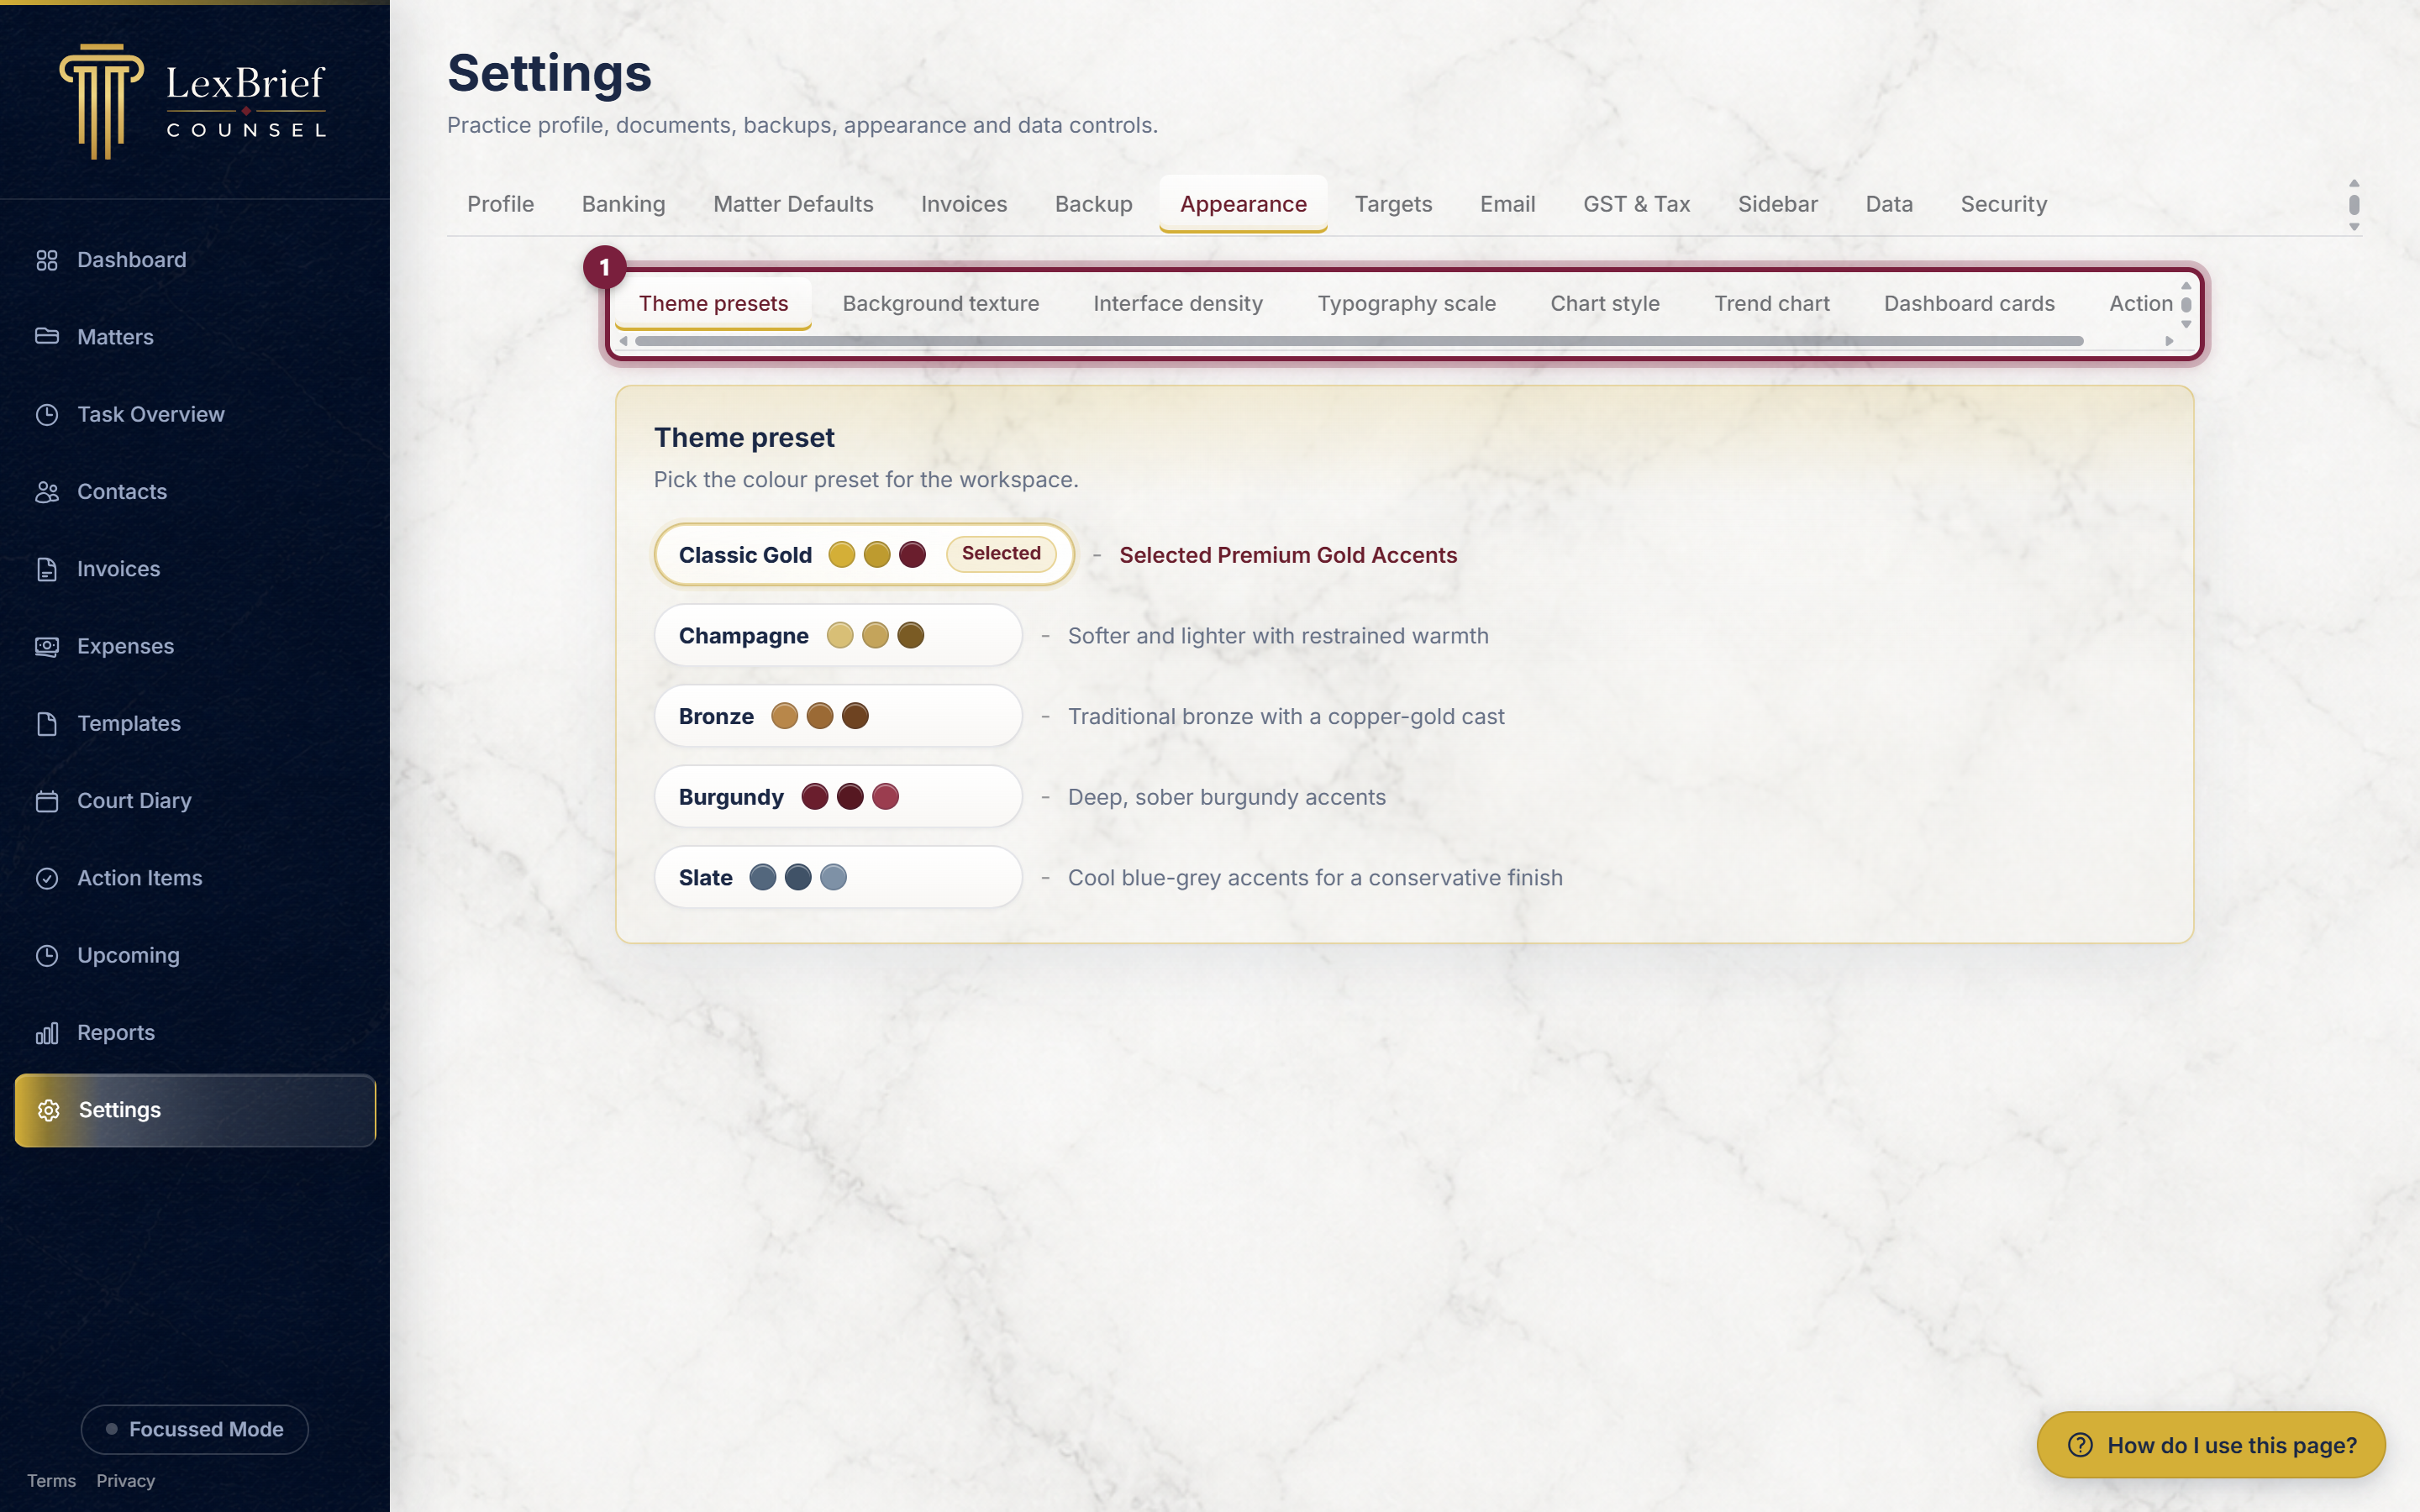
Appearance has its own inner row of tabs for the different kinds of setting: Theme presets, Background texture, Interface density, Typography scale, Chart style, Trend chart, Dashboard cards and Action items.
Targets
The Targets tab is where you tell LexBrief your goals, so the goal-based cards on your Dashboard have something to measure your progress against.
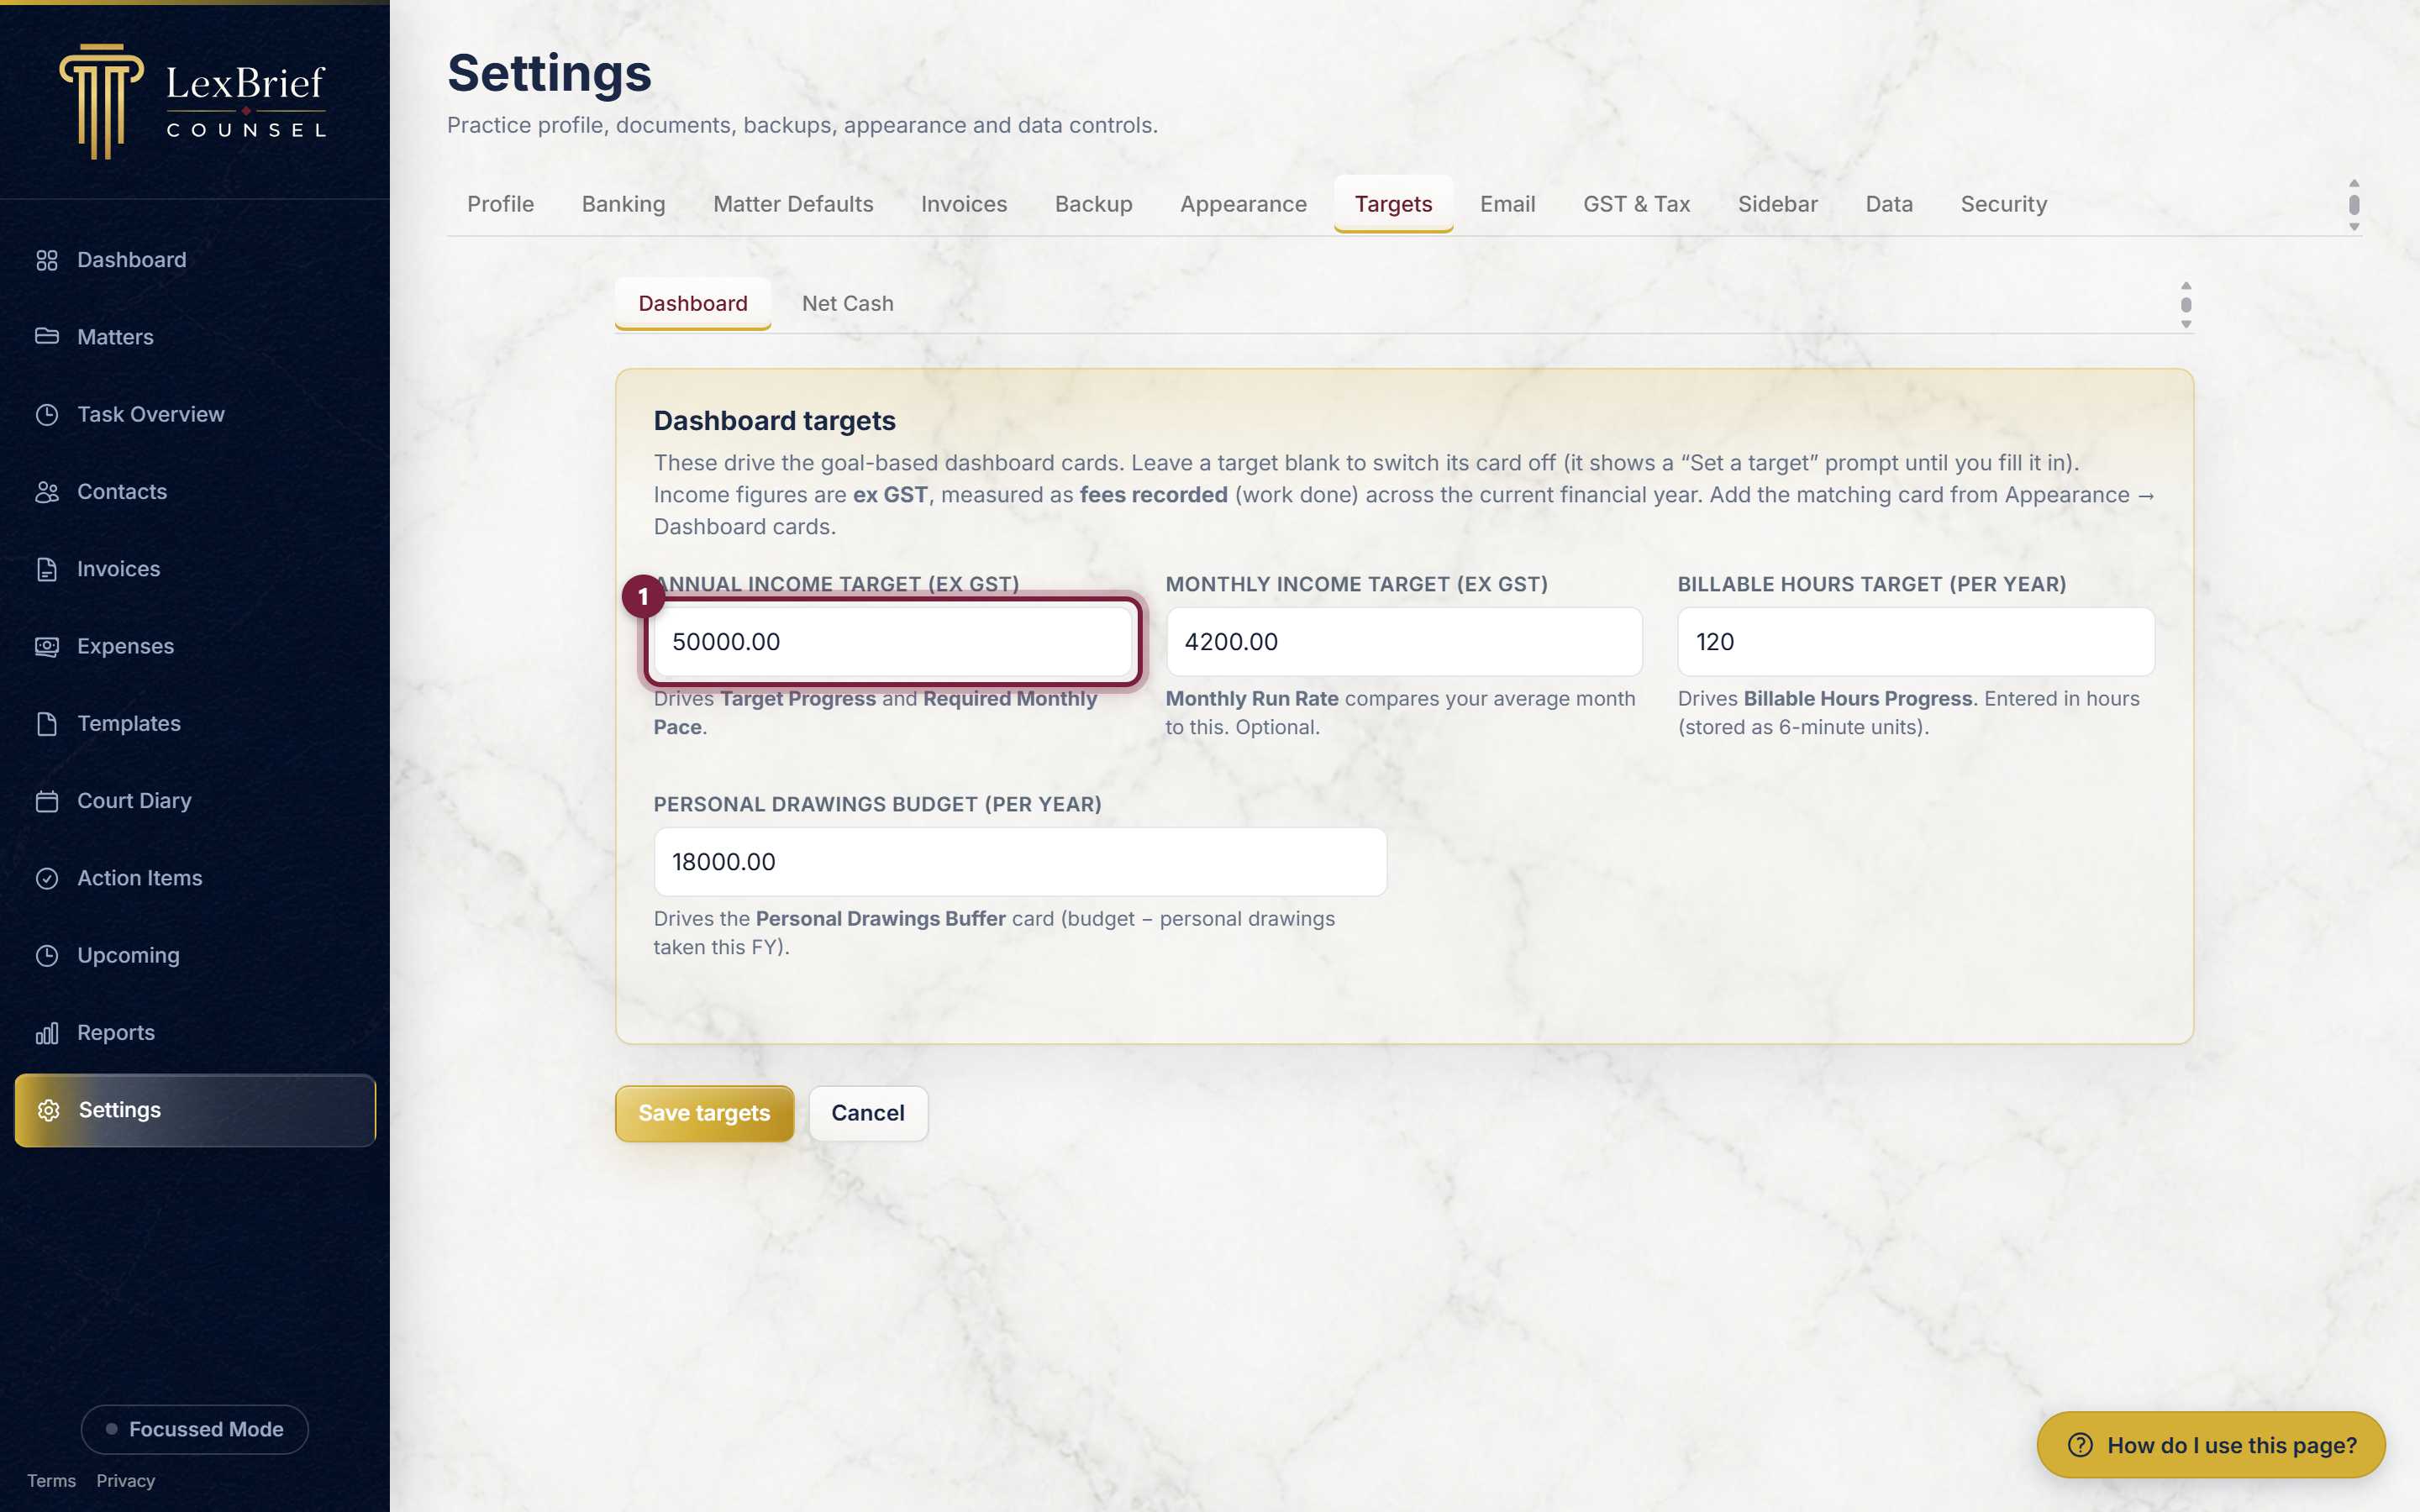
- Type a figure into the box you want to set, for example Annual income target. Income figures are the amount before GST.
- Fill in any others you want (Monthly income, Billable hours per year, Personal drawings budget). Leave a box blank to switch its card off.
- Click the Save targets button.
GST & Tax
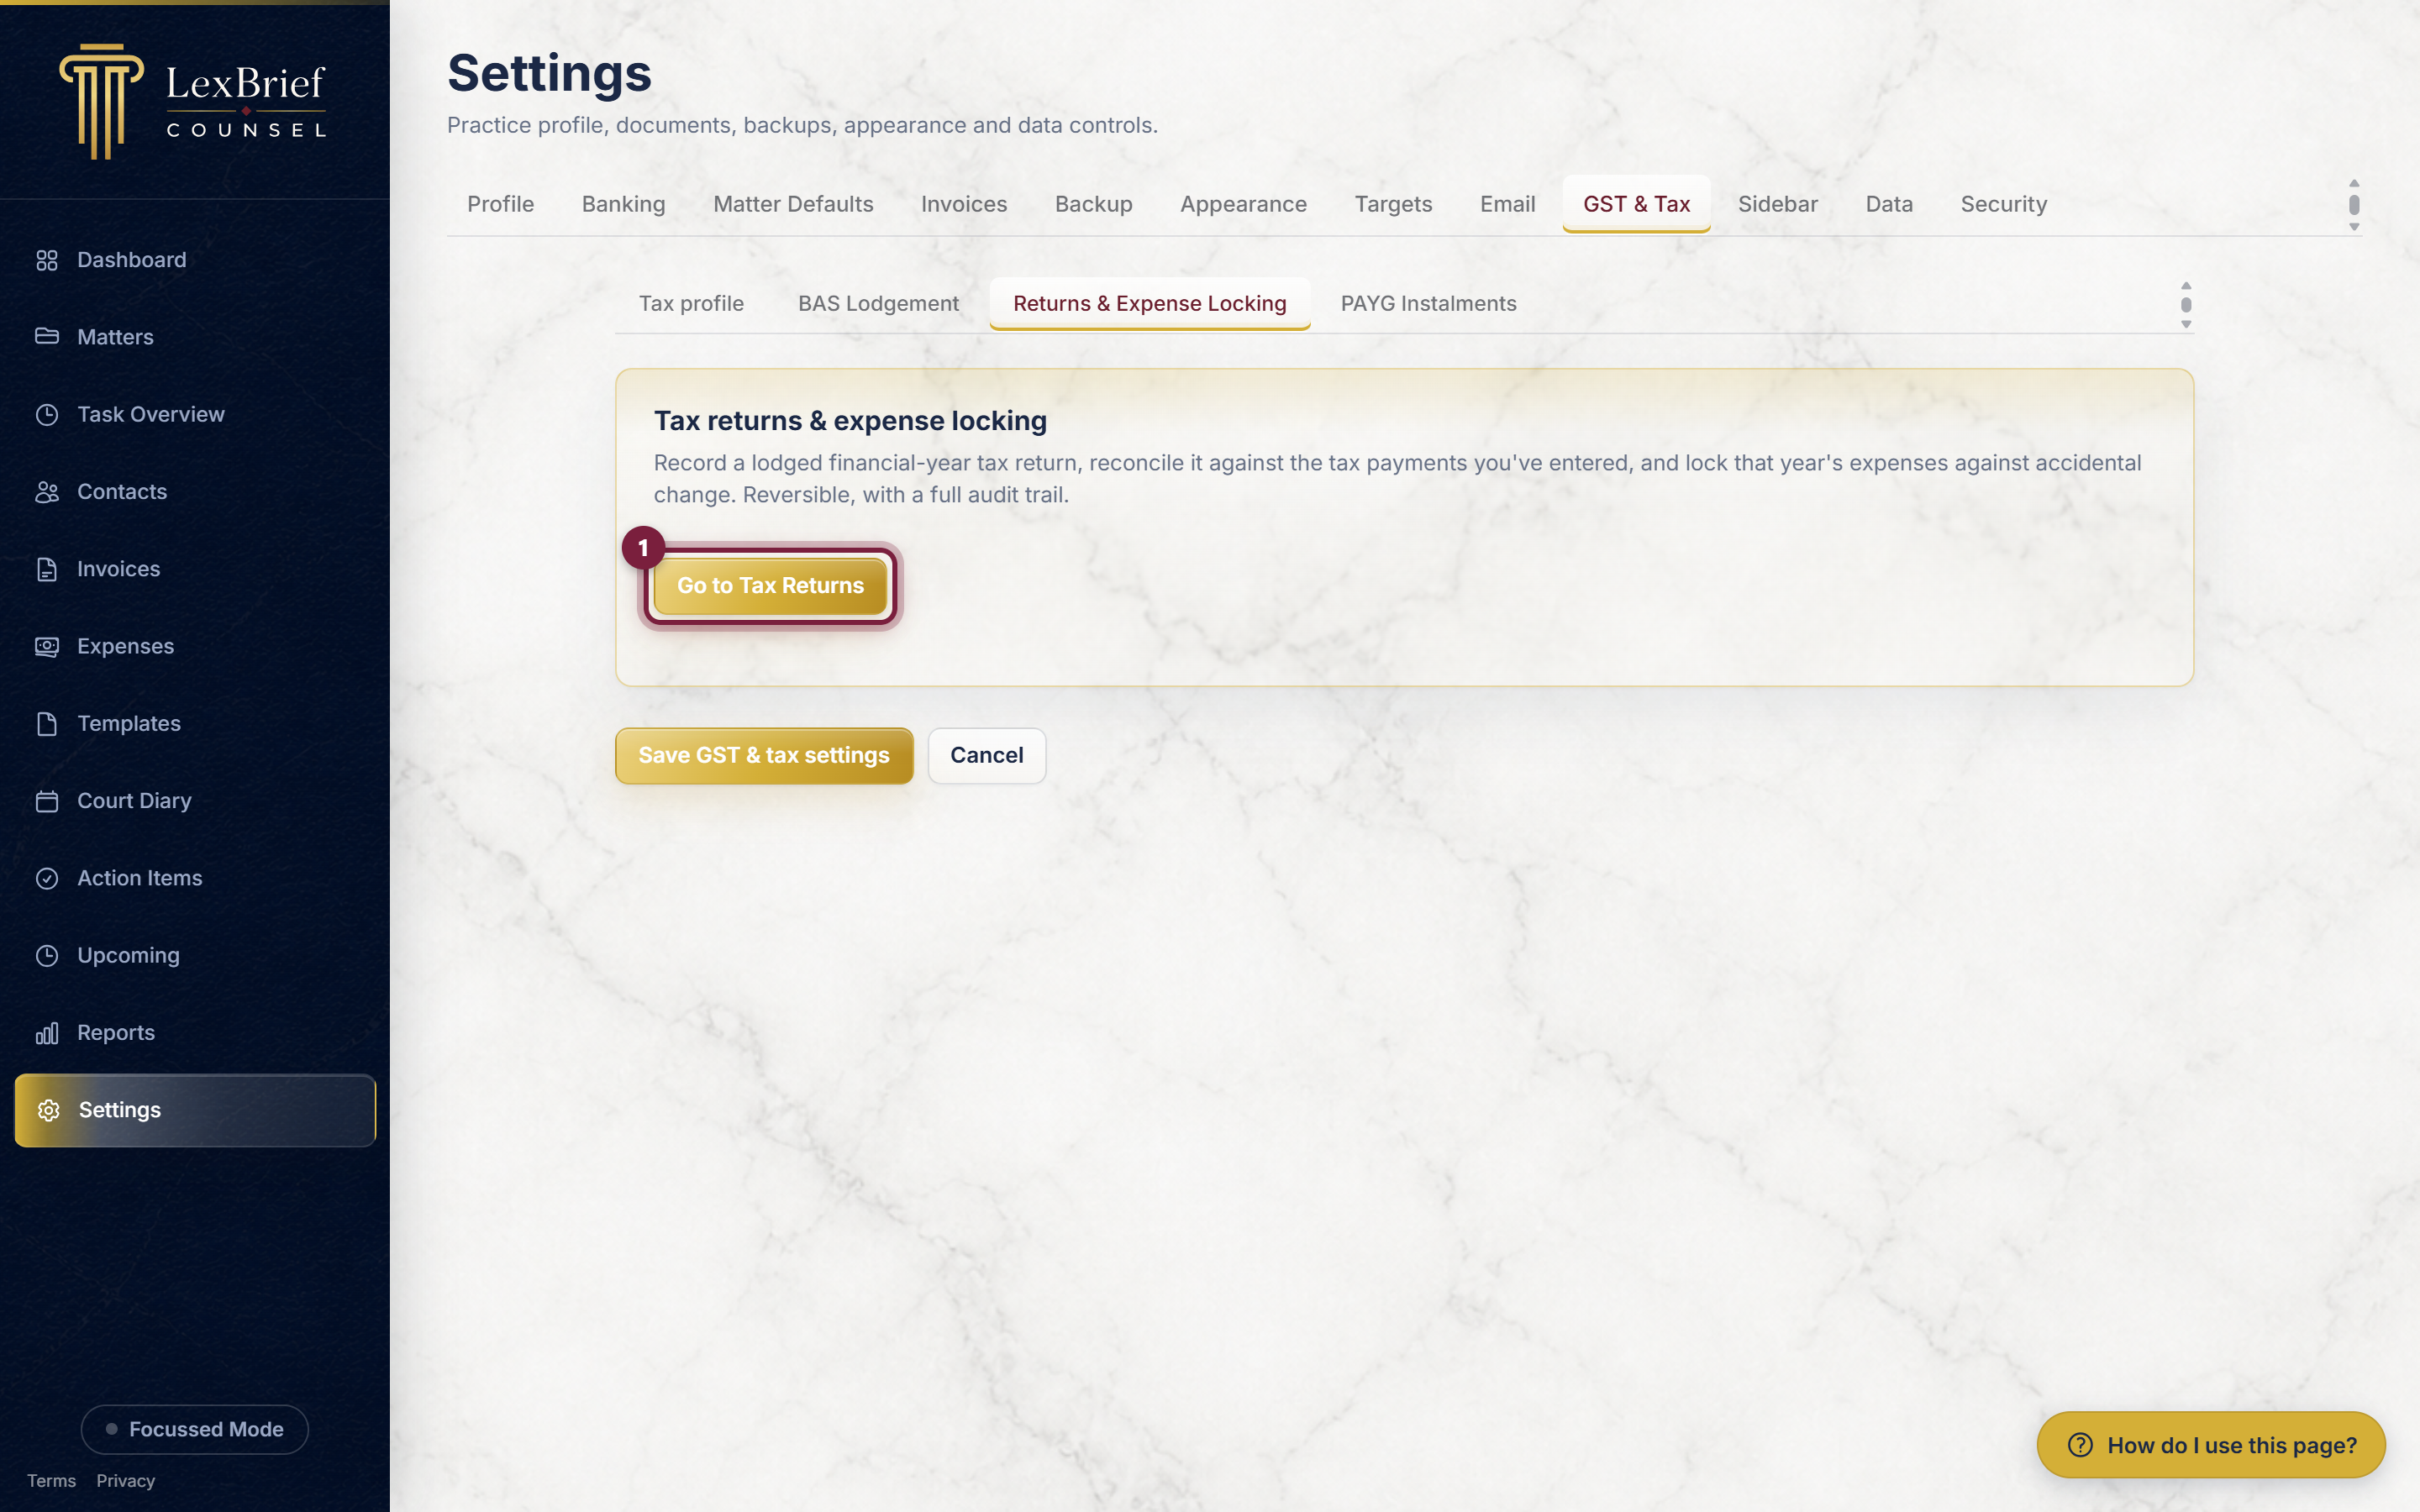
The GST & Tax tab gathers your tax settings in one place. It shows a read-only summary of your ABN, GST rate and financial year (change those where they live, on Profile and Matter Defaults), lets you set how often you lodge your BAS (Business Activity Statement), and gives you quick buttons to generate a BAS or the Financial Year End Tax Report.
It is also the door to Tax Returns, where you record a lodged return for a financial year and lock that year's expenses. Click Go to Tax Returns to open it.
The reporting itself lives under Reports; see the Reports guide for how to run and download a report.
Sidebar
The Sidebar tab lets you decide which pages appear in the left-hand menu, and in what order. If there are features you never use, you can tidy them out of your way.
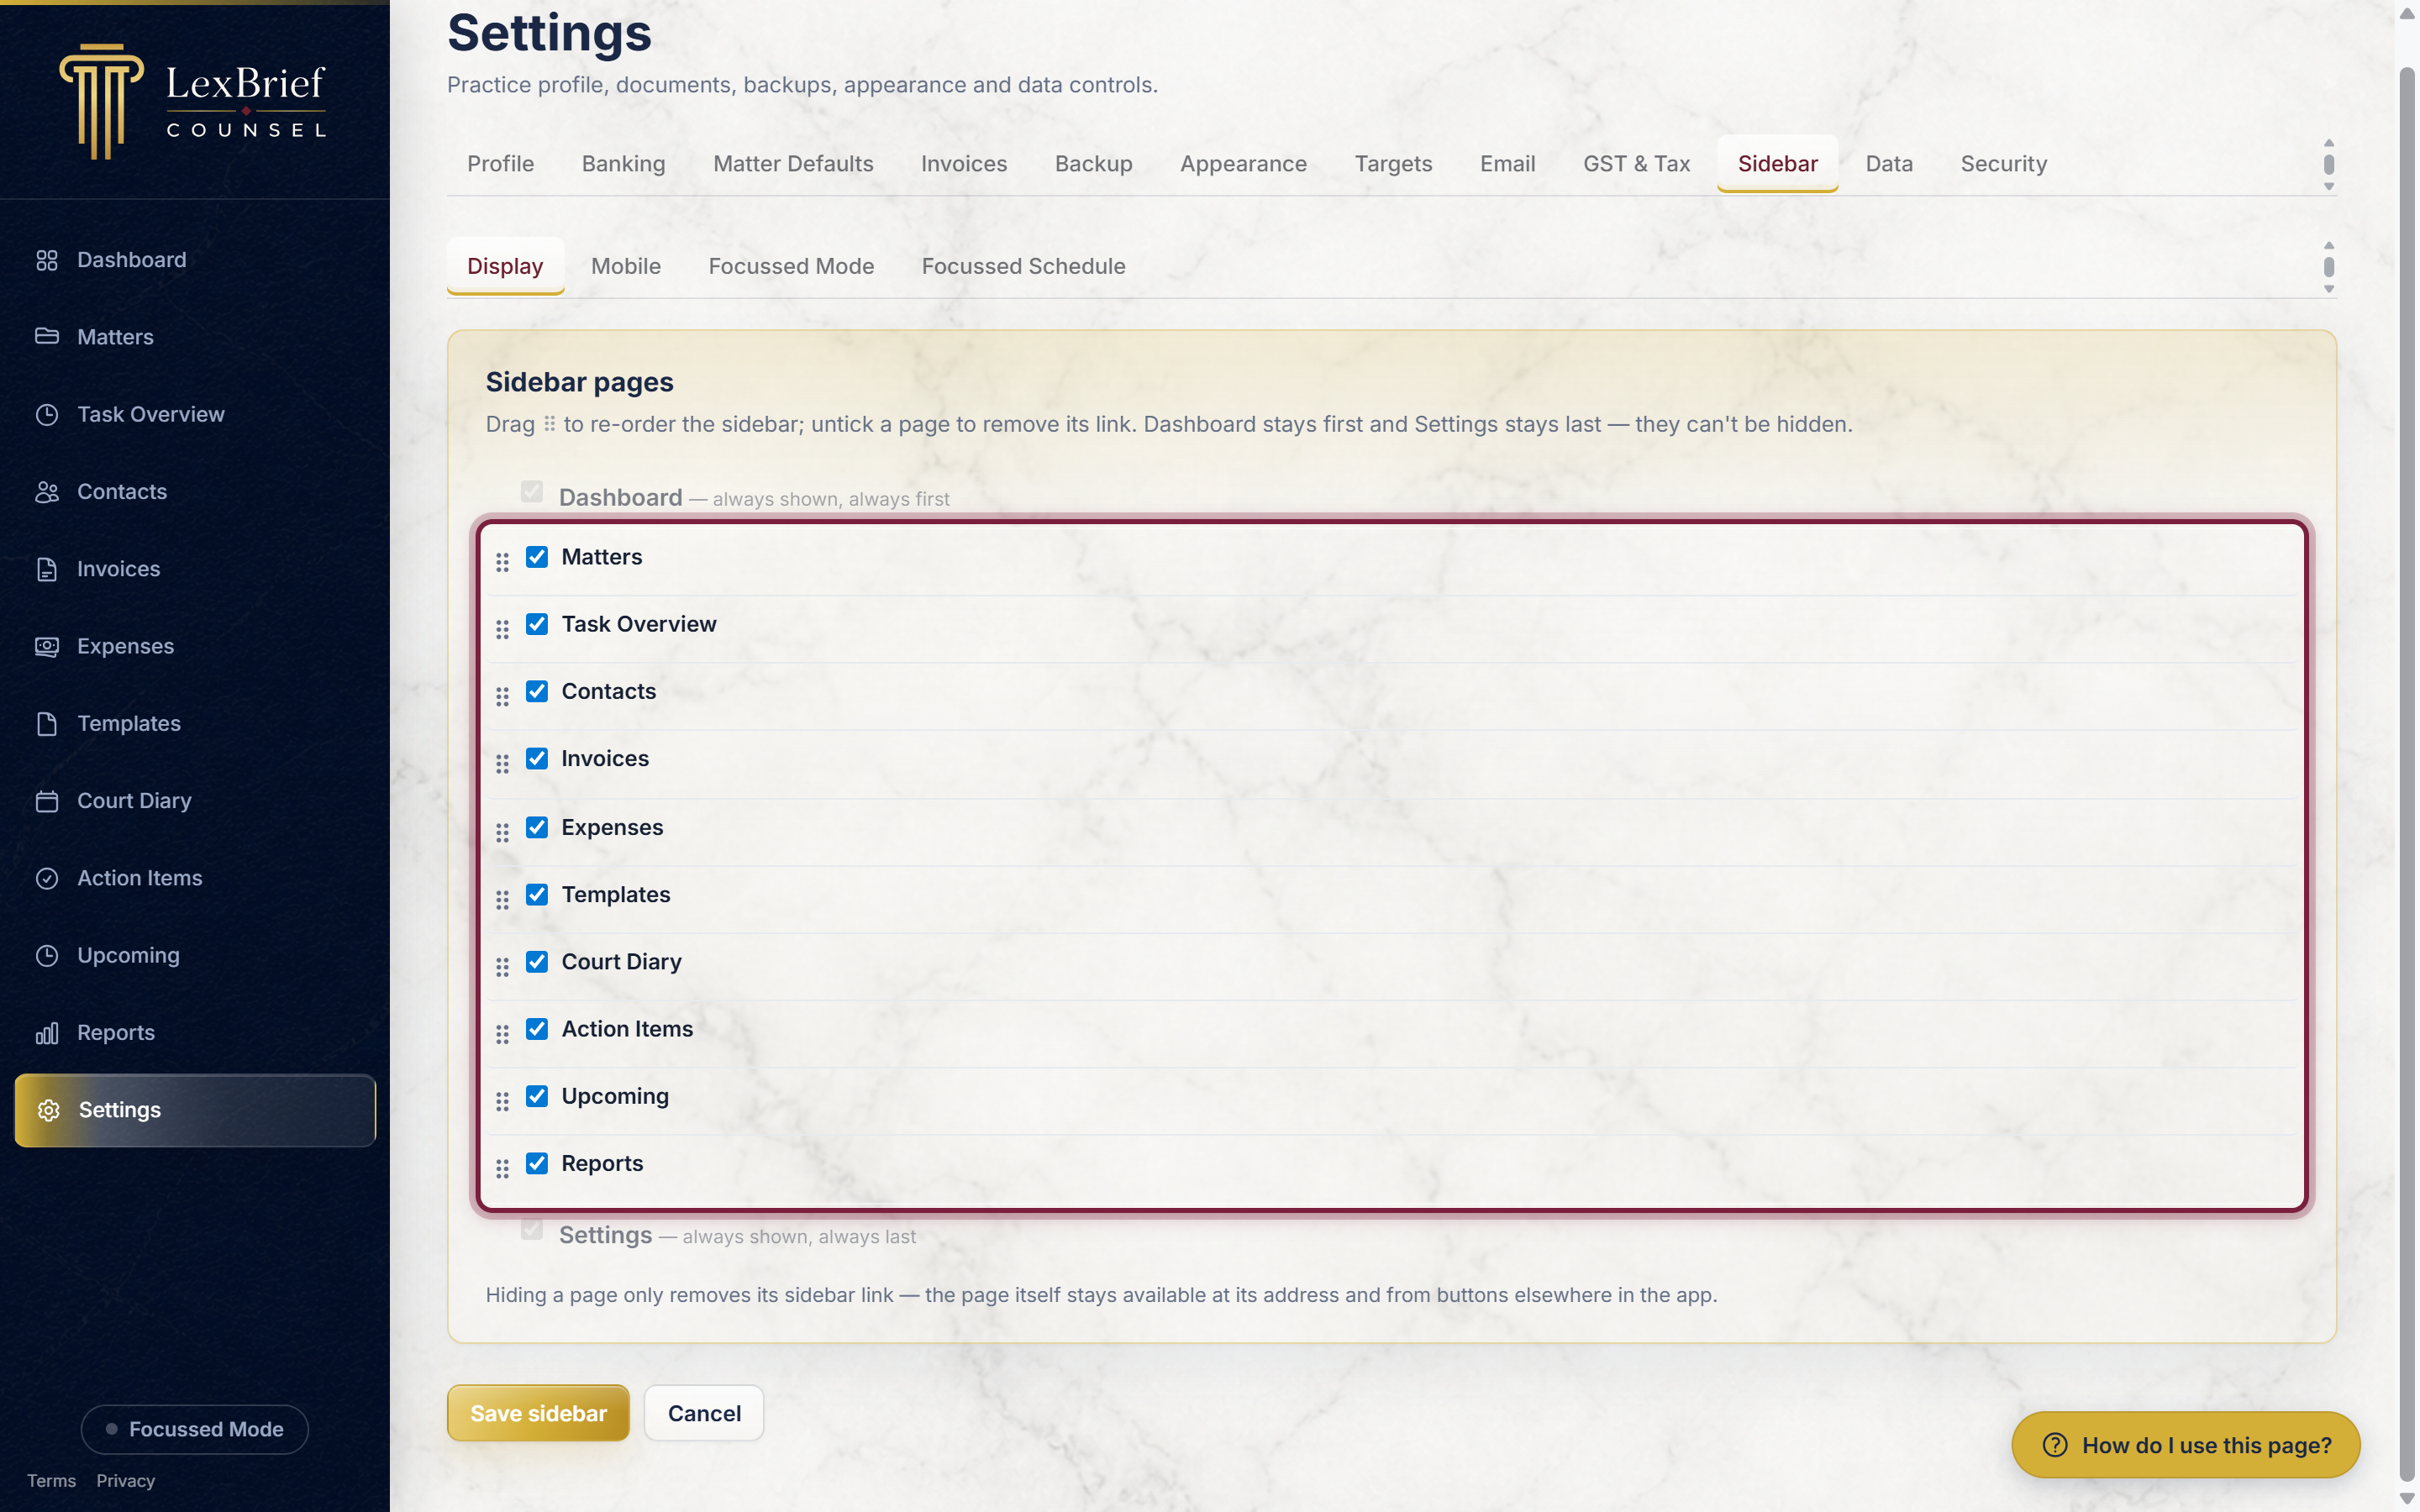
- Untick a page to remove its link from the menu (the page itself still exists; only its shortcut is hidden).
- Drag the handle at the left of a row to move a page up or down.
- Click Save sidebar. Dashboard always stays first and Settings always stays last.
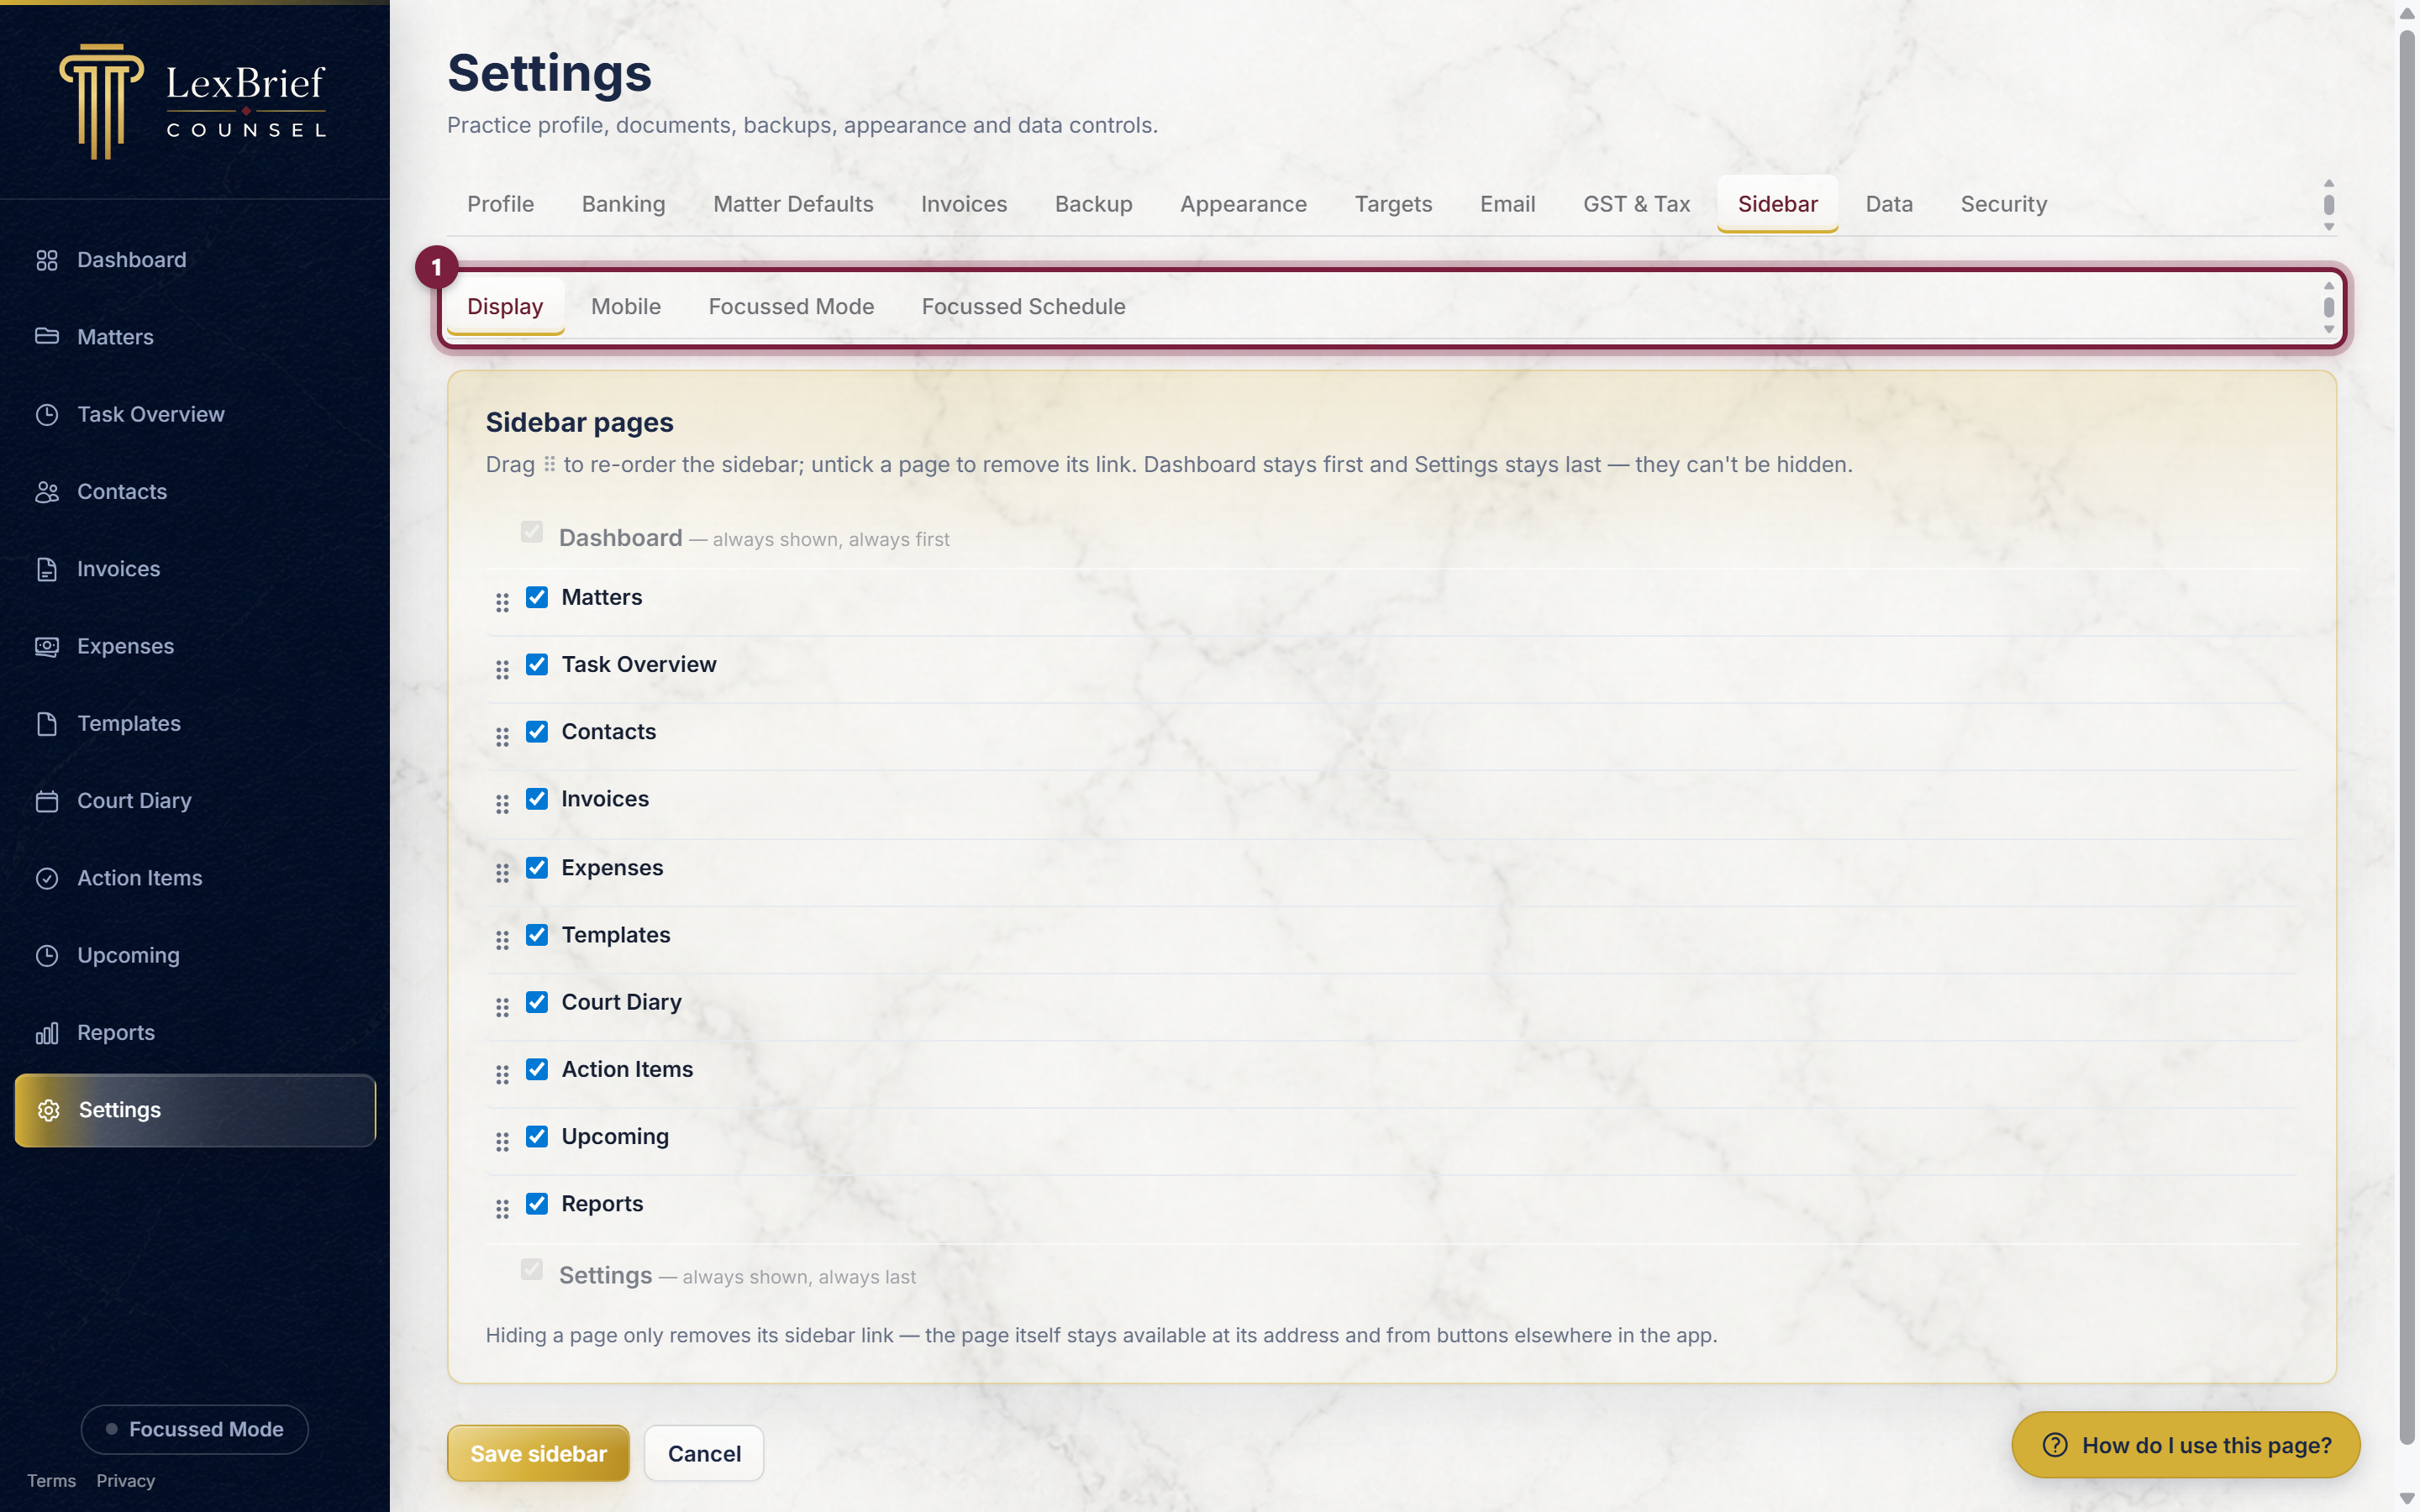
This tab has its own inner tabs – Display (the menu on your computer), Mobile (the menu on your phone), and Focussed Mode plus Focussed Schedule, which can hide all but a chosen few pages during set hours to help you concentrate.
Backup
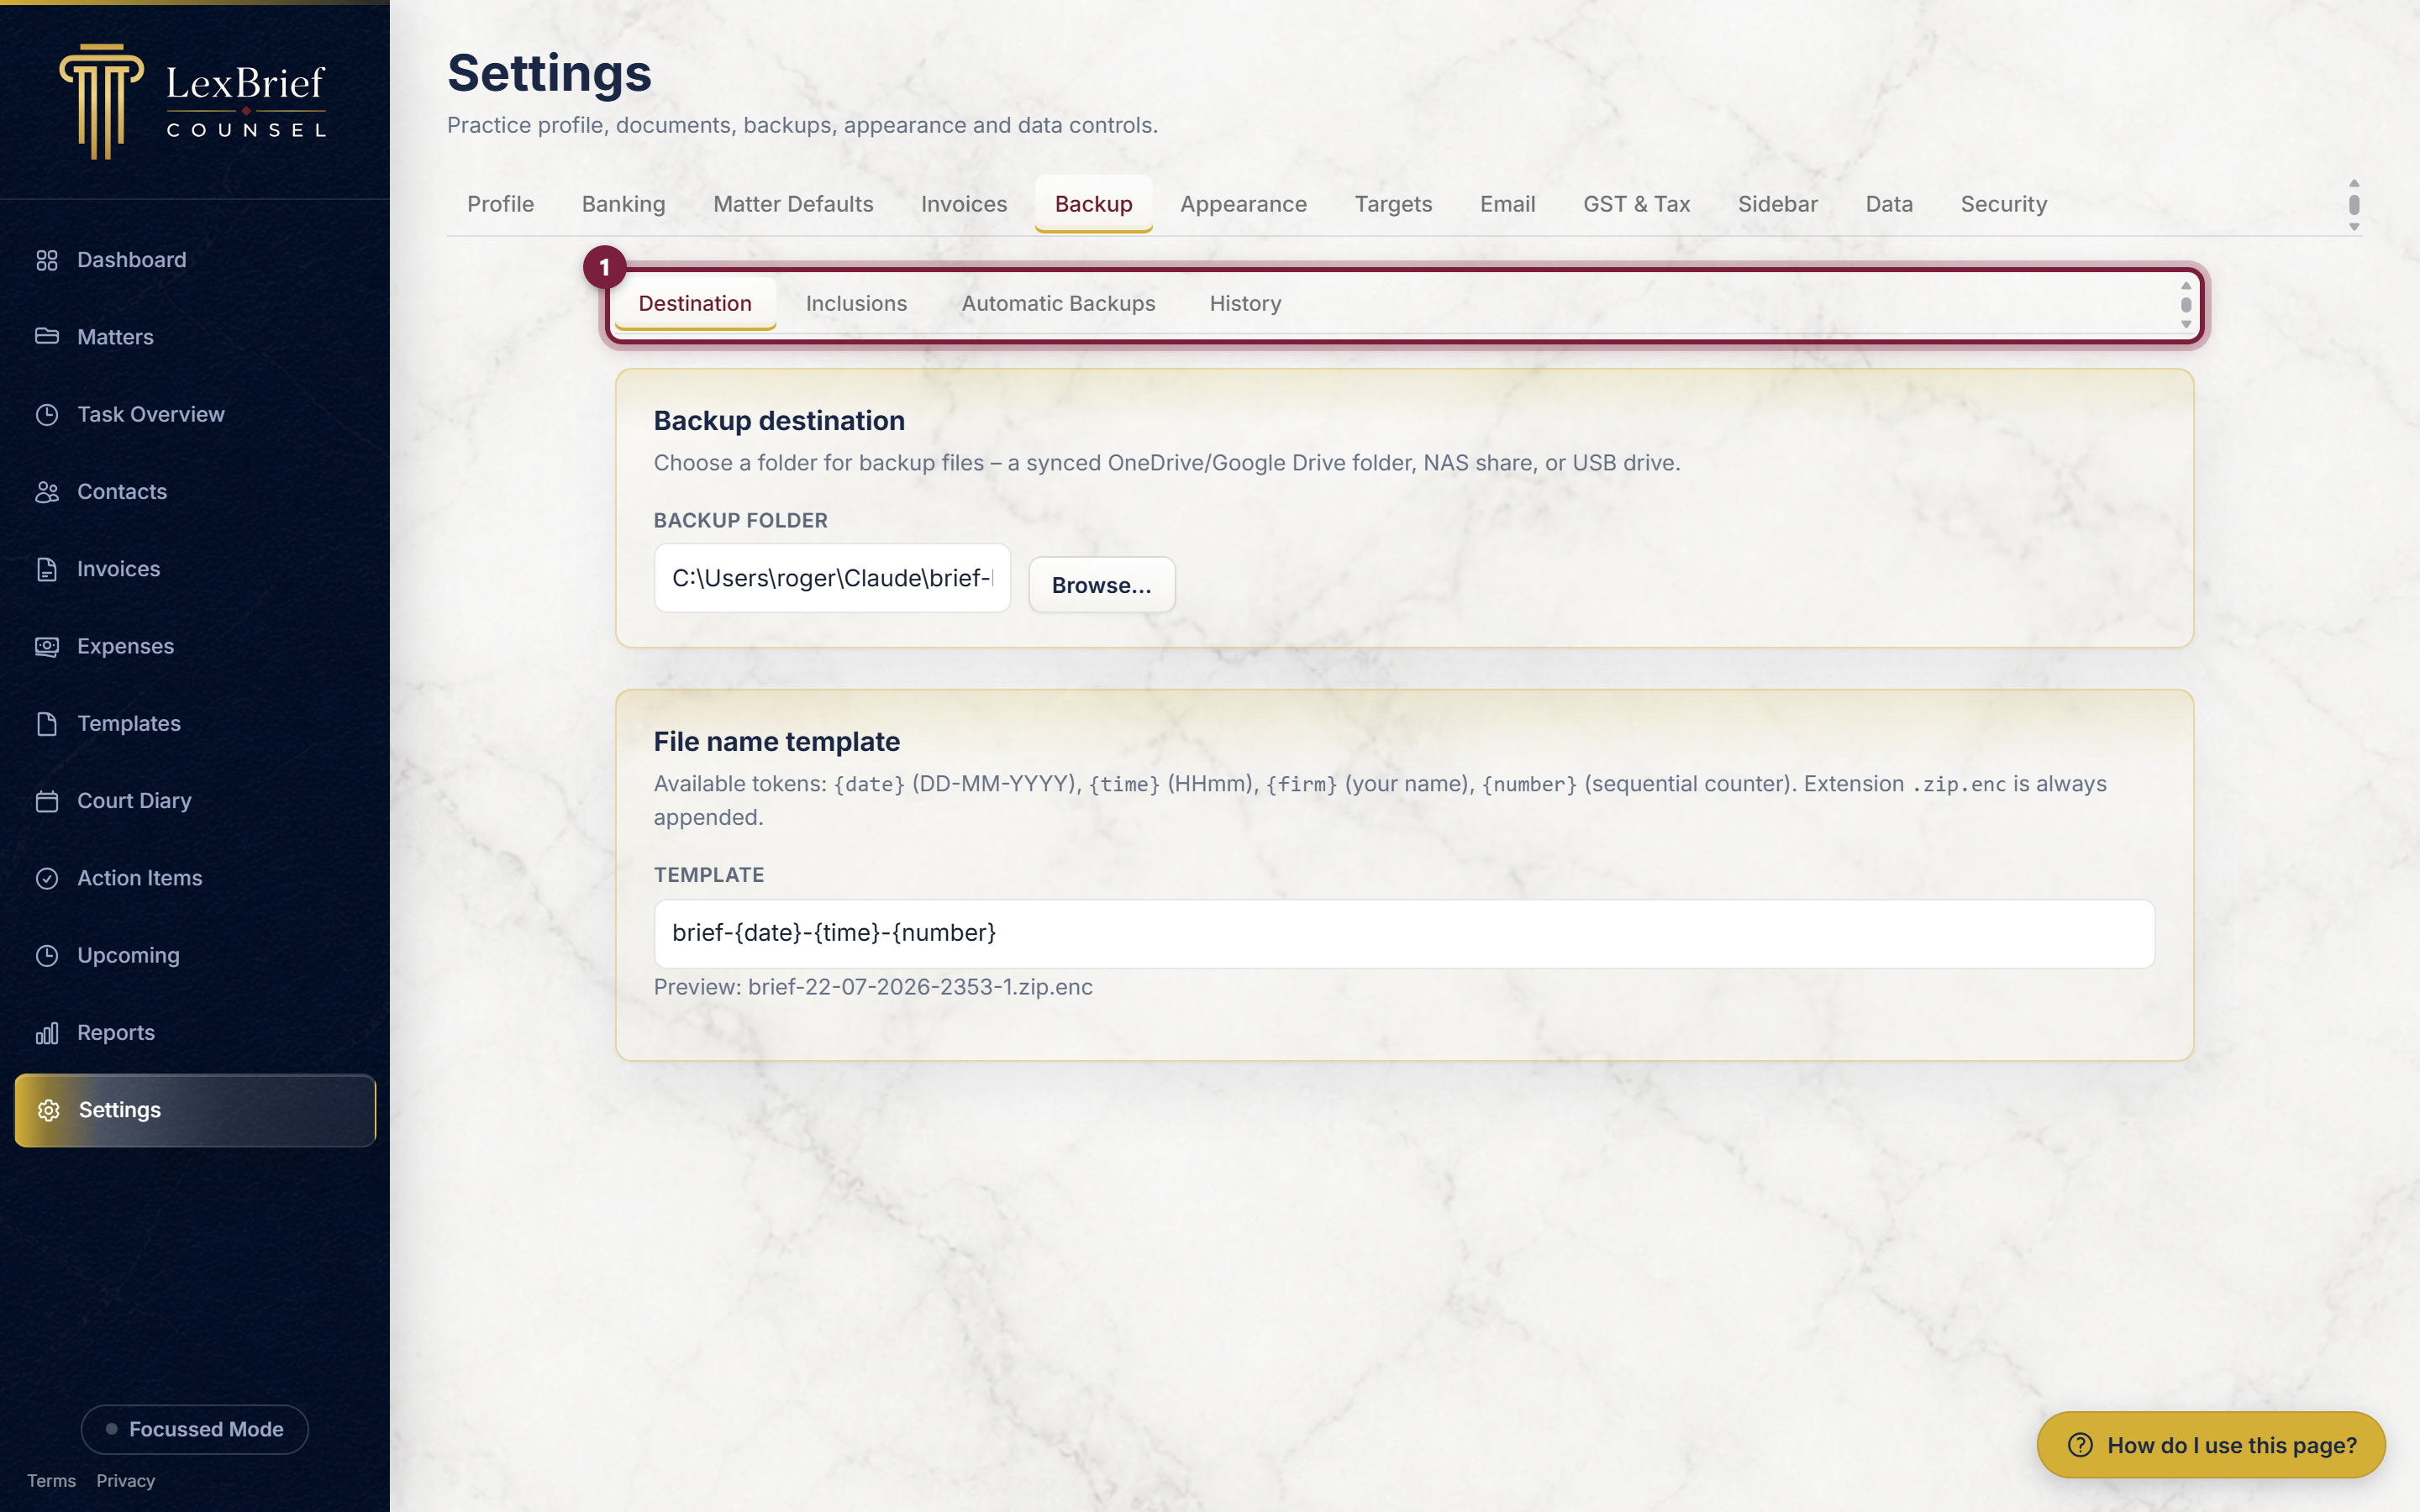
The Backup tab is where you look after safe copies of your data. On the hosted LexBrief service, backups run automatically for you on the server, and you can restore an earlier copy from the History tab if you ever need to.
Data
The Data tab handles bringing data in, taking it out, and (with great care) deleting it. It has three inner tabs.
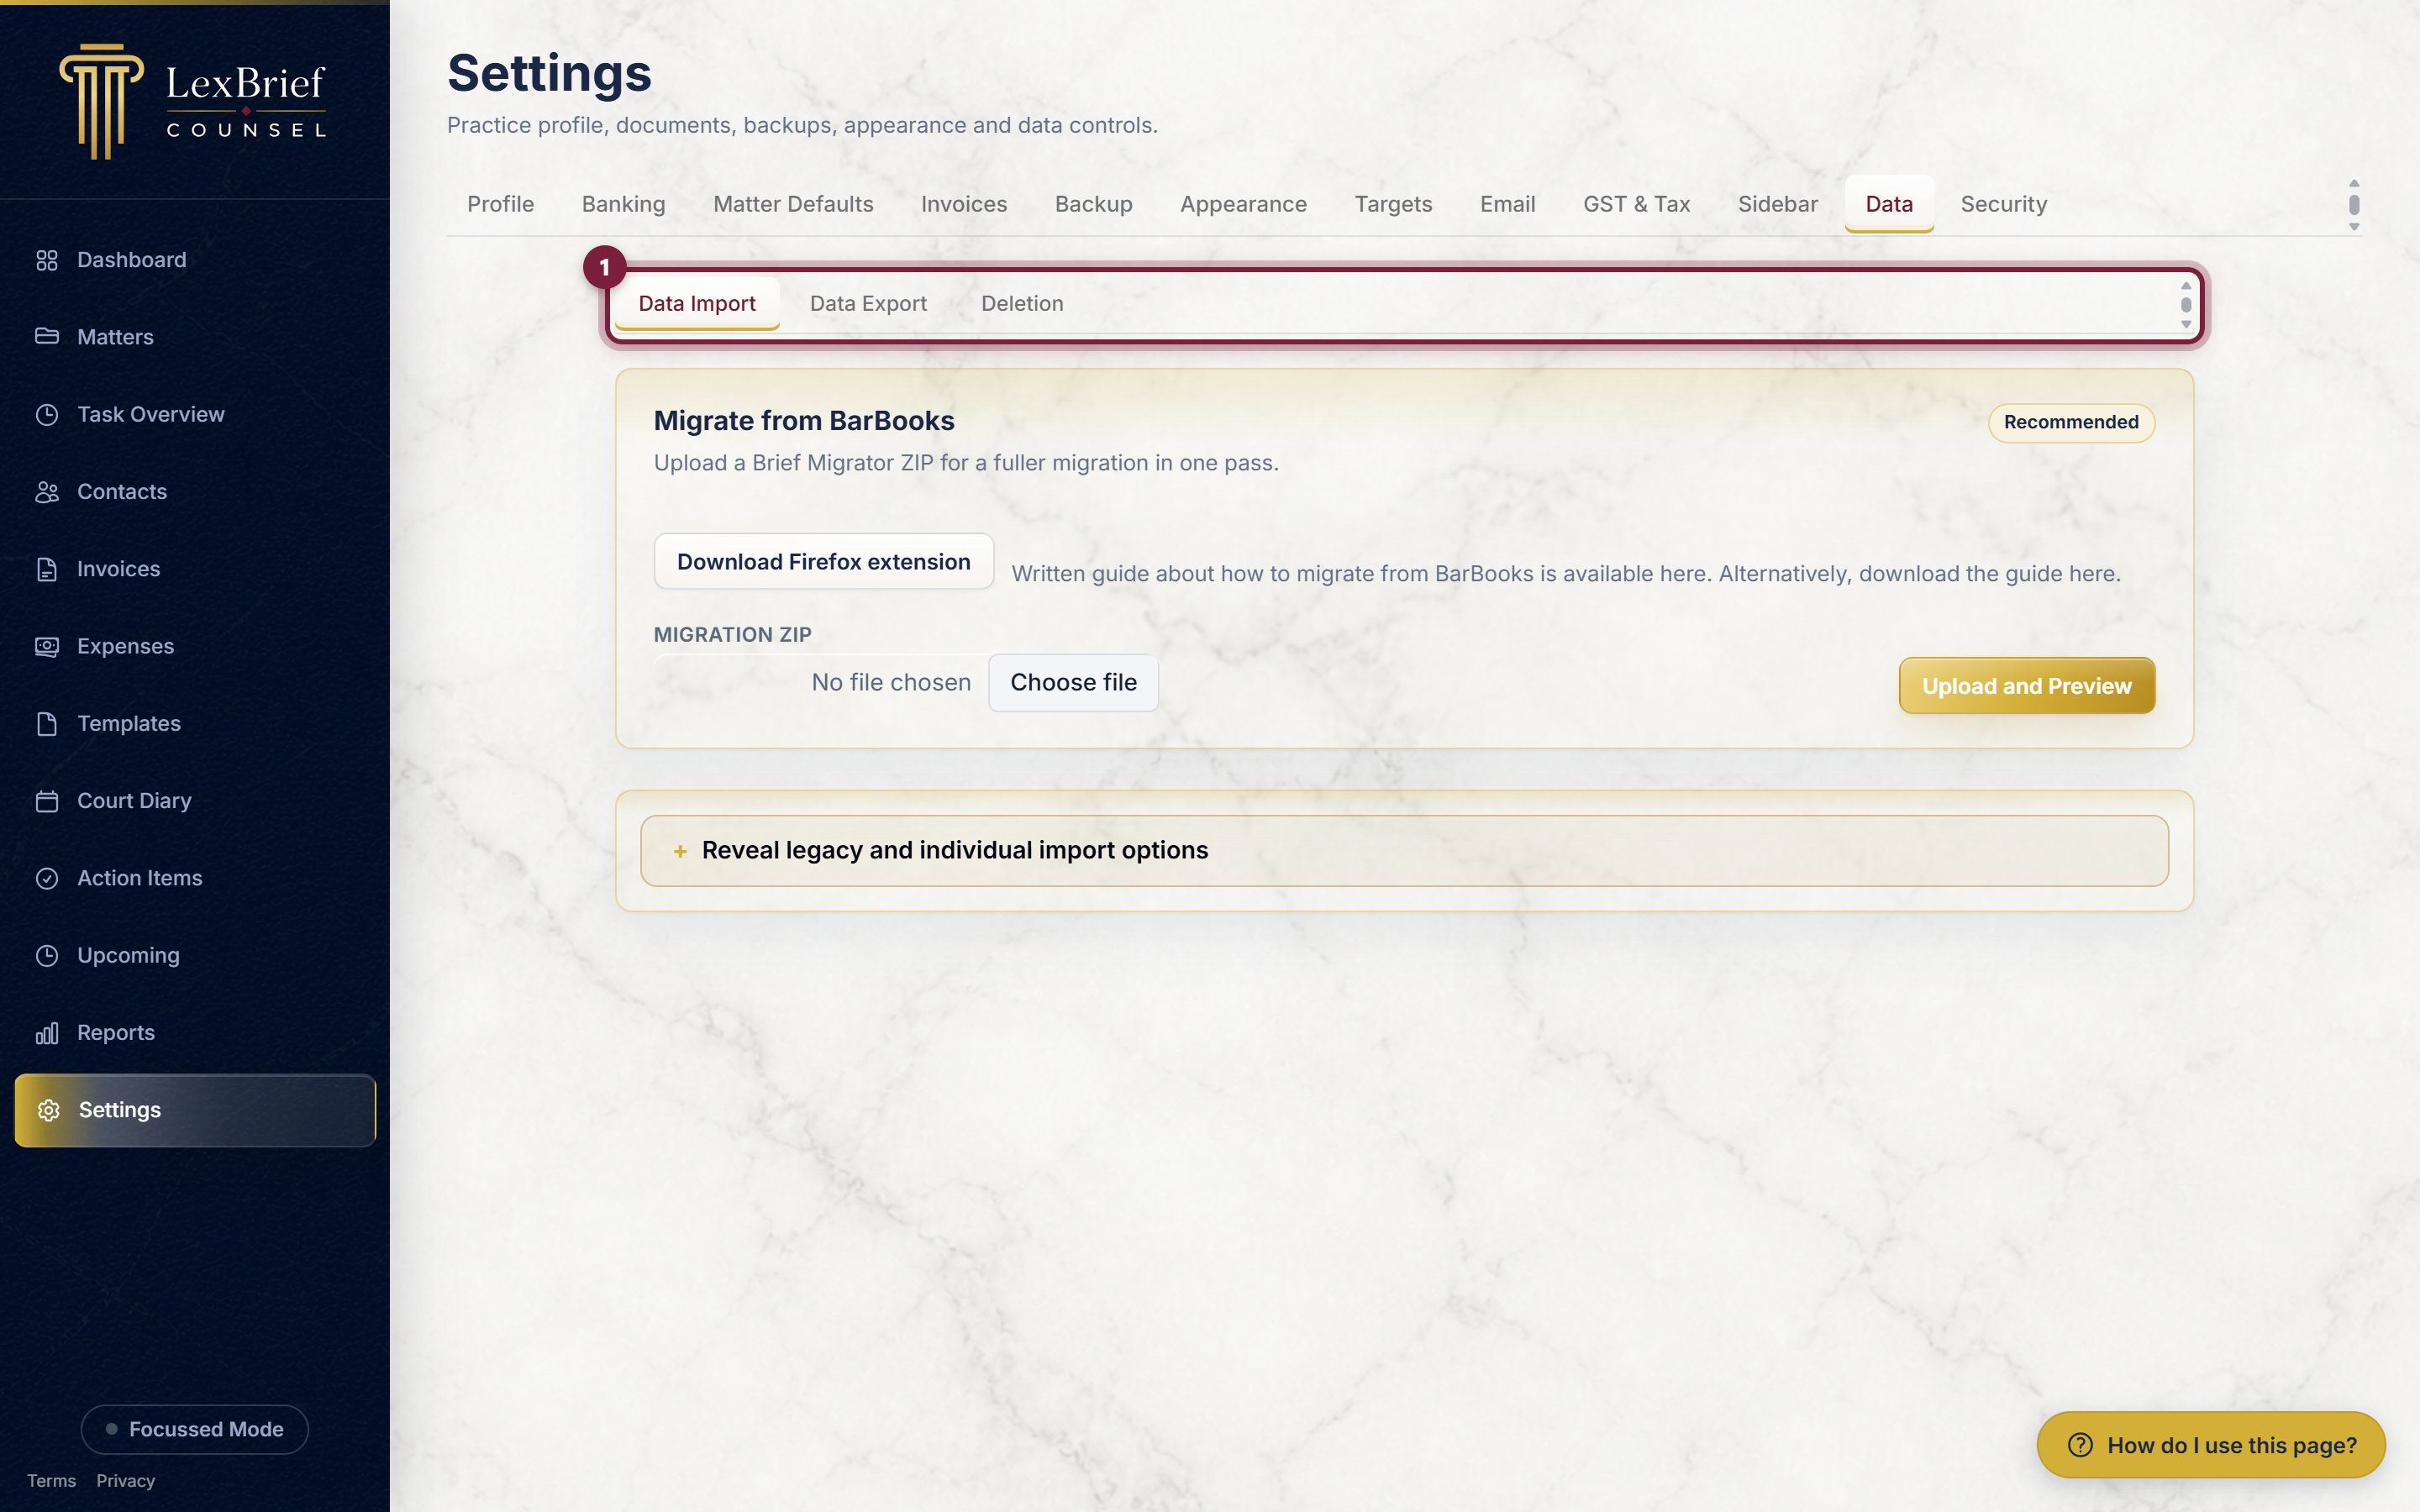
- Data Import – bring your matters, invoices, contacts and expenses across from BarBooks. See the moving from BarBooks guide.
- Data Export – download a copy of your chosen data as a CSV ZIP or JSON file, straight to your device.
- Deletion – the Danger Zone, for permanently deleting data.
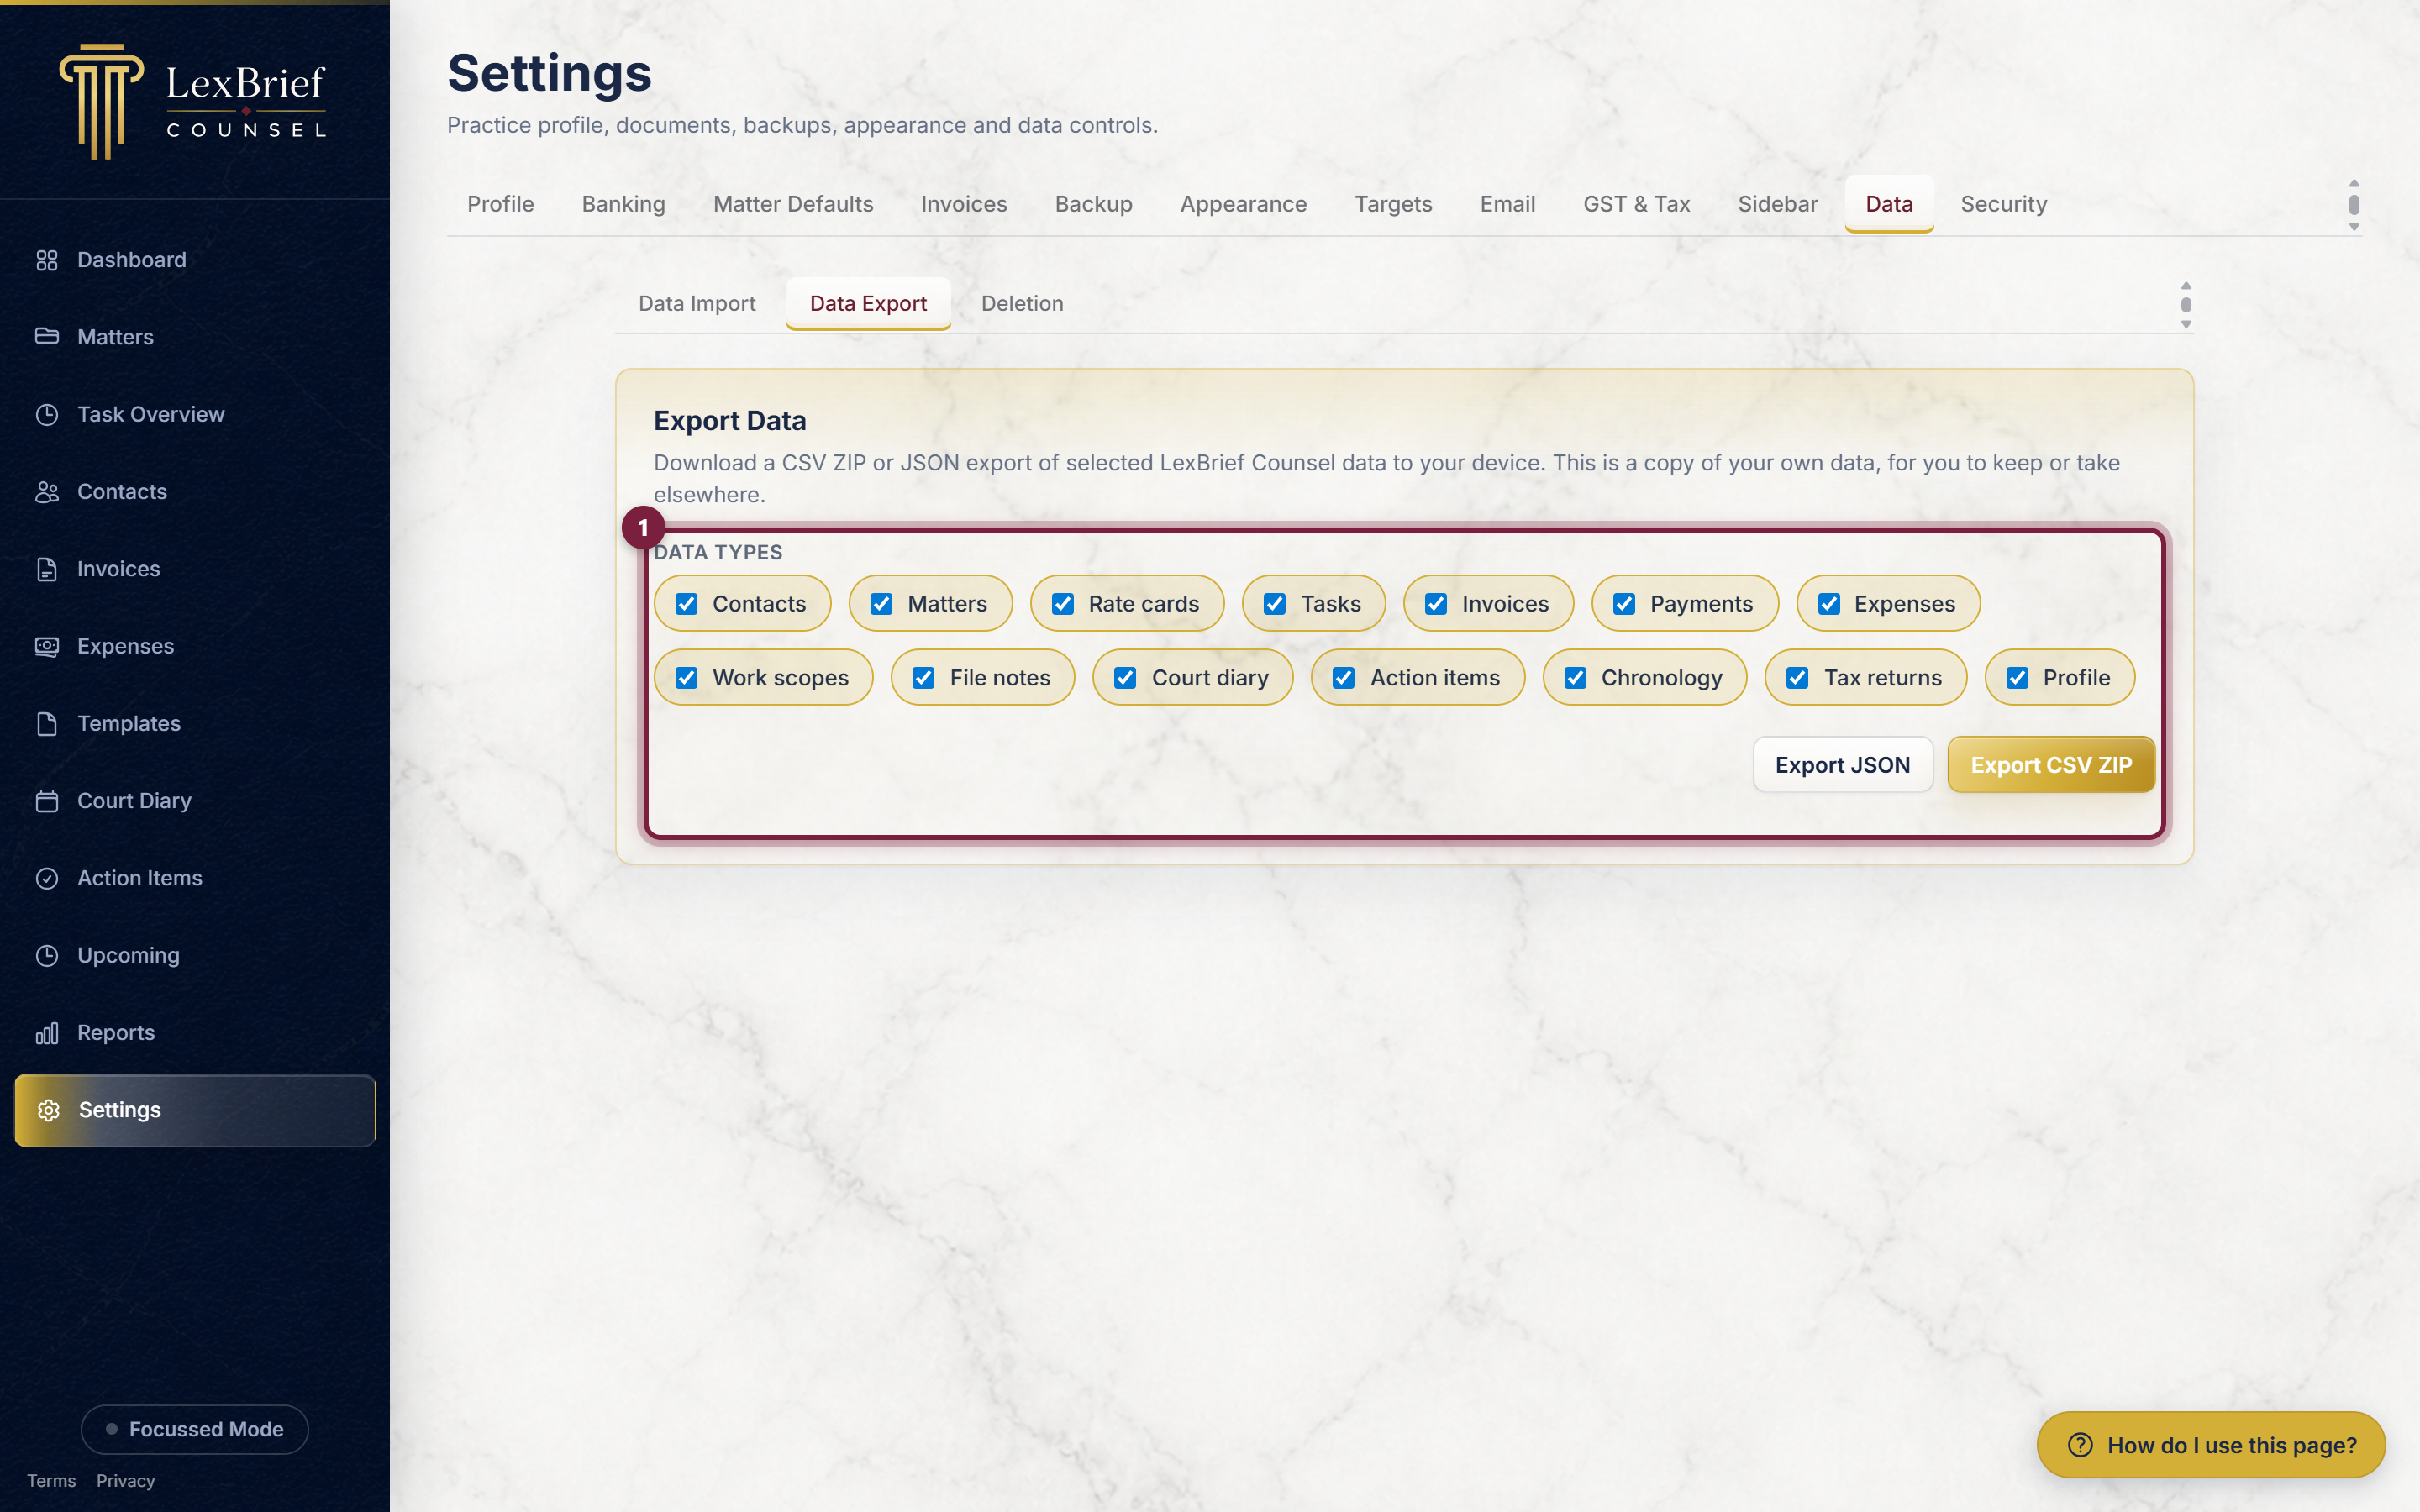
Ticking a kind here only affects the download. The Deletion tab is a separate list, and a shorter one: it still offers only Contacts, Matters, Tasks, Invoices and Expenses. Adding a tick box to your export does not add anything to what can be deleted.
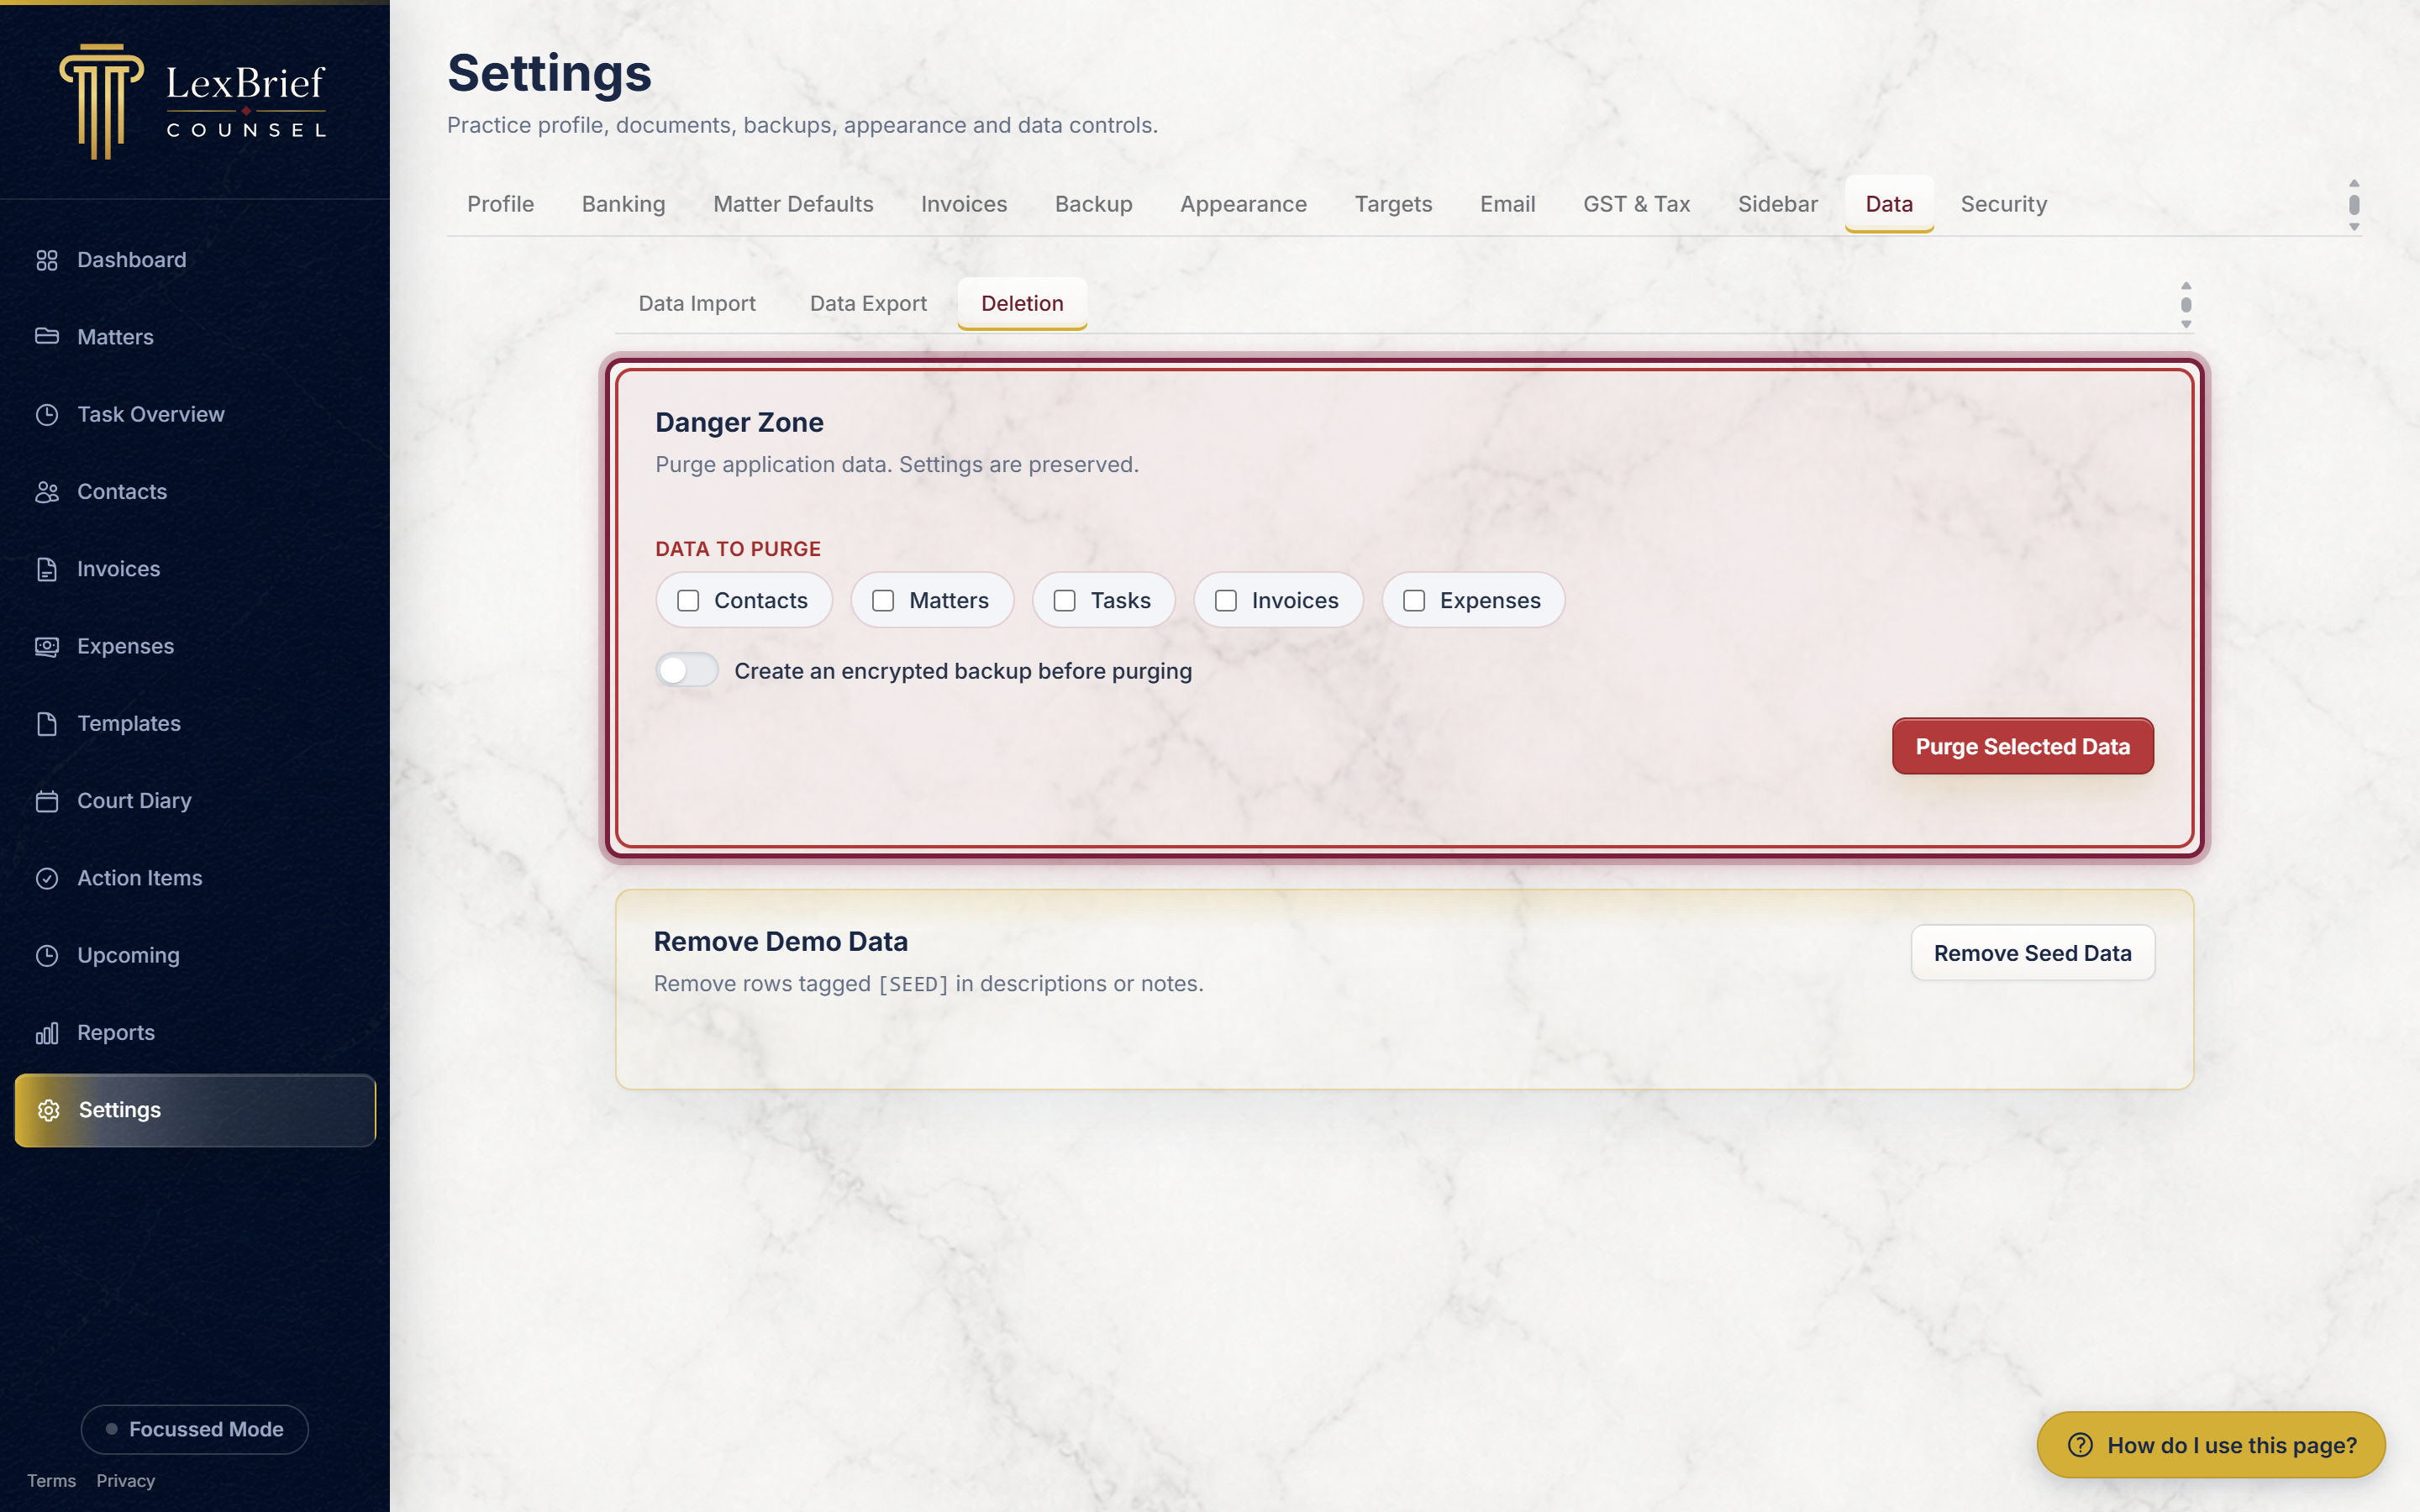
The backup switch now protects you properly
Under the list of things to delete there is a switch reading Create an encrypted backup before purging. Switch it on and LexBrief takes a safe copy of your data before deleting anything.
That switch is now a hard stop, not a best effort. If the backup cannot be made, nothing is deleted at all. The purge is abandoned and your data is left exactly as it was.
What you should see if a backup could not be made: a red bar beginning "Nothing was purged.", explaining that there is no backup password set or the backup location is not available. Your records are untouched.
If you do see that red bar, you have two choices:
- Set up your backup password and location under Settings → Backup, then try the purge again. This is the safer option.
- Or switch off Create an encrypted backup before purging and purge without one. Only do this if you genuinely do not want a copy kept.
Security
The Security tab is where you set up two-factor authentication (2FA) – a second step at sign-in, using a short code from an app on your phone, so that knowing your password alone is not enough to reach your account. Because LexBrief holds confidential client information, this is a valuable safeguard.
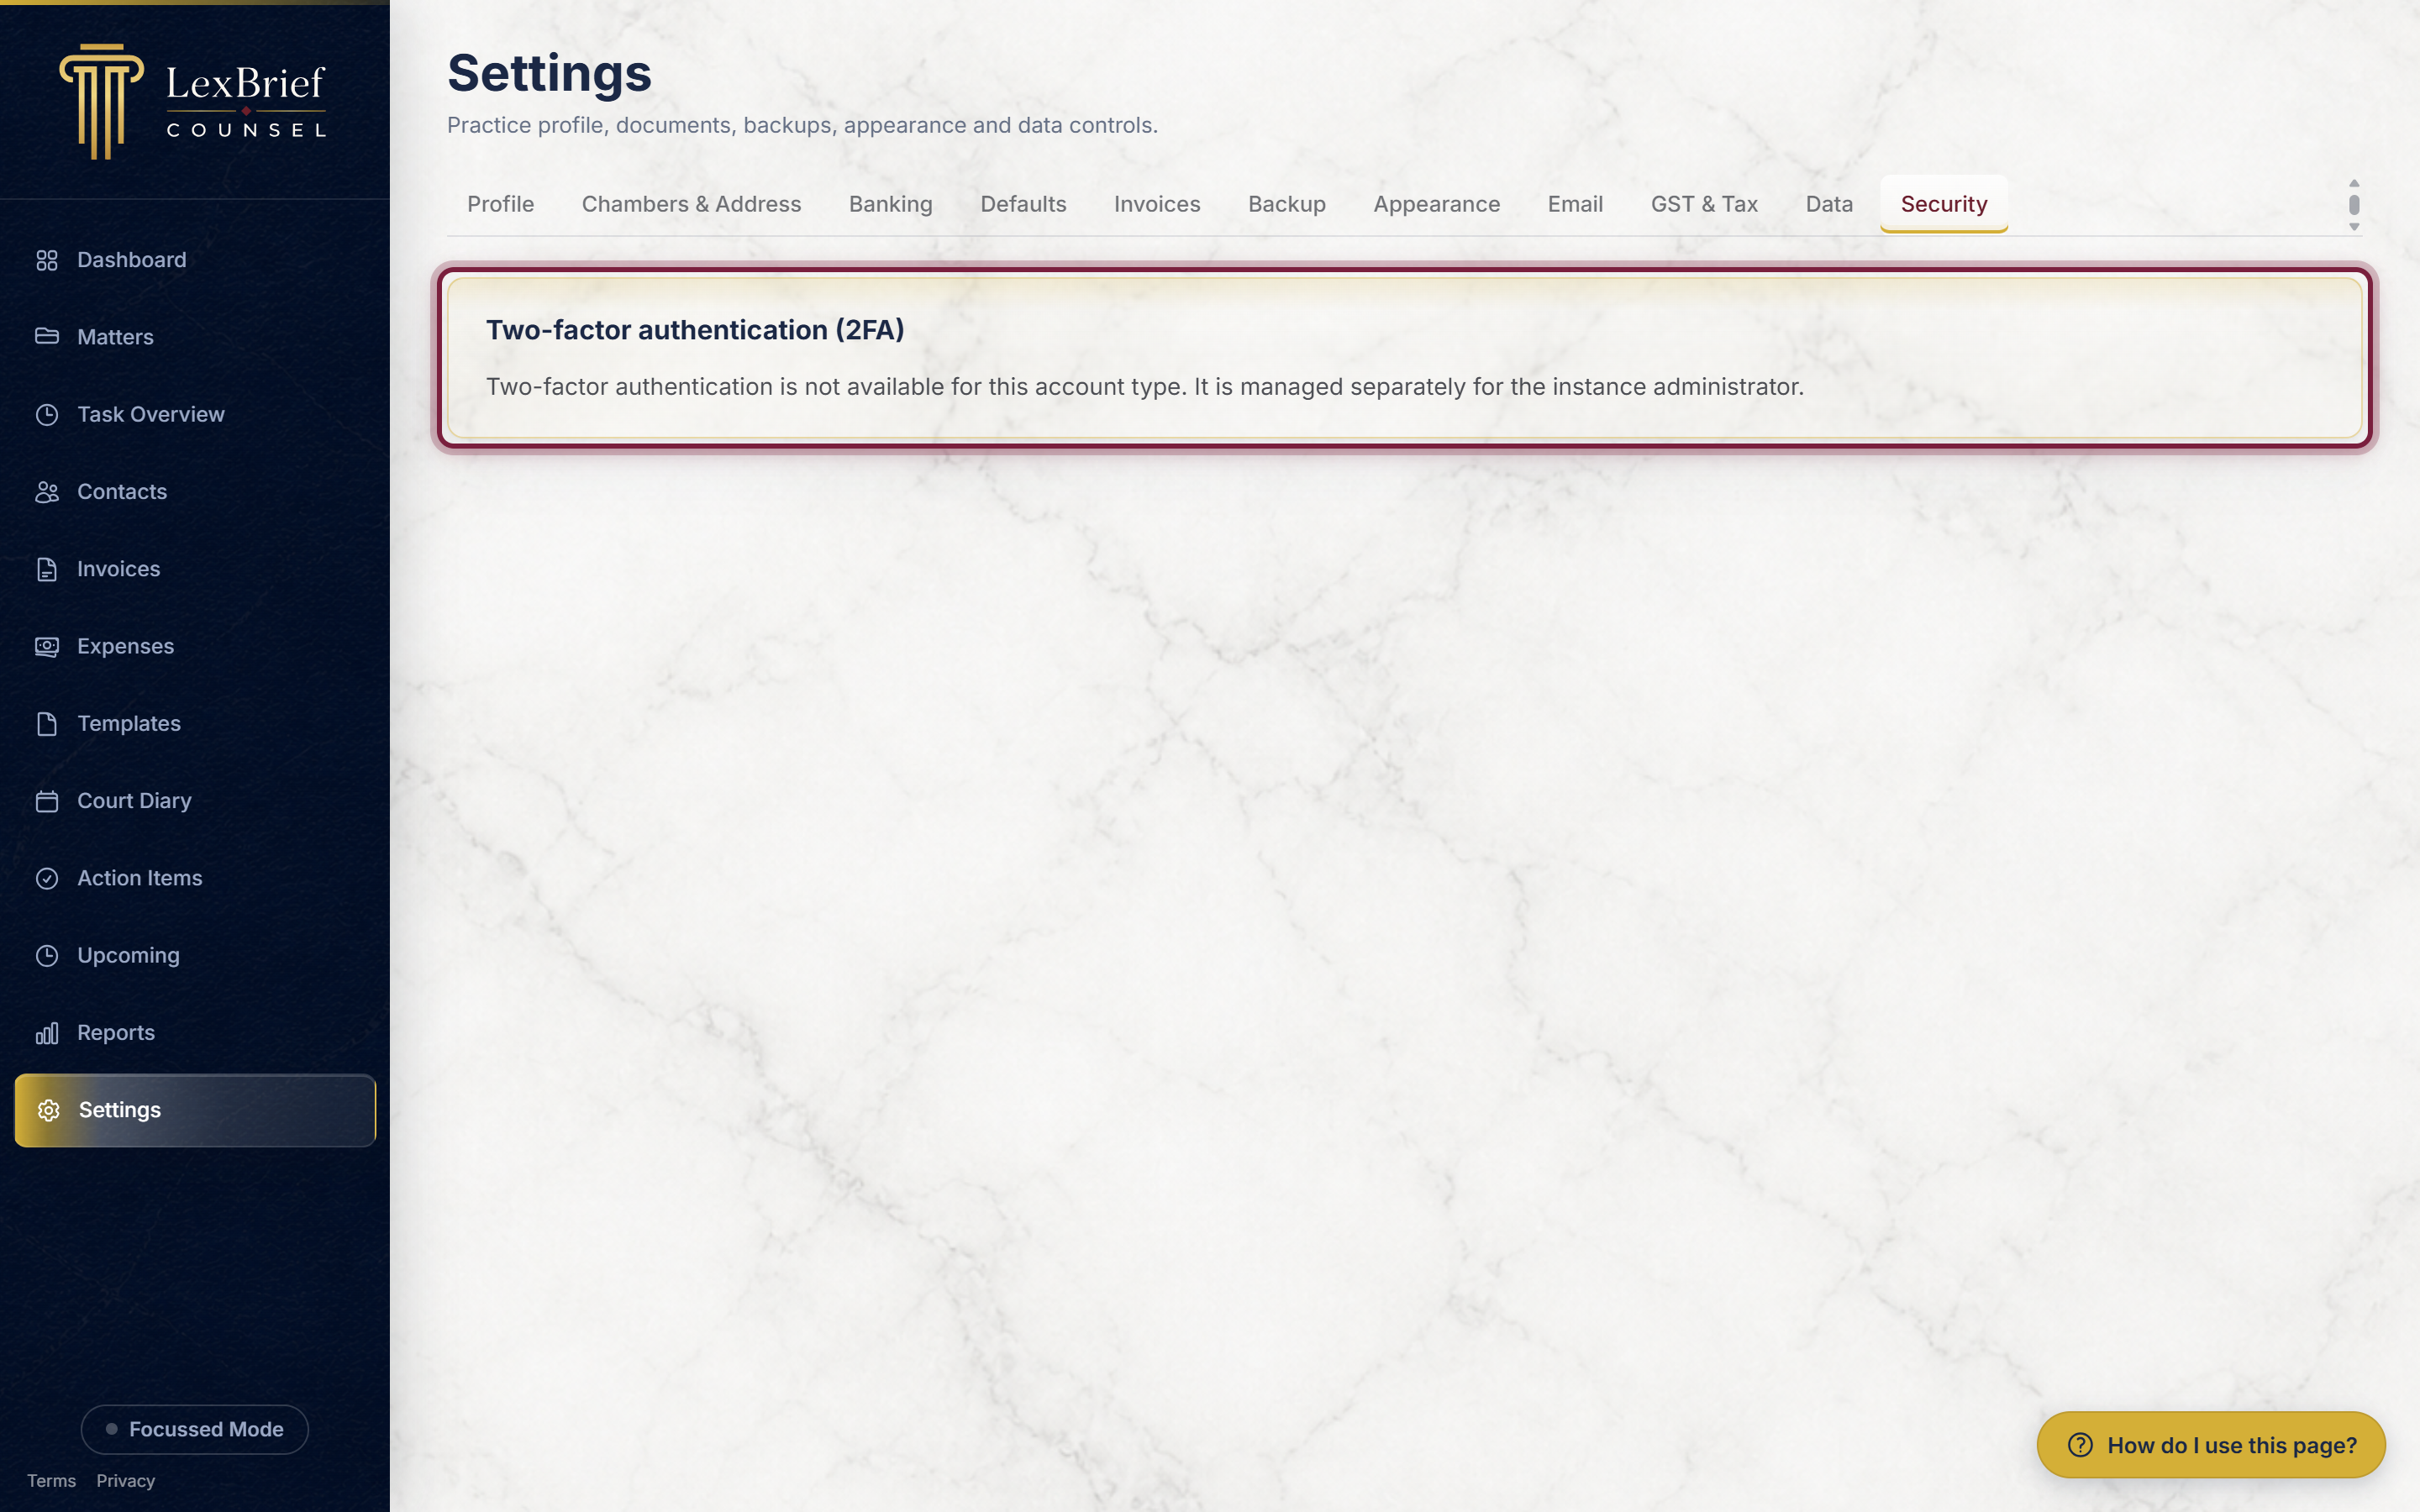
On a real trial account this tab walks you through turning 2FA on: install a free authenticator app, scan a QR code, and enter the 6-digit code to confirm. It then shows you a set of one-time backup codes to keep somewhere safe in case you lose your phone. From the same tab you can later turn 2FA off by confirming your password and a current code.
What next
With your Profile, Banking and Matter Defaults set, the rest of LexBrief has what it needs:
- Dashboard – choose which cards show, and set the targets they measure against.
- Moving your data from BarBooks – uses the Data tab's import.
- Reports – where the GST & Tax tab's figures come to life.
- Browse all help guides
Stuck on anything at all? Email support@lexbrief.au – a real person reads it, usually the same working day.